
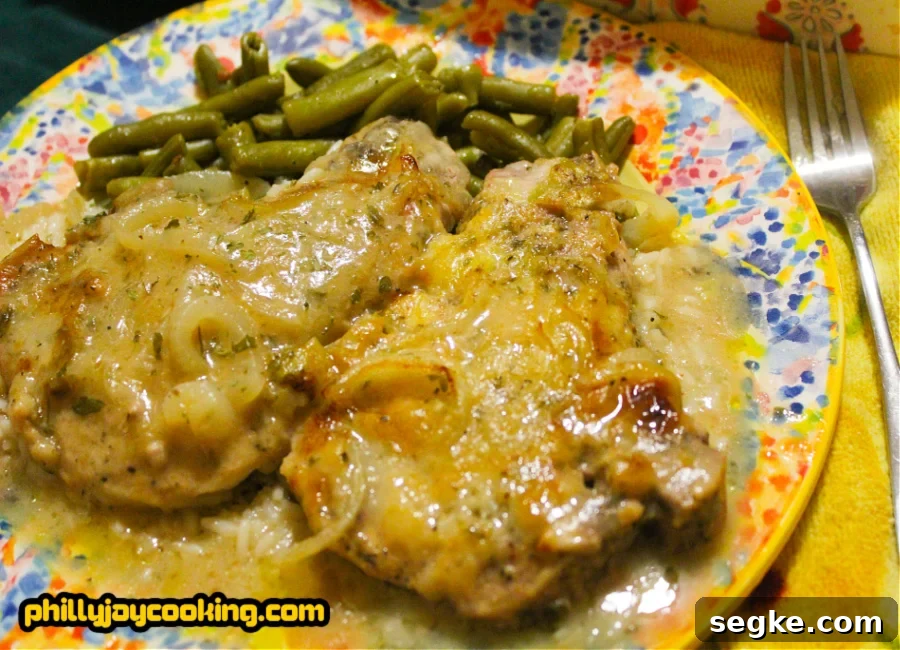
I’d been craving these pork chops for a while, and finally decided to make them while my Aunt Lorretta was visiting. We developed this version together and it turned out fantastic—tender, flavorful, and perfect for a midweek dinner.
I don’t cook pork chops all the time because too much pork doesn’t sit well with me, but smothered pork chops are a childhood favorite. Growing up, we often had them fried or baked and served with plenty of gravy. Below I’ll walk you through my soul-food-style baked smothered pork chops inspired by family recipes and memories.
McCloud’s smothered pork chops
I grew up with meals smothered in gravy—my grandma Viola Taylor and her husband Carlton McCloud instilled that love. Mr. McCloud cooked most nights when I lived with them as a teenager, and smothered meats were a regular feature: turkey wings, steak, and pork chops all finished with rich gravy. Sometimes he would fry the meat first, then smother it in gravy. That technique inspired some of my smothered fried pork chop recipes.
One distinct memory of Mr. McCloud’s cooking is his use of apple cider vinegar. He added a touch of vinegar to many dishes, and it gave the pork chops a subtle tang that lifted the whole dish. That little acidity is a signature in this baked version and helps balance the savory gravy.
Smothered Fried Pork Chops 2014 Video
I originally filmed a smothered fried pork chop video years ago. While this article focuses on the oven-baked version, frying first and then smothering in gravy is another delicious method. I plan to share the full fried-chop recipe separately.
What are the best cut of pork chops to use for this recipe?
For this baked smothered recipe I prefer center-cut loin pork chops (often labeled Porterhouse or T-bone chops) for their tenderness and balance of meat and fat. Rib chops are another excellent choice: they have more fat and flavor and stay juicy when baked. If you plan to fry the chops first, thinner chops work well because they cook quickly; for baking, choose thick, bone-in chops so they remain moist during the longer cook time.
Thick bone-in vs thin pork chops
If you’re baking smothered pork chops, go with thick bone-in chops. They tolerate longer cooking without drying out and become tender and flavorful. Thin chops are best reserved for quick frying, where short cook times prevent overcooking.
Gravy methods
A simple, reliable way to thicken gravy is to make a slurry—something Mr. McCloud taught me. A slurry is just a mix of a thickener like flour or cornstarch combined with liquid (water or broth) and whisked until smooth. As it cooks, it thickens into gravy. It’s forgiving and great for cooks at any level.
- Slurry: Mix flour or cornstarch with a bit of water or broth until smooth, then stir it into your warm liquid and cook until it thickens.
- Slurry pros: Quick and hard to ruin when you use the proper flour-to-liquid ratio; ideal if you’re new to making gravy.
McCloud loved adding Vinegar
The reason I named this recipe after McCloud is the flavor twist he used: a splash of apple cider vinegar. It adds a bright, tangy note that cuts through the richness of the gravy and makes the pork chops more complex. If you enjoy a little acidity in savory dishes, you’ll notice how much it improves the overall flavor.
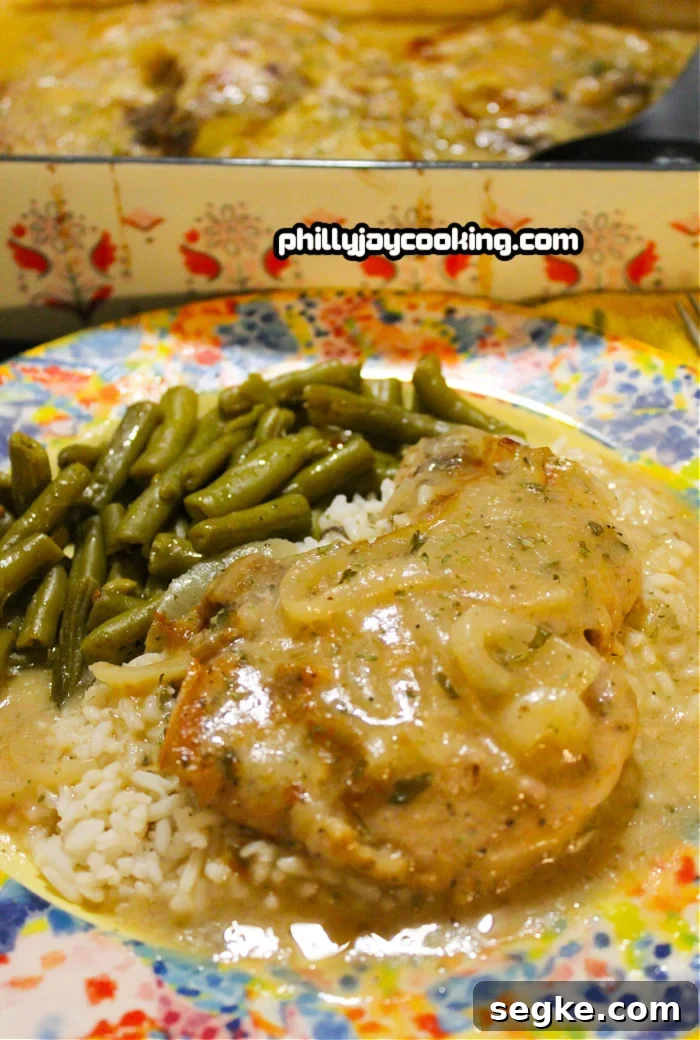
Ingredients you’ll need:
Gather these ingredients for tender, oven-baked smothered pork chops that develop a rich gravy while they bake.
- Meat: Medium-thick center-cut loin pork chops (bone-in preferred)
- Seasonings: Seasoning salt, chicken bouillon cube, garlic powder, onion powder, paprika, Italian seasoning, thyme, black pepper, parsley flakes
- Vegetables: Yellow onions (thinly sliced) and minced garlic
- Gravy: Chicken broth, all-purpose flour, cream of celery (optional), apple cider vinegar
- Fat: Unsalted butter
How to make smothered pork chops
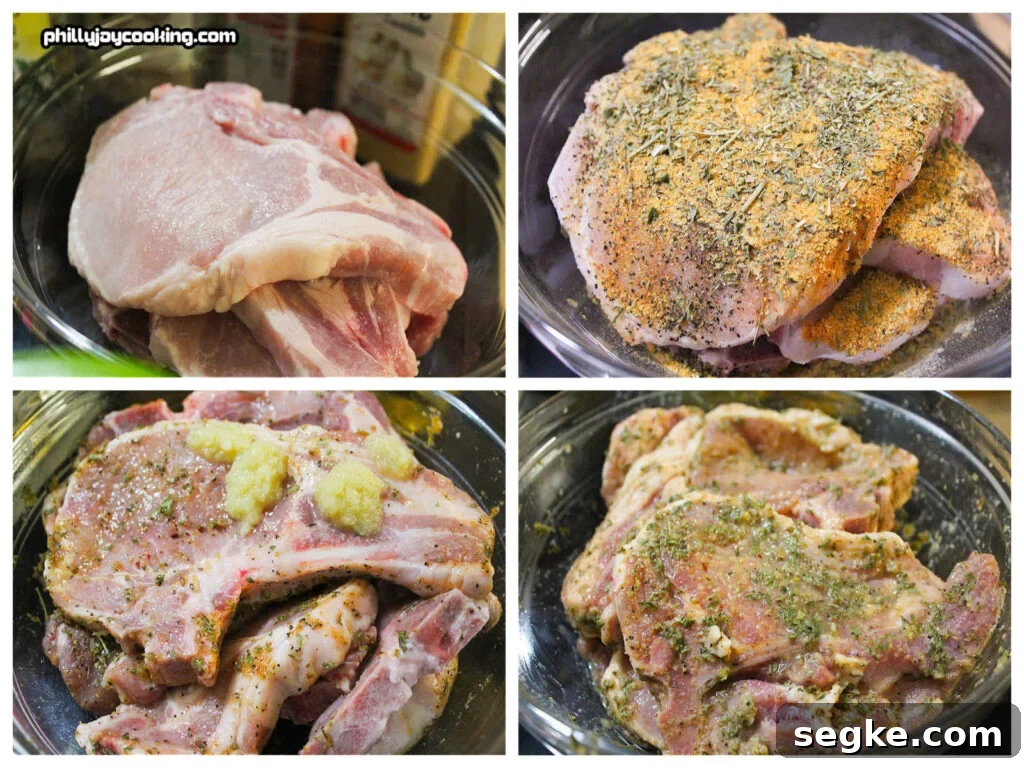
- Place the pork chops in a medium bowl. Add all seasonings and minced garlic, then massage the spices into the meat.
- Cover and marinate in the refrigerator for 4–8 hours or overnight for best flavor penetration.
- Preheat the oven to 350°F (175°C).
- Thinly slice the onions.
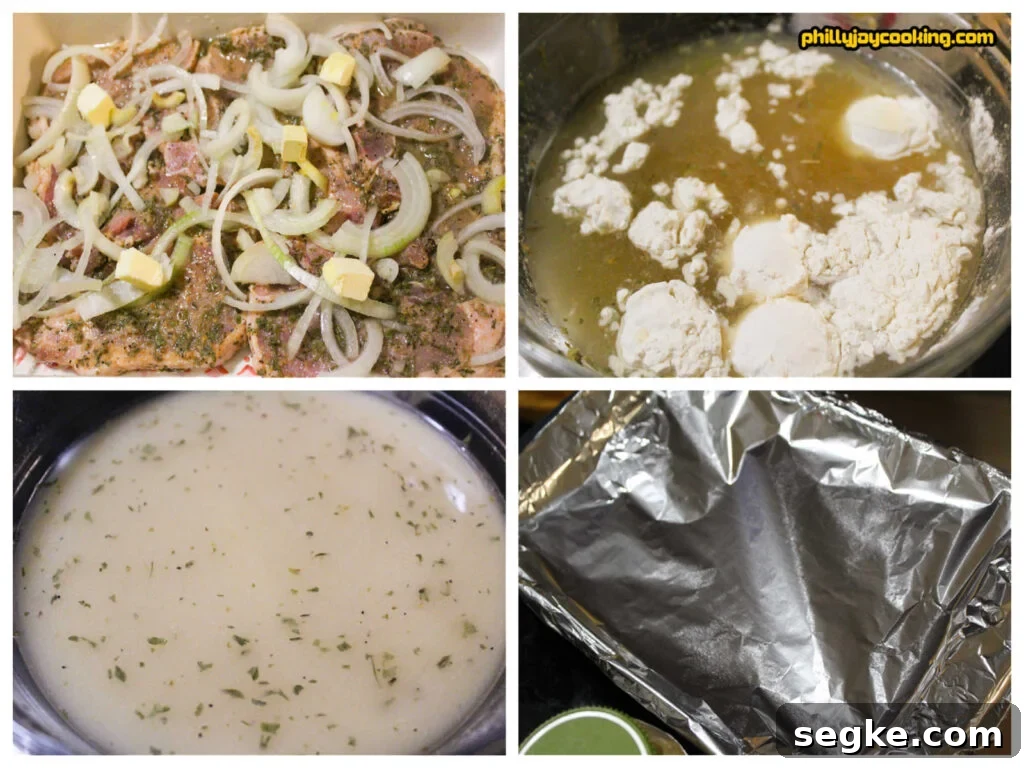
- Arrange the seasoned chops and sliced onions in a baking dish.
- Add pieces of butter and a chicken bouillon cube over the chops.
- Make a slurry in the same bowl you seasoned the chops: whisk together chicken broth, flour, cream of celery (if using), and the apple cider vinegar until smooth.
- Pour the slurry over the chops and onions, coating everything evenly.
- Cover the baking dish with aluminum foil and place it in the oven.
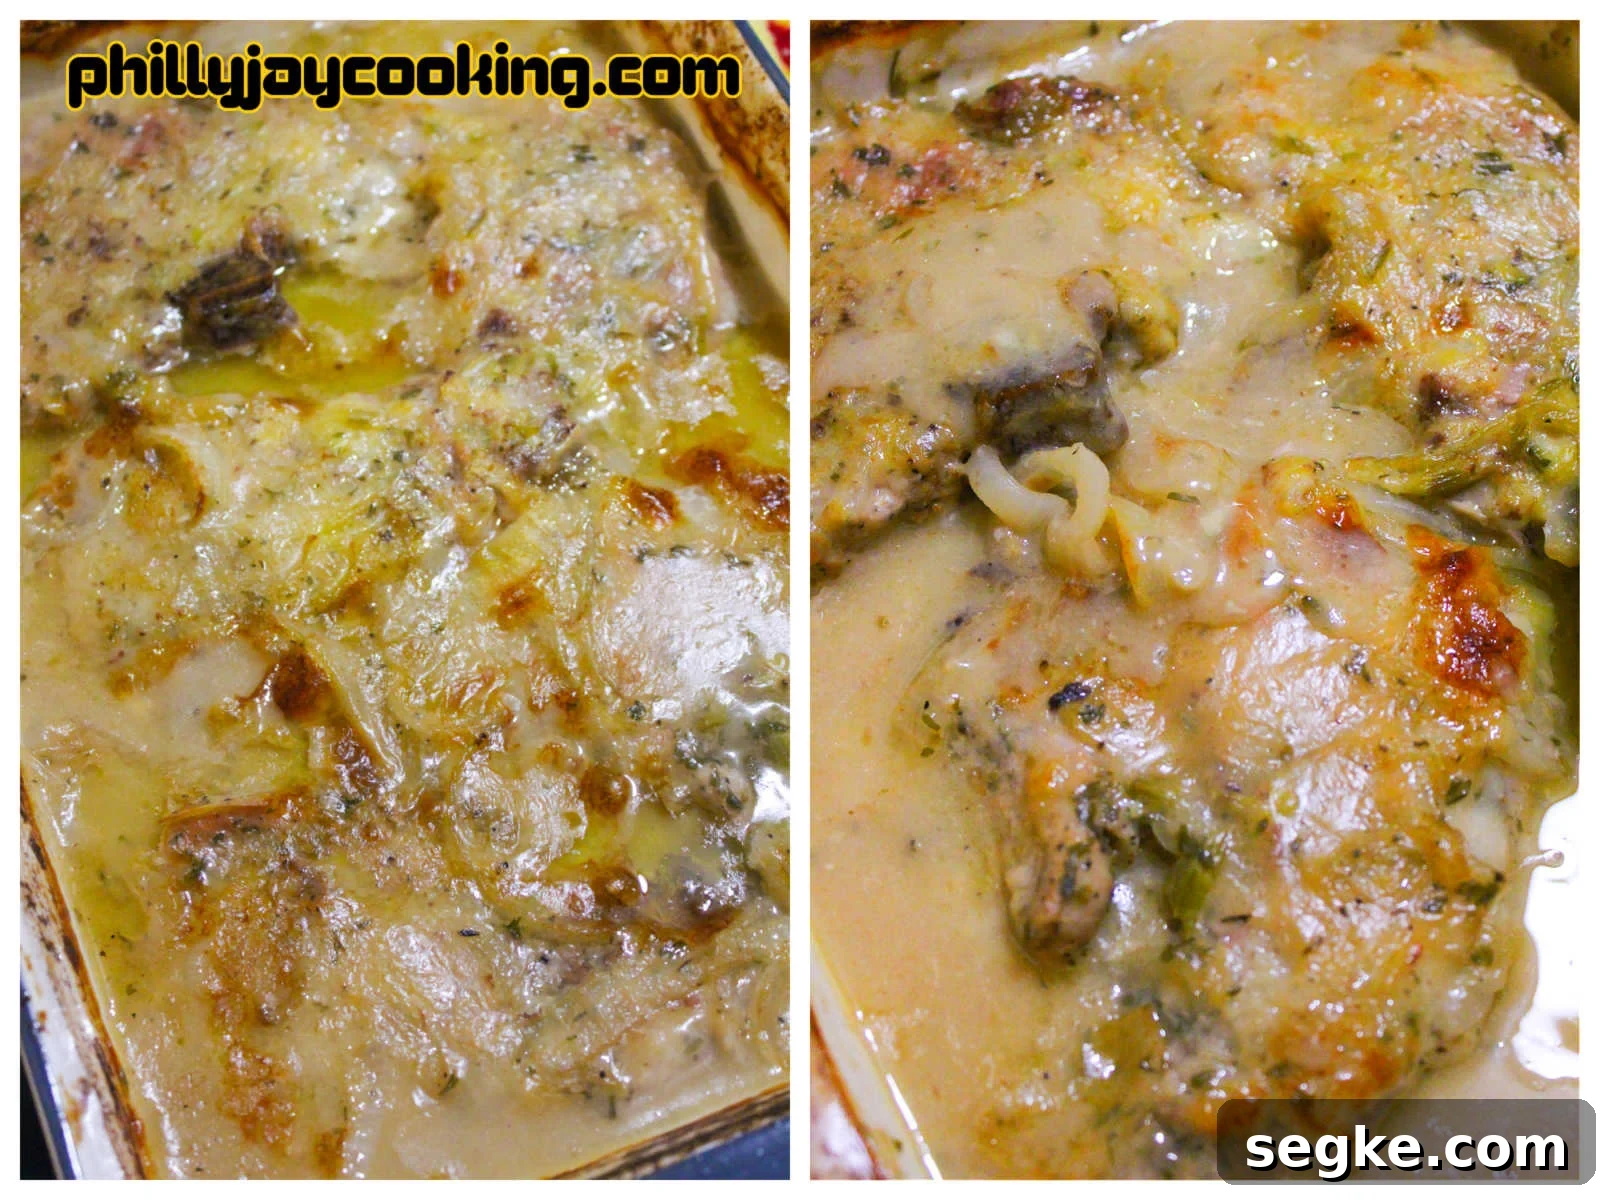
- Bake covered for one hour, then remove the foil.
- Stir the gravy to smooth out any lumps and redistribute the juices.
- Return the chops to the oven and continue baking, uncovered, for another hour until the meat is tender and the gravy has developed flavor. Remove from the oven and let rest briefly before serving.
Tips for best results:
- Marinate: If possible, marinate the chops for several hours or overnight. This helps the seasonings penetrate and improves the final flavor.
- Stir the gravy: When you remove the foil, stir the gravy to smooth out any lumps and prevent the chops from sticking to the dish.
- Use bone-in chops: Bone-in and thicker cuts stay juicier during the long bake and tend to be more forgiving.
Vegetable add-ins & variations
- Mushrooms: Add sliced mushrooms for an earthy flavor and extra gravy absorption.
- Green peppers: Thinly sliced green peppers pair well with onions and add color and mild sweetness.
- Hot peppers: If you like heat, add jalapeños, scotch bonnet, or another hot pepper to taste for a spicier version.
Serving Suggestions:
- Egg noodles: Serve the gravy over buttered egg noodles seasoned with a little garlic and seasoning salt.
- Mashed potatoes: Classic pairing—gravy and mashed potatoes are a perfect match.
- White rice: Gravy over rice is comforting and soaks up the sauce beautifully.
- Sweet buttery corn: The contrast of sweet corn with savory gravy works very well.
- Green beans: A simple side of green beans rounds out the plate—note that extra vinegar may make the combination tangier.
- Spinach: Sautéed spinach pairs nicely and adds a bright, green element to the meal.
Storage and reheating
- Storage: Cover the baking dish with foil or transfer leftovers to a sealed container and refrigerate for up to 3 days.
- Freezing: Place cooled chops and gravy in a freezer-safe bag or container, seal tightly, and store for longer-term freezing.
- Microwave reheating: Place portions in a microwave-safe dish, heat for about 2 minutes, and flip halfway through for even warming.
- Oven reheating: Wrap chops in foil and bake at 350°F (175°C) for 20–25 minutes until heated through.
- Skillet reheating: Reheat in a skillet with a little broth over medium heat for 10–15 minutes, stirring the gravy occasionally.
- Reheating gravy: If the gravy firms in the fridge, warm it in a skillet with a splash of water or broth and whisk until smooth.
Frequently asked questions
- How long do leftovers last? Aim to eat refrigerated leftovers within three days for the best texture and flavor. For longer storage, freeze the portions.
- Is cream of celery required? No. Cream of celery adds body and flavor, but you can omit it and rely on the broth and slurry to thicken the gravy.
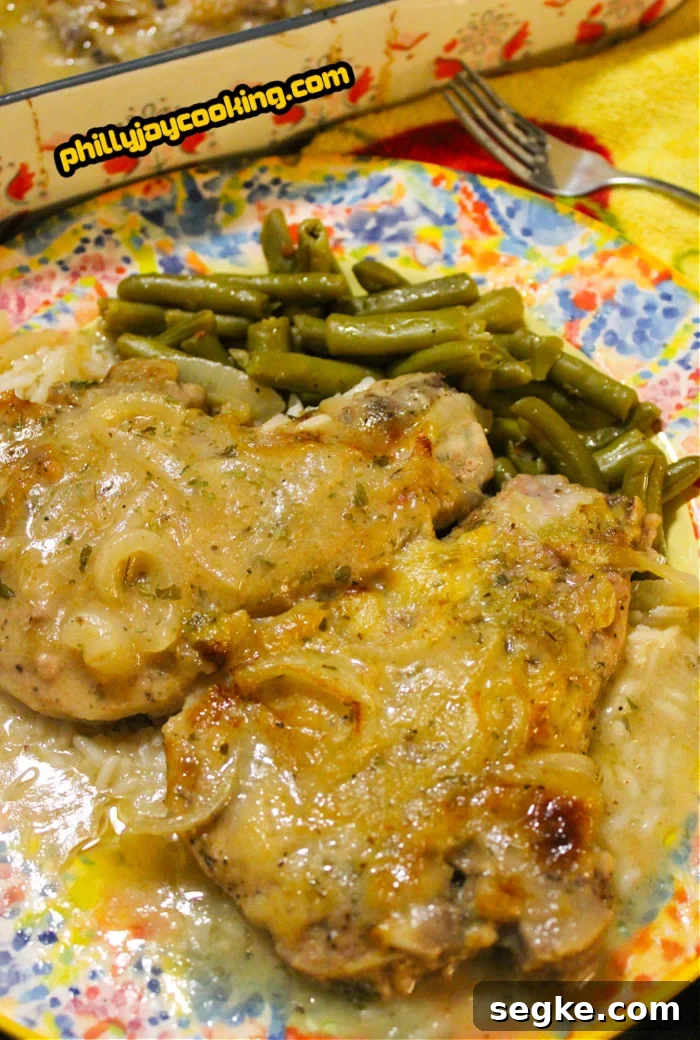
I hope you enjoy this recipe—it’s a comforting, reliable way to make tender, flavorful pork chops with a gravy that makes the meal. I’ll be sharing more pork chop recipes soon, including the fried-and-smothered version, so keep an eye out for updates. Enjoy!
— Pbj