
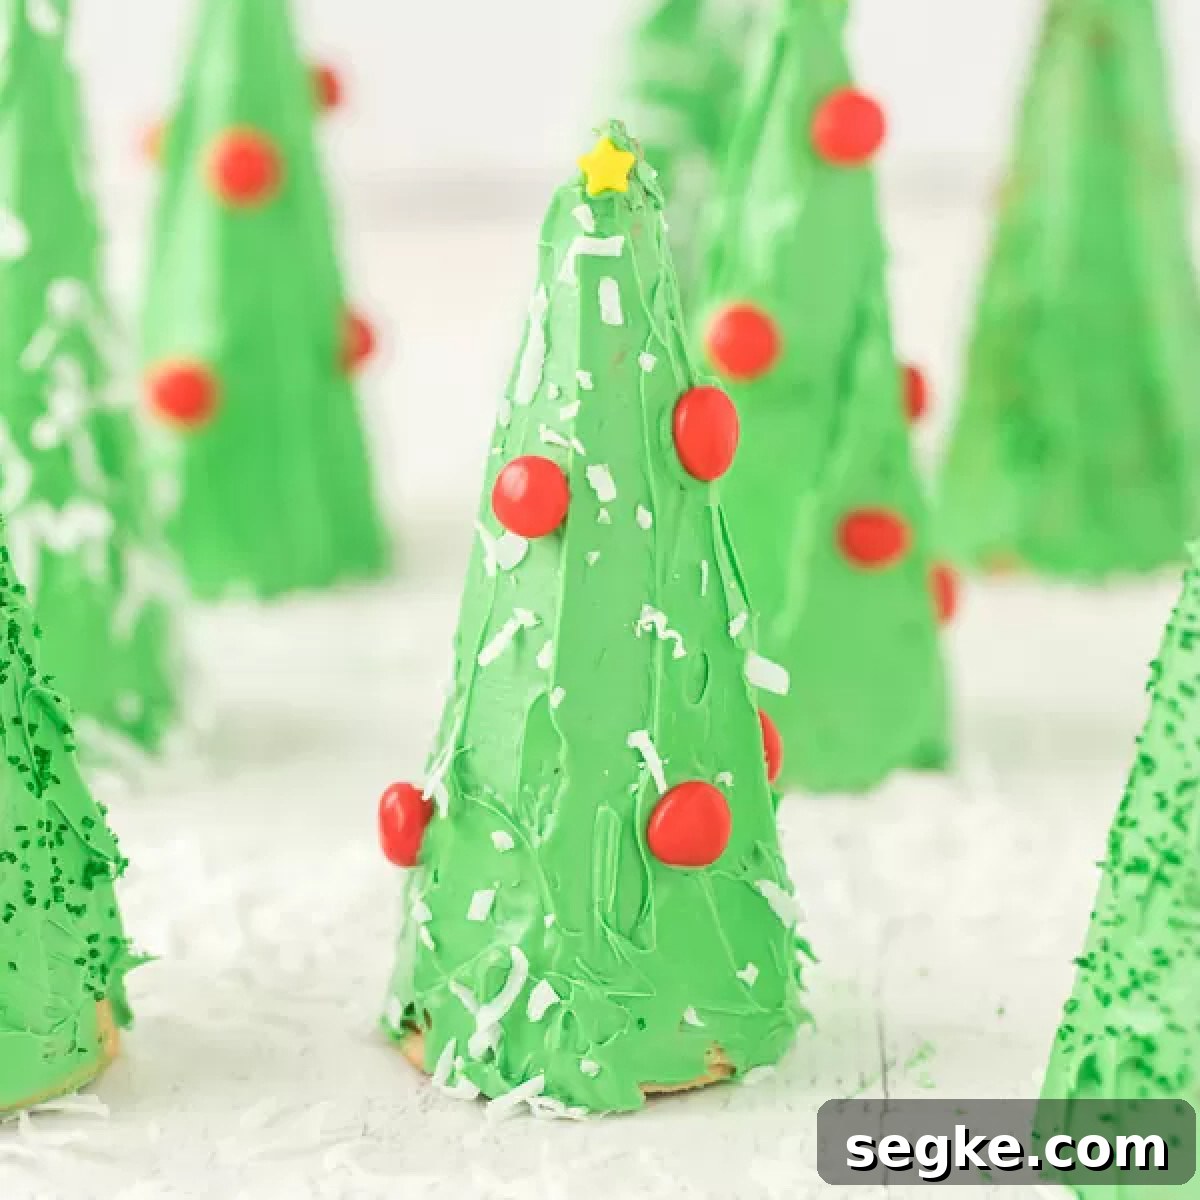
Ice Cream Cone Christmas Trees are a simple, festive craft that makes a great activity for kids. These sugar-cone trees are tasty, colorful, and perfect for holiday parties or classroom celebrations.
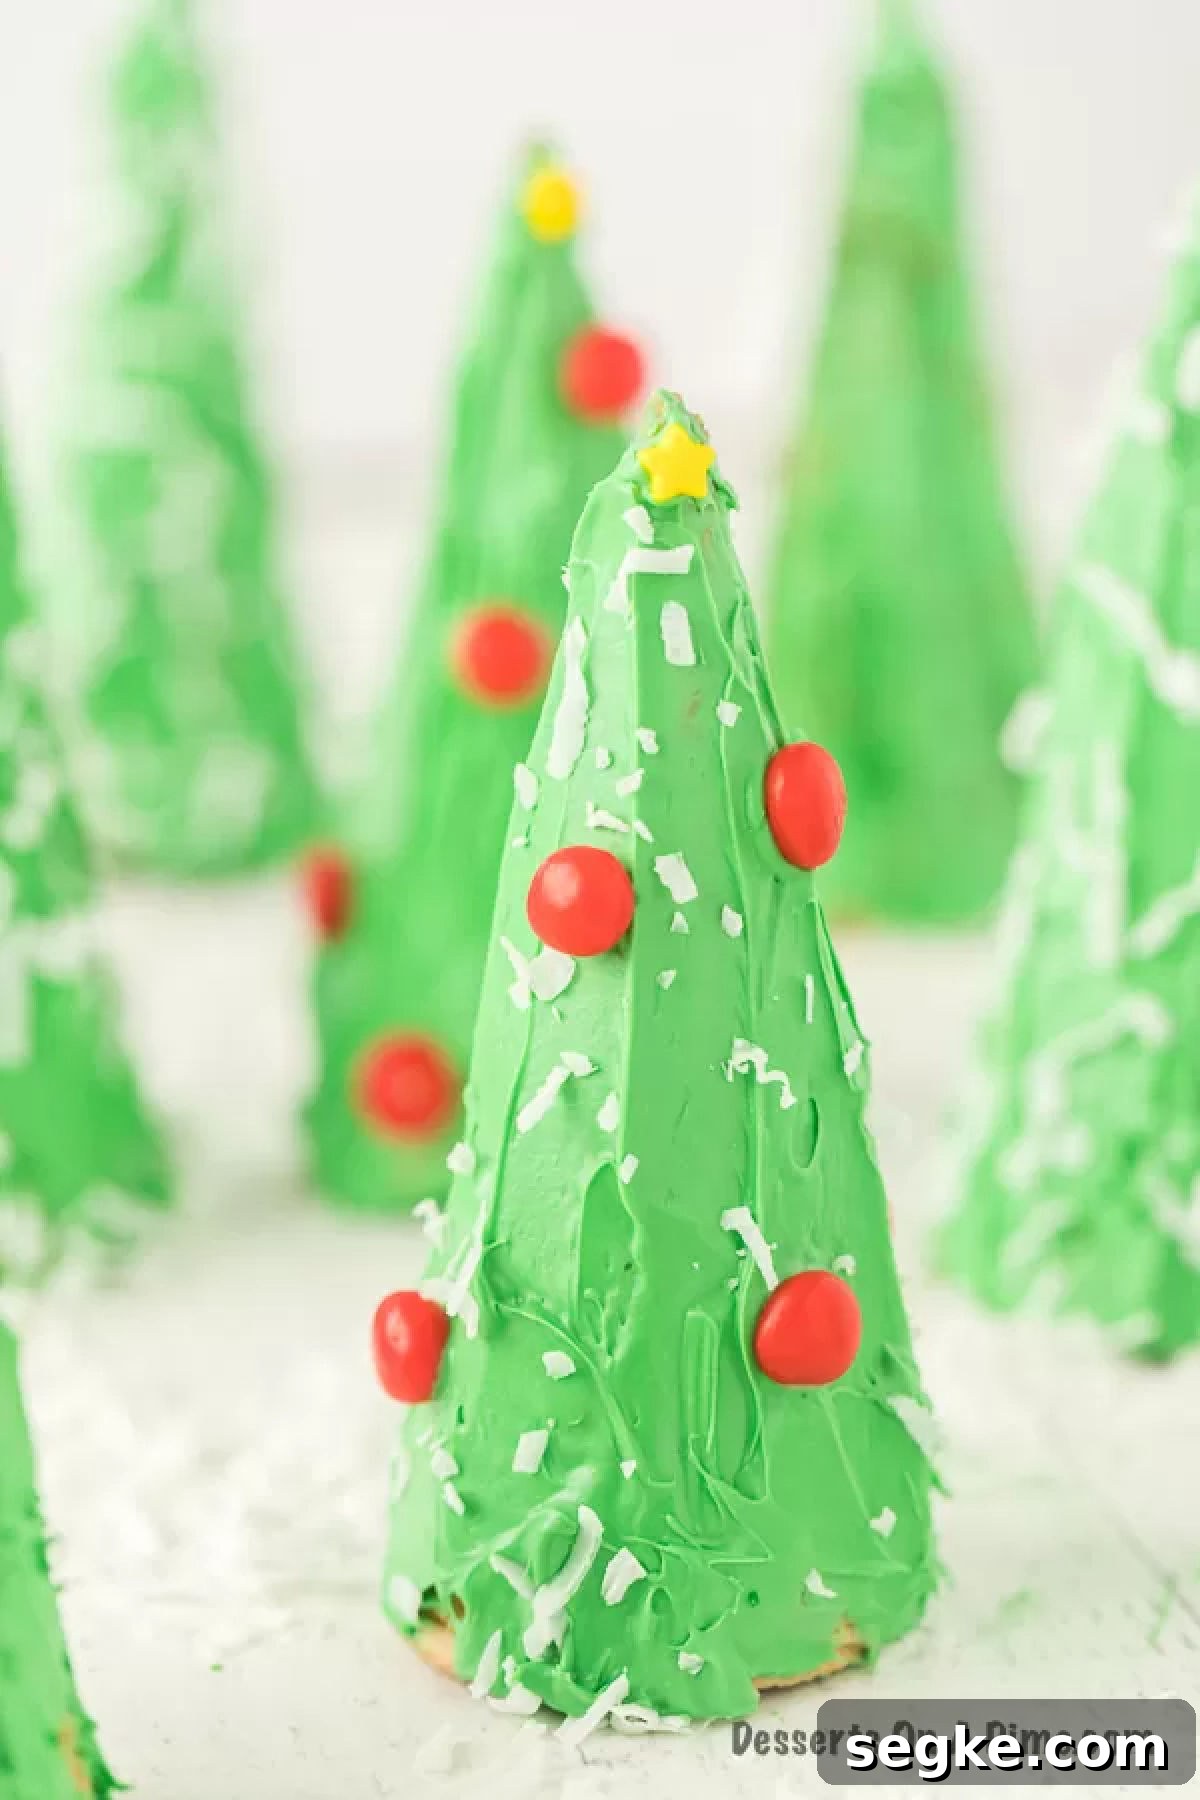
As a busy parent, I appreciate how quick and easy these Ice Cream Cone Christmas Trees are to assemble. Children enjoy decorating them, and the activity has become a fun holiday tradition in our home.
We also like to make other holiday treats with the kids such as Christmas tree brownies, festive ice cream desserts, and Rice Krispie tree treats. These no-bake cones pair well with a variety of Christmas dessert ideas.
What’s in this post: Ice Cream Cone Christmas Trees
- What are Ice Cream Cone Christmas Trees?
- Ingredients
- Variations
- How to make Ice Cream Cone Christmas Trees
- Frequently Asked Questions
- Pro Tips
- More Christmas Desserts
- Recipe
What are Ice Cream Cone Christmas Trees?
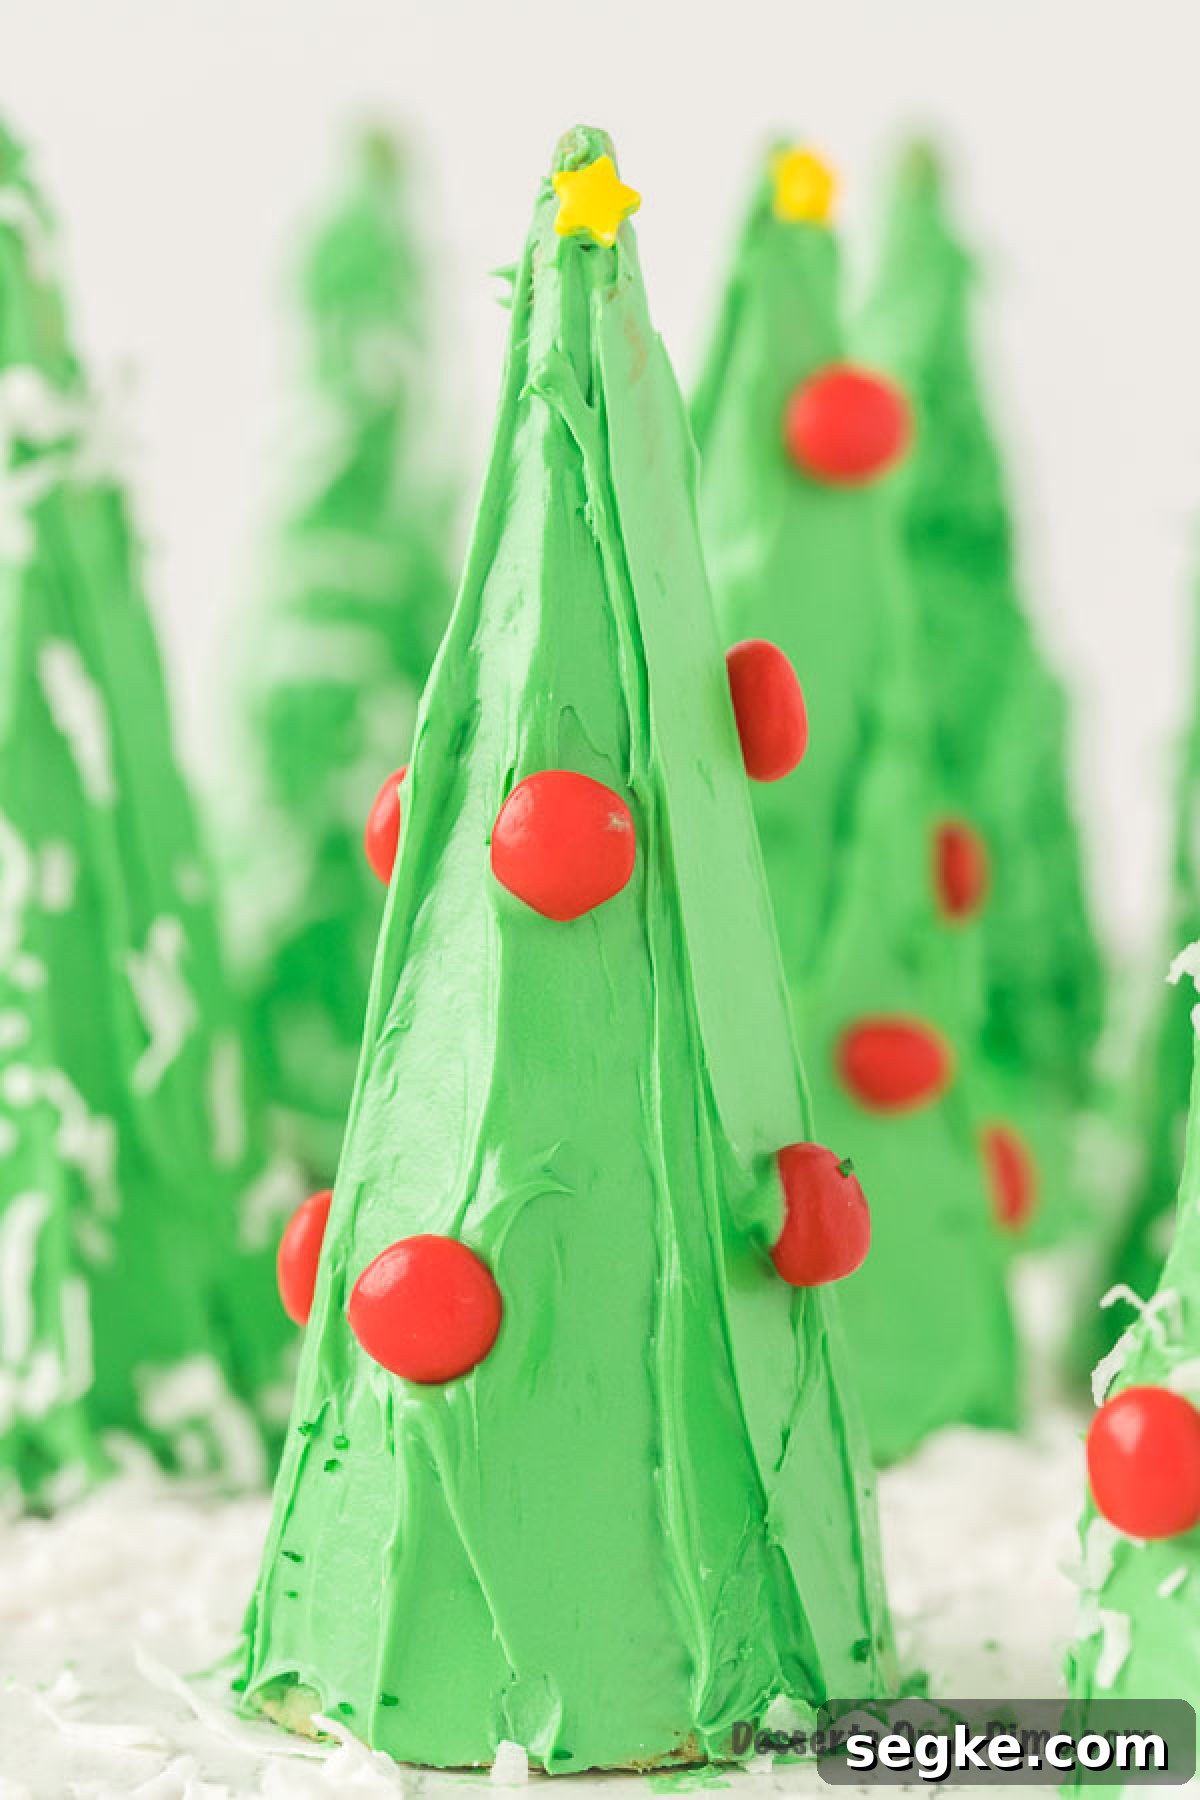
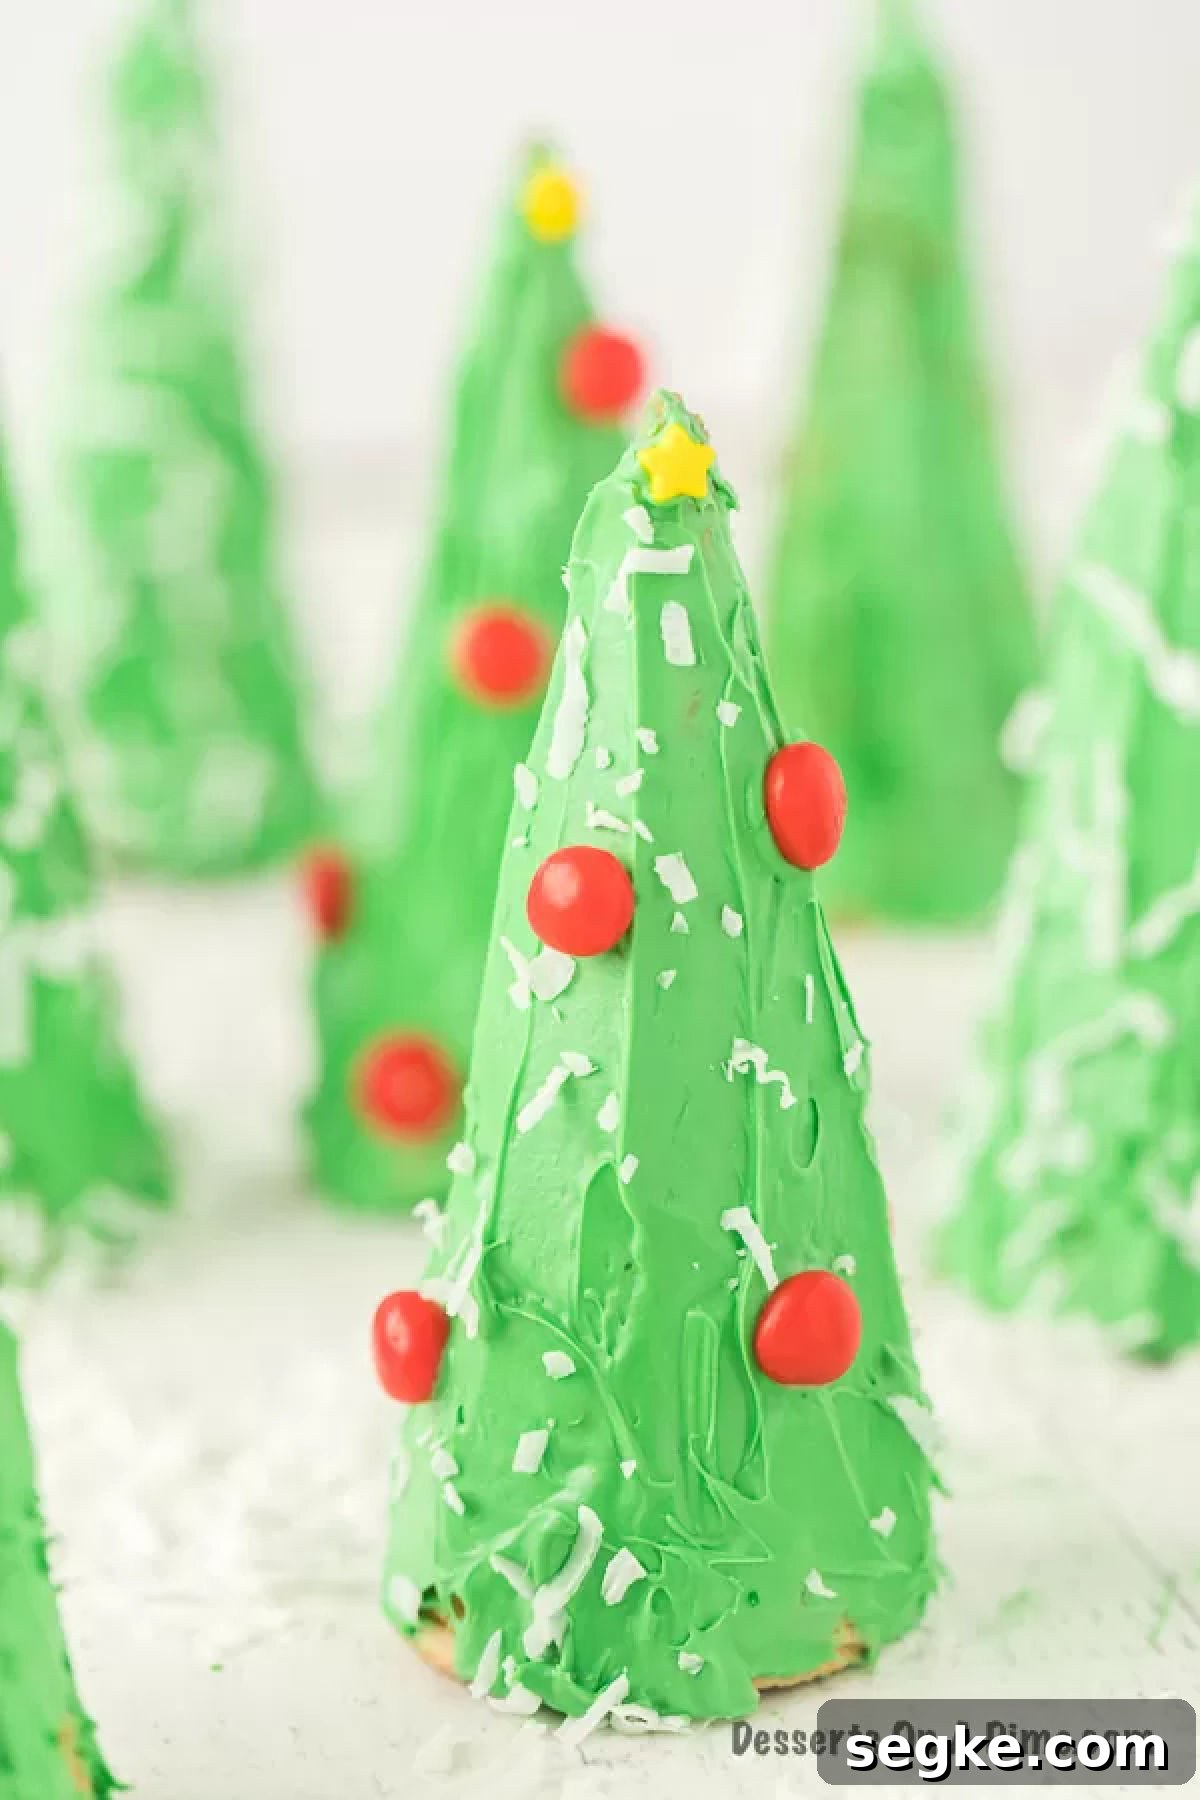
Ice Cream Cone Christmas Trees are edible treats made from pointed sugar cones covered in green frosting and decorated to resemble small Christmas trees. Once frosted, the cones are adorned with small candies, sprinkles, and shredded coconut to mimic ornaments and snow.
These trees are a great way to use leftover small candies. Mini M&M’s, Skittles, and Reese’s Pieces work particularly well as ornament decorations. Crushed candy canes or colored sprinkles add seasonal flair, and shredded coconut creates a snowy effect.
Ingredients:
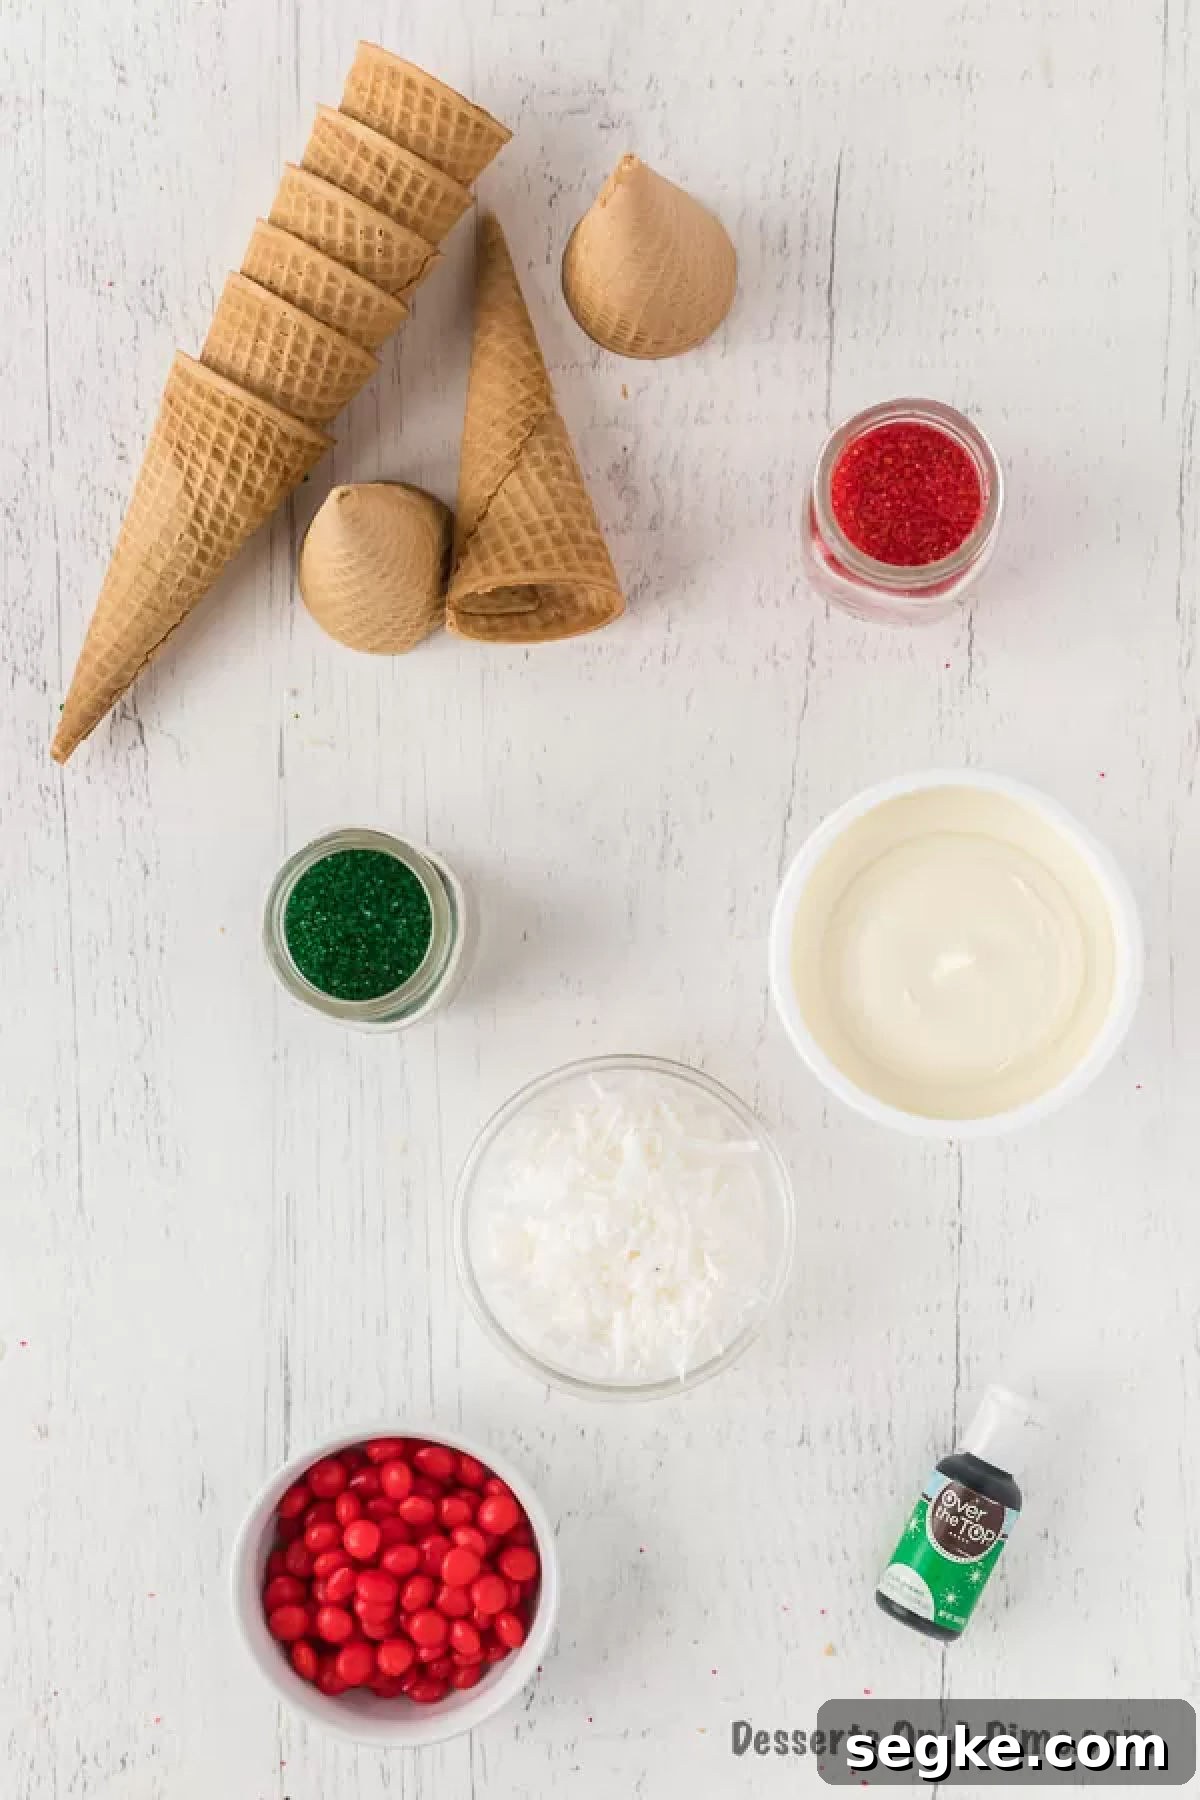
- Sugar ice cream cones (pointed cones)
- 16 oz tub of white frosting
- Green gel food coloring
- Assorted small candies for ornaments
- Shredded coconut for “snow”
Scroll down to the recipe section for a clear ingredient list and step-by-step instructions. These cones are forgiving and easy to customize based on what you have on hand.
Variations:
- Powdered sugar: Dust confectioners’ sugar over the tops instead of coconut for a light, snowy look.
- Homemade or store-bought frosting: Both work fine. Use a piping bag for a more finished look, or spread the frosting with a plastic knife for an easy kid-friendly method.
- Twizzlers garland: Thin licorice ropes make fun edible garlands wrapped around the trees.
- Gumdrops as presents: Place gumdrops around the base of the cone to look like gifts.
- Star toppers: Add small star-shaped sprinkles or candies to the top of each tree for a finishing touch.
How to make Ice Cream Cone Christmas Trees:
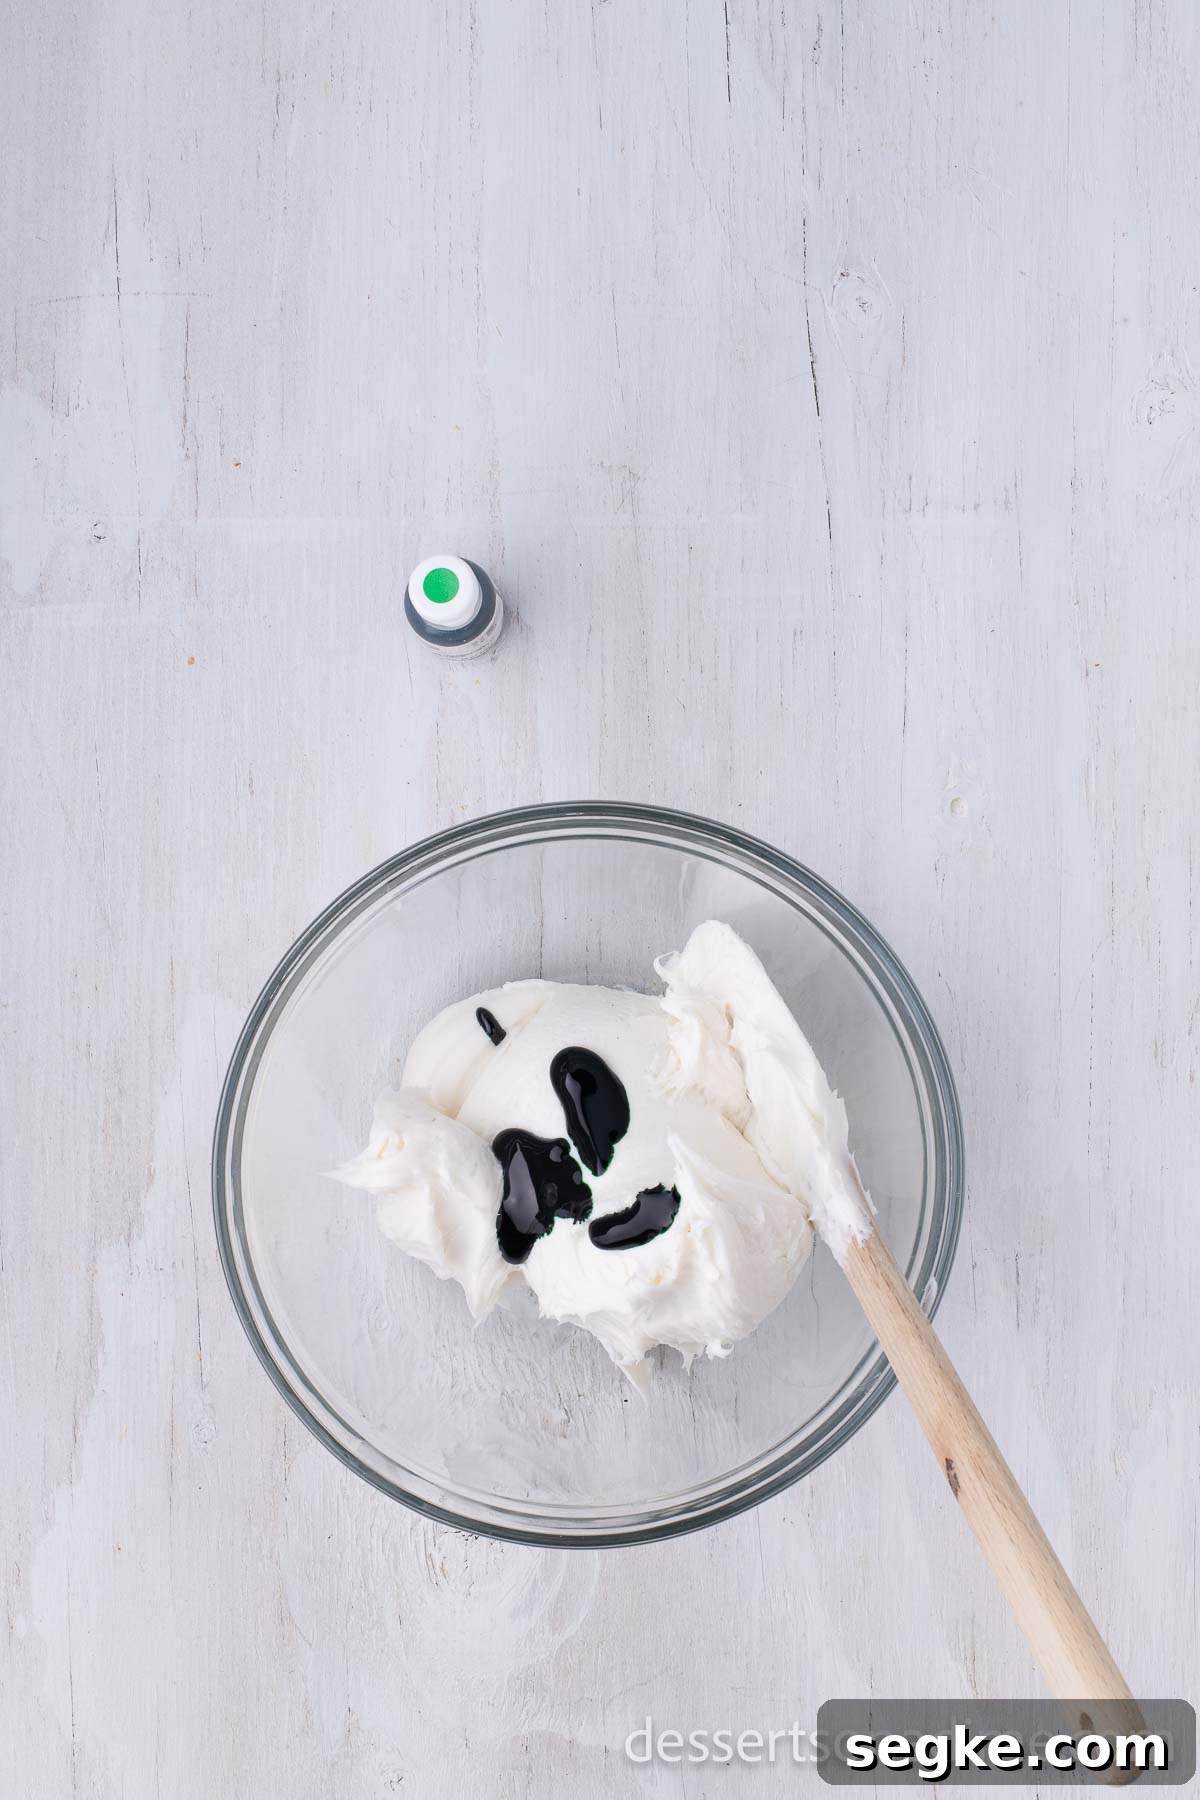
Step 1. Put the white frosting into a bowl and mix in green gel food coloring until you reach your desired shade.
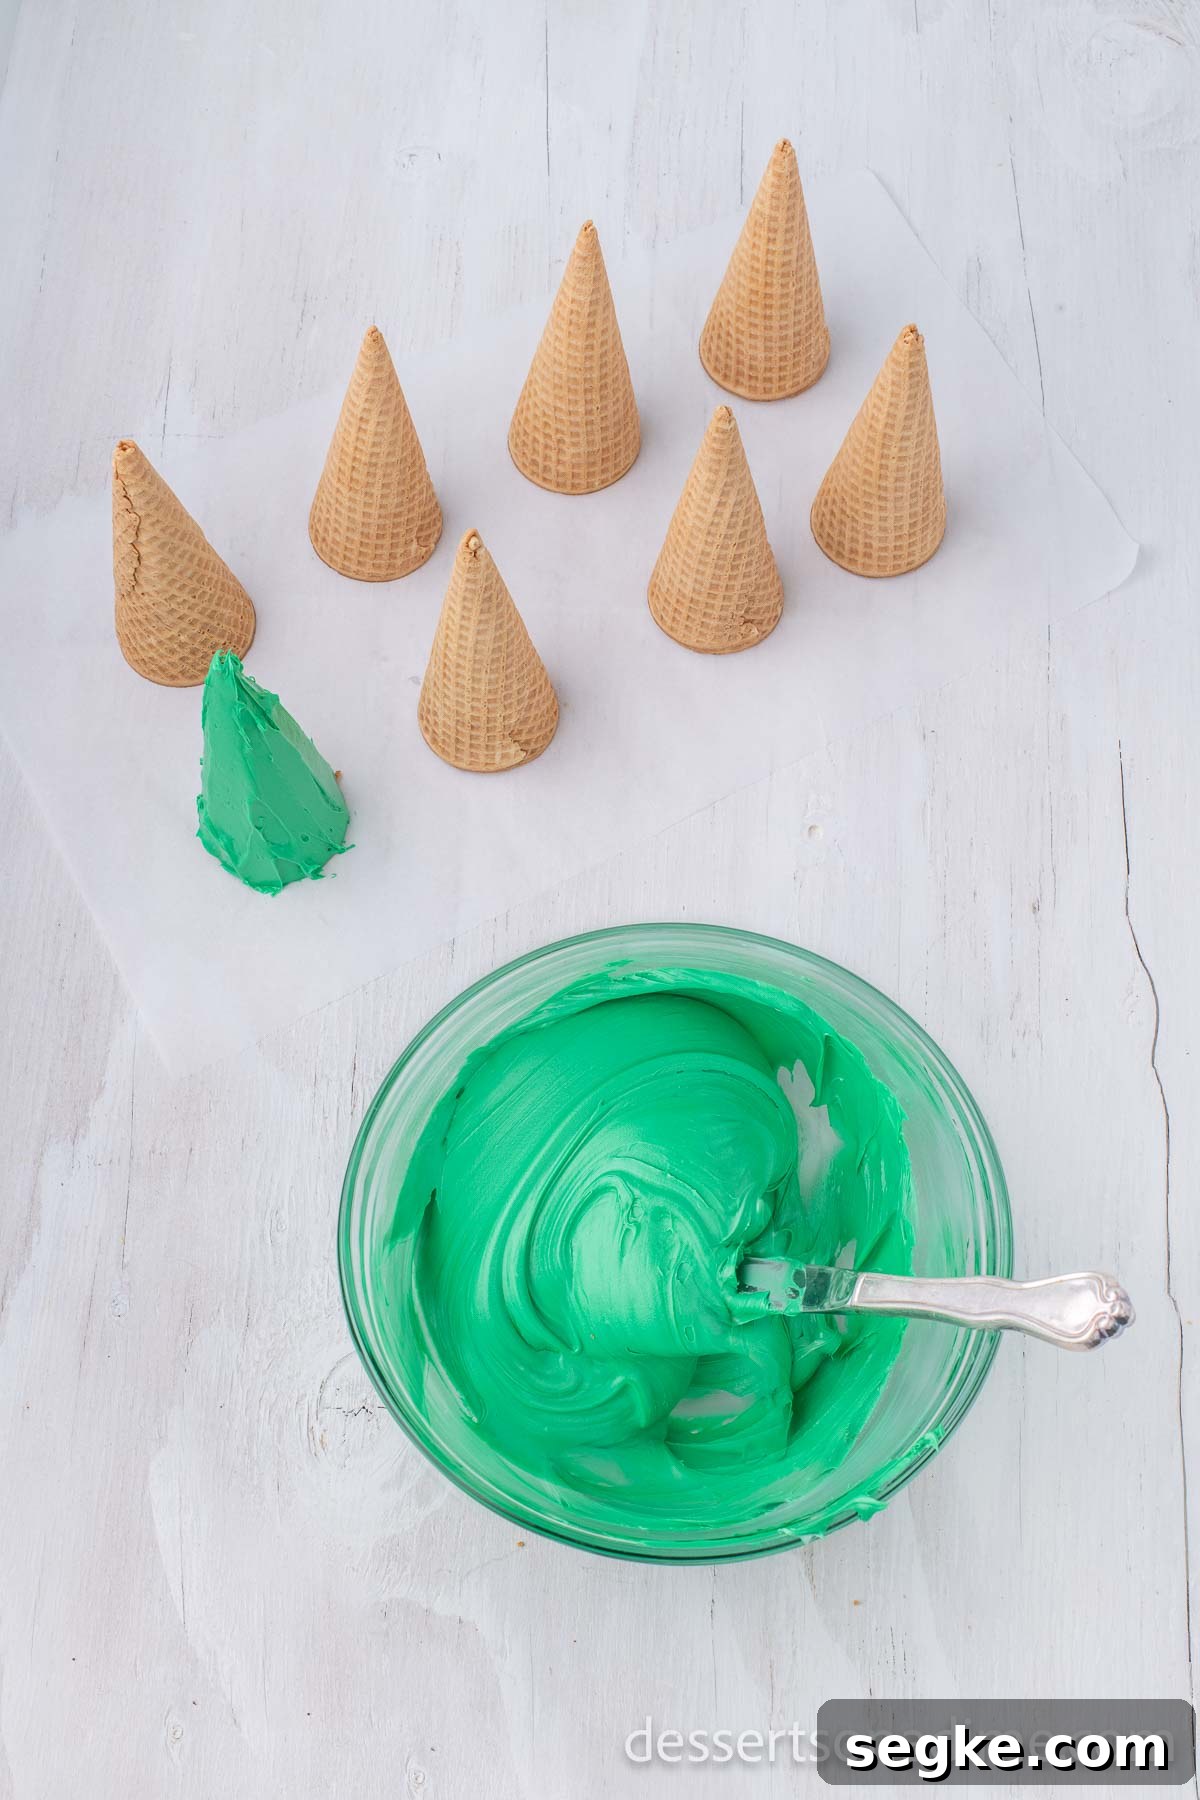
Step 2. Place the sugar cones upside down on wax paper or paper plates to make decorating easier.
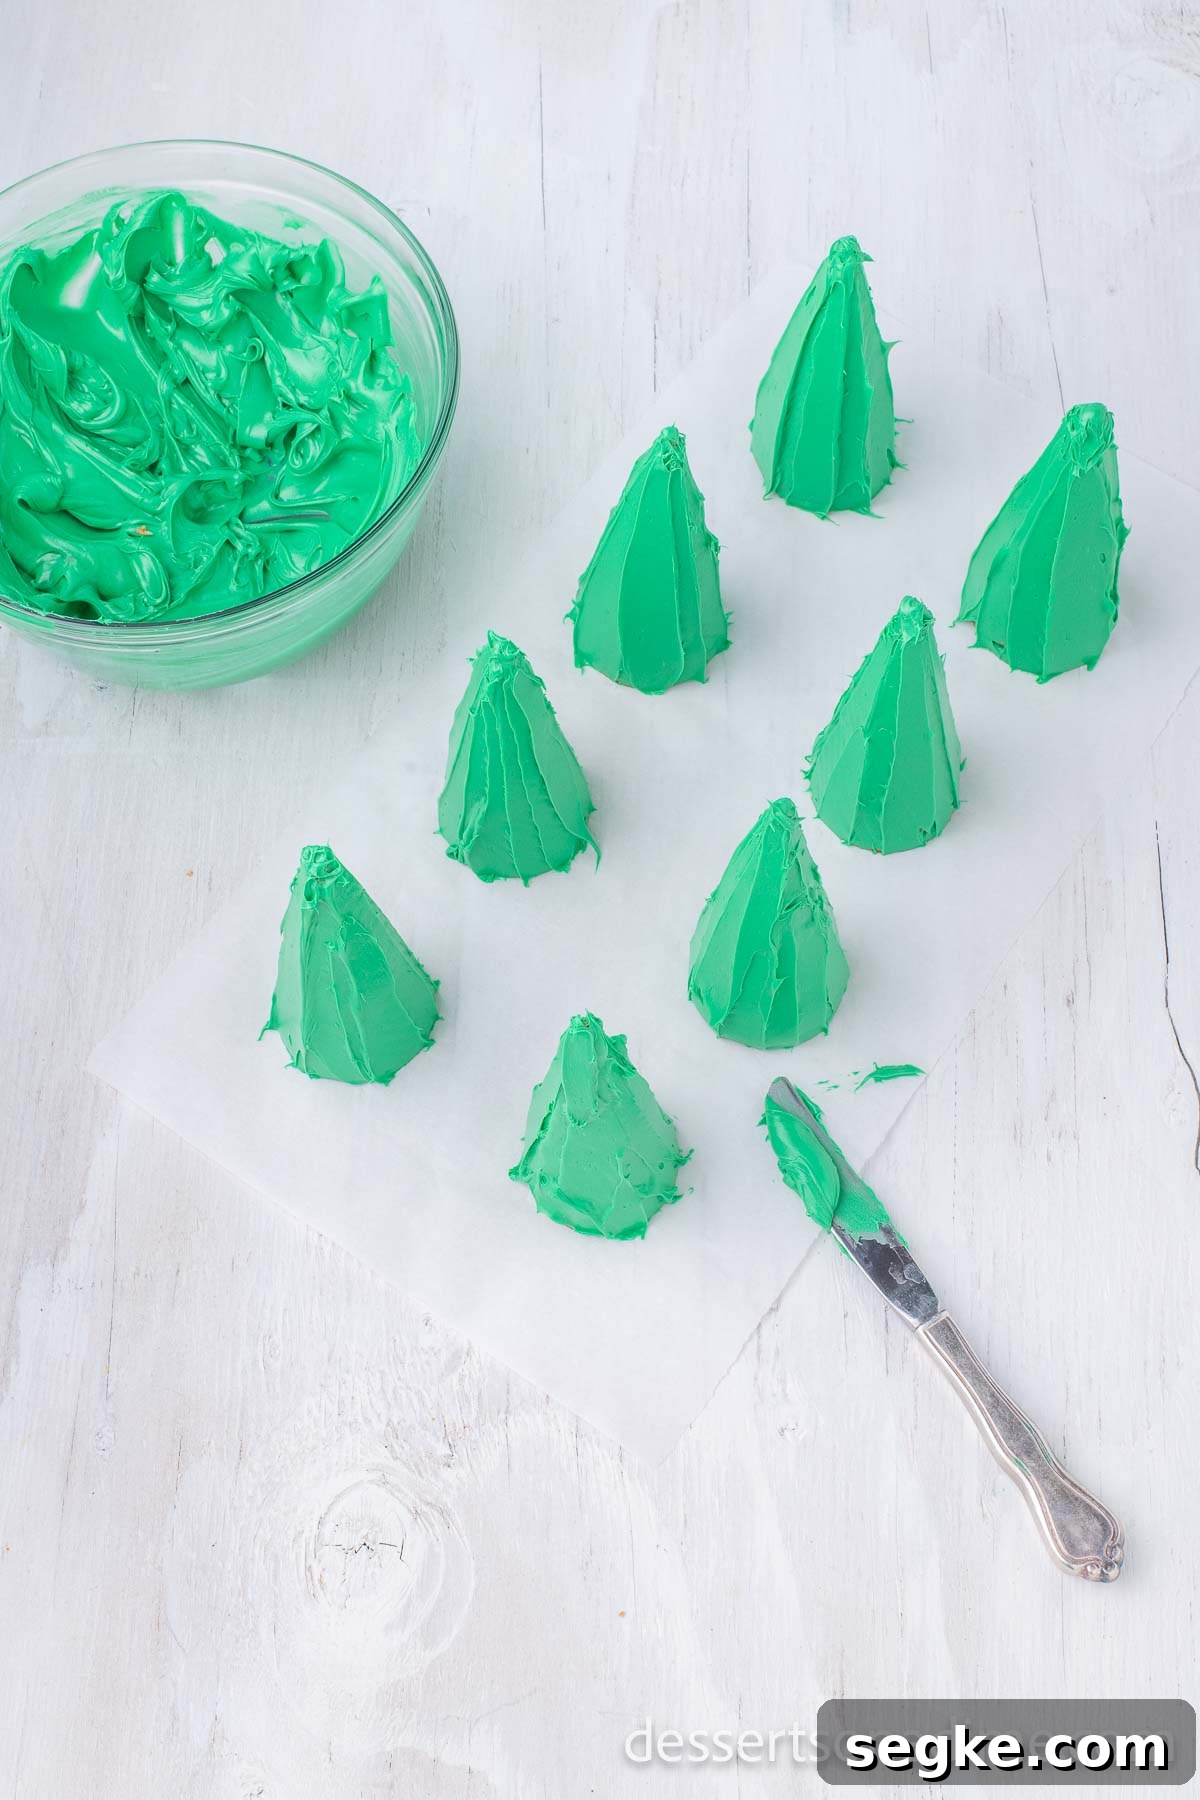
Step 3. Use a butter knife or spatula to spread the green frosting evenly over the outside of each cone.
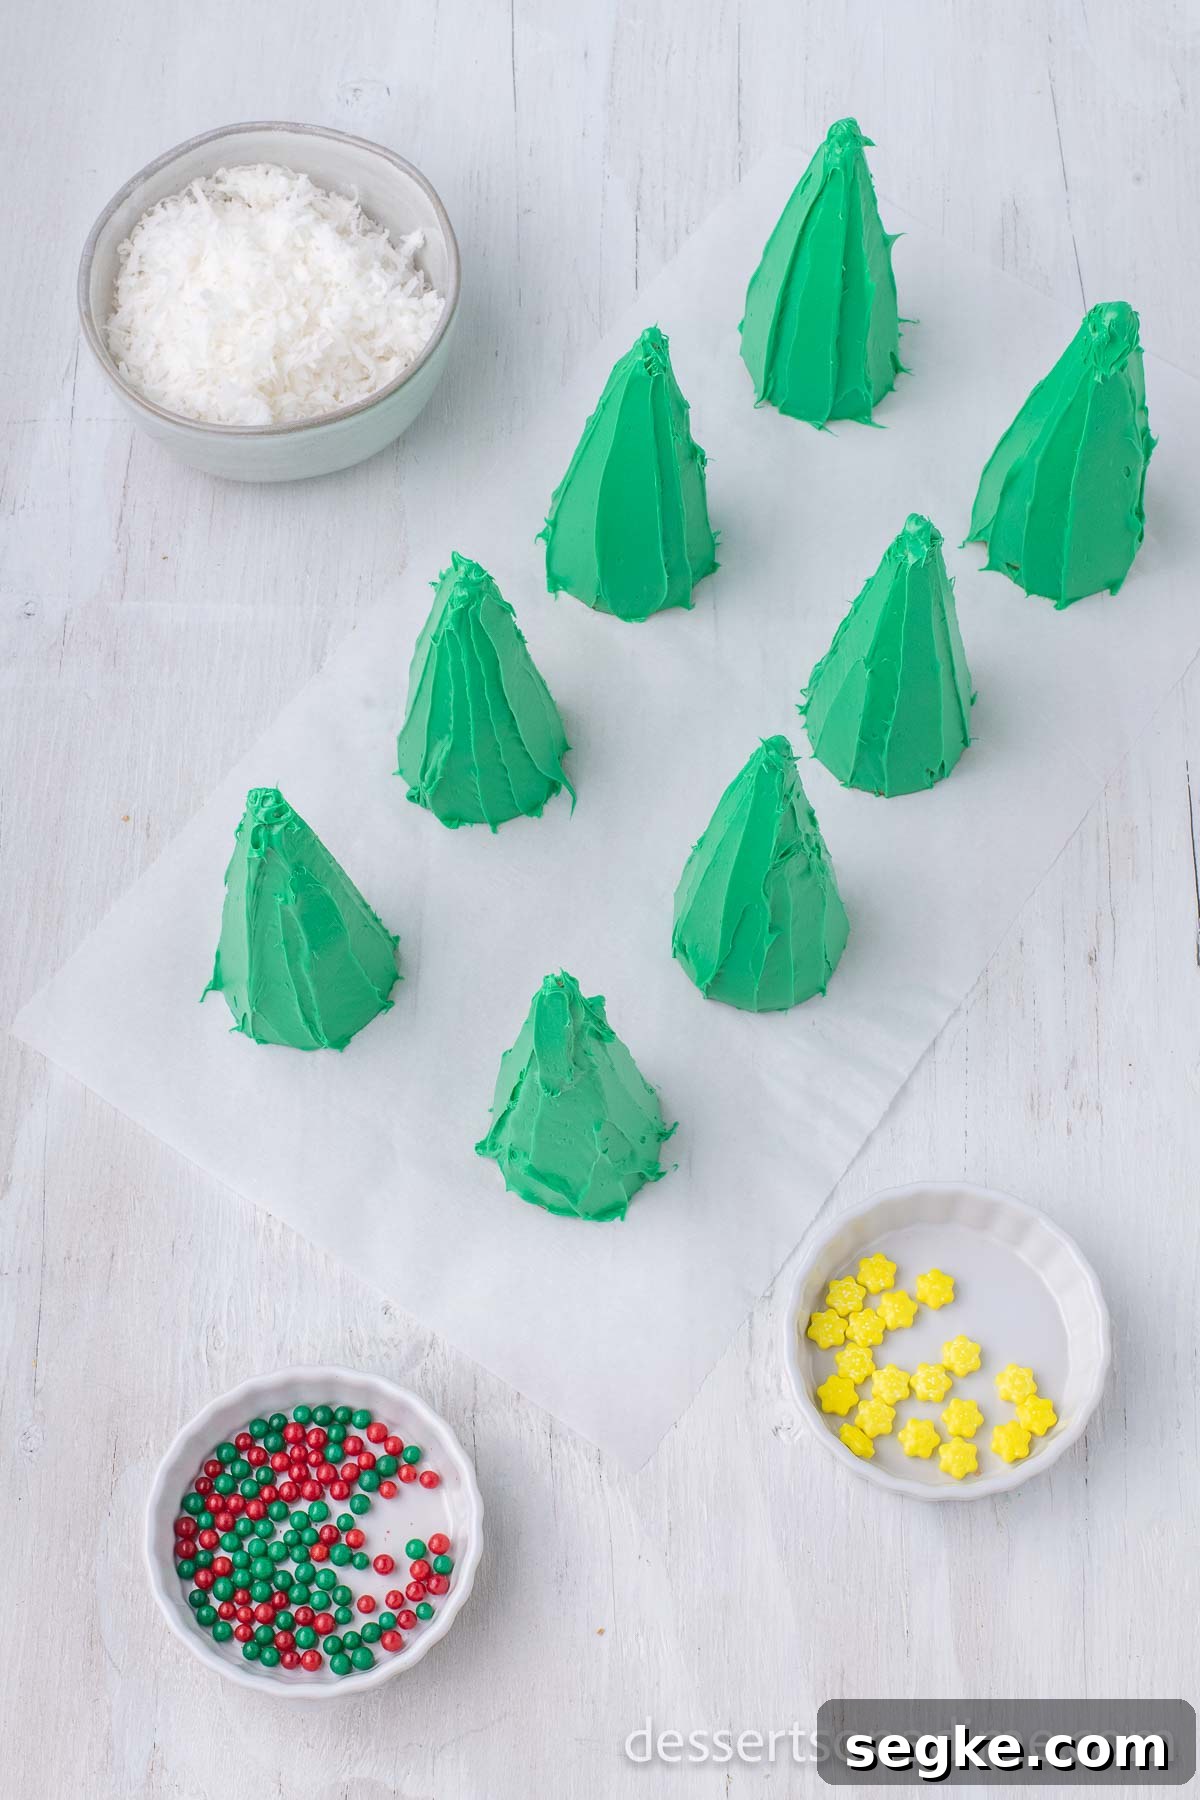
Step 4. Continue covering the cone until the frosting hides the cone surface and forms a tree-like shape.
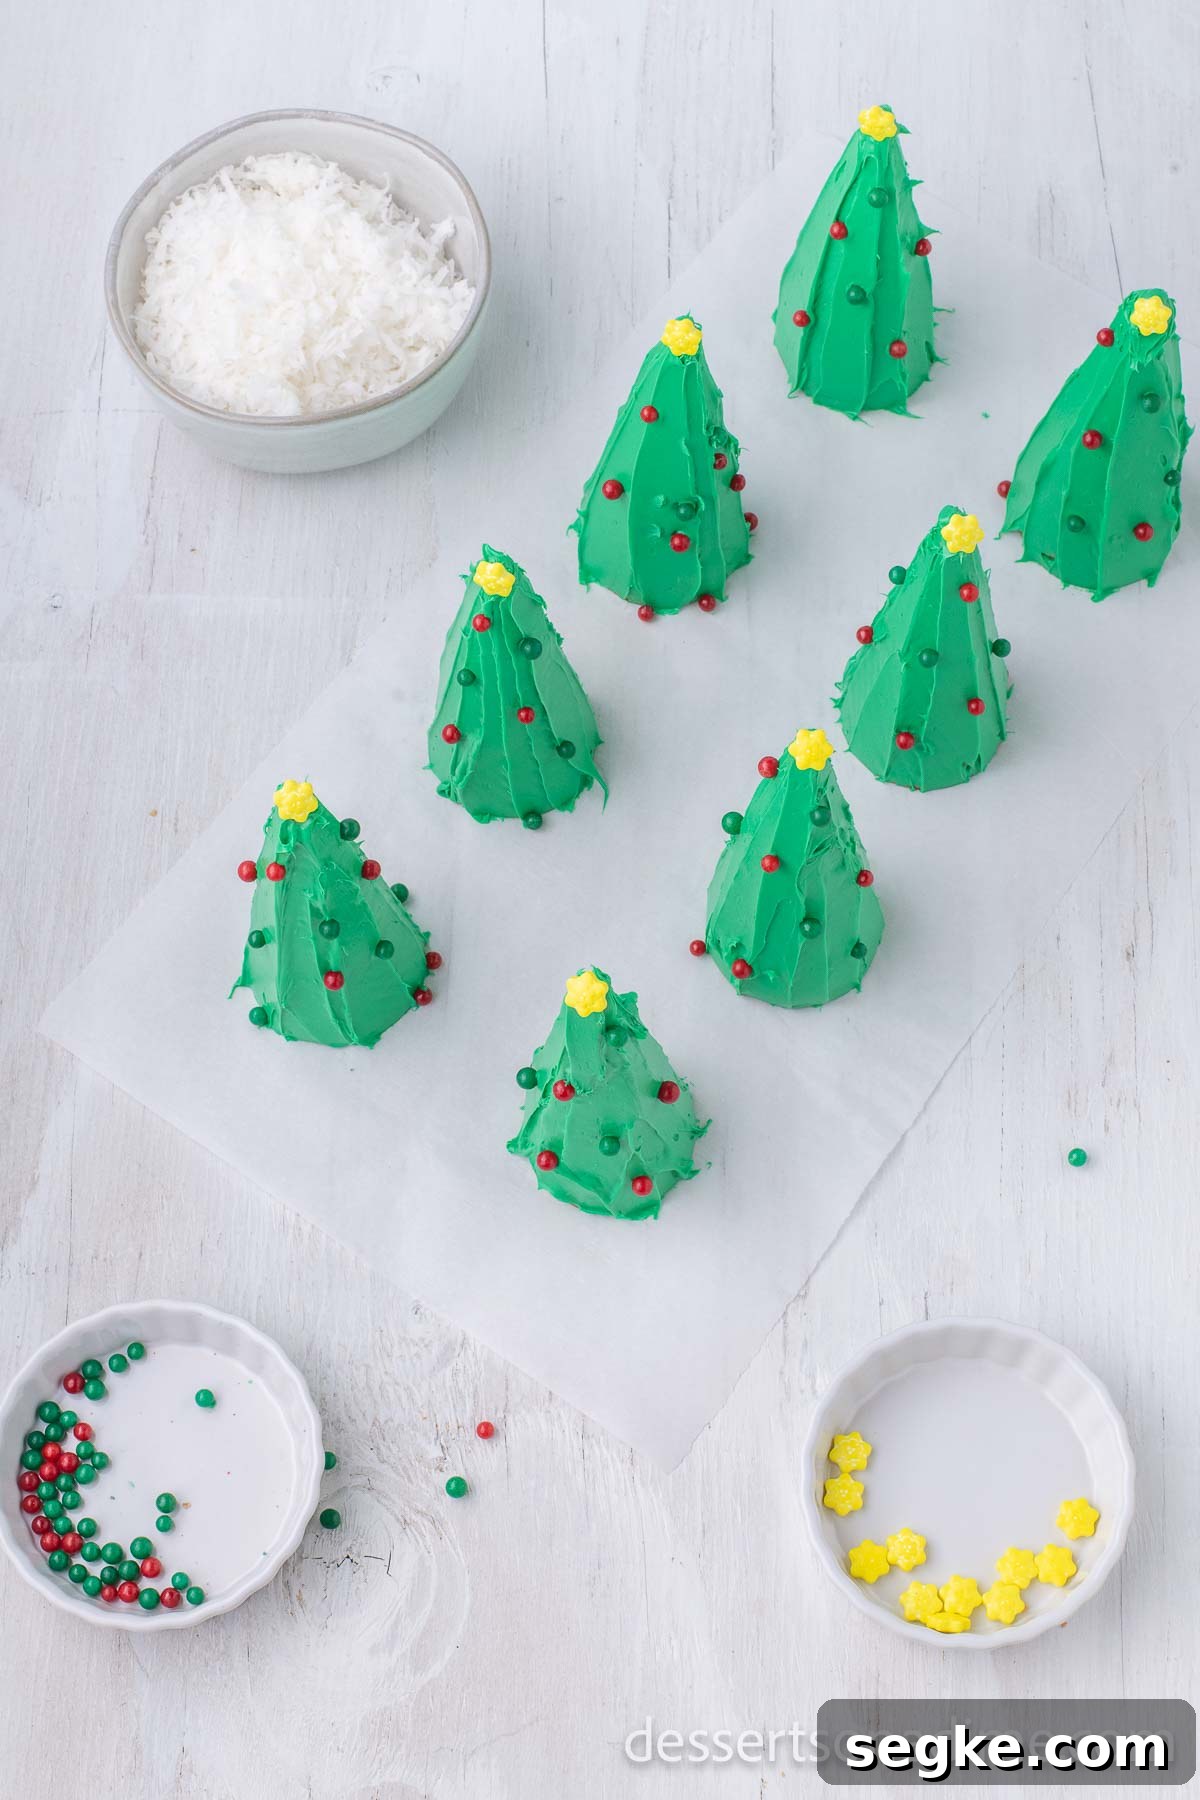
Step 5. Press small candies into the frosting to create ornaments.
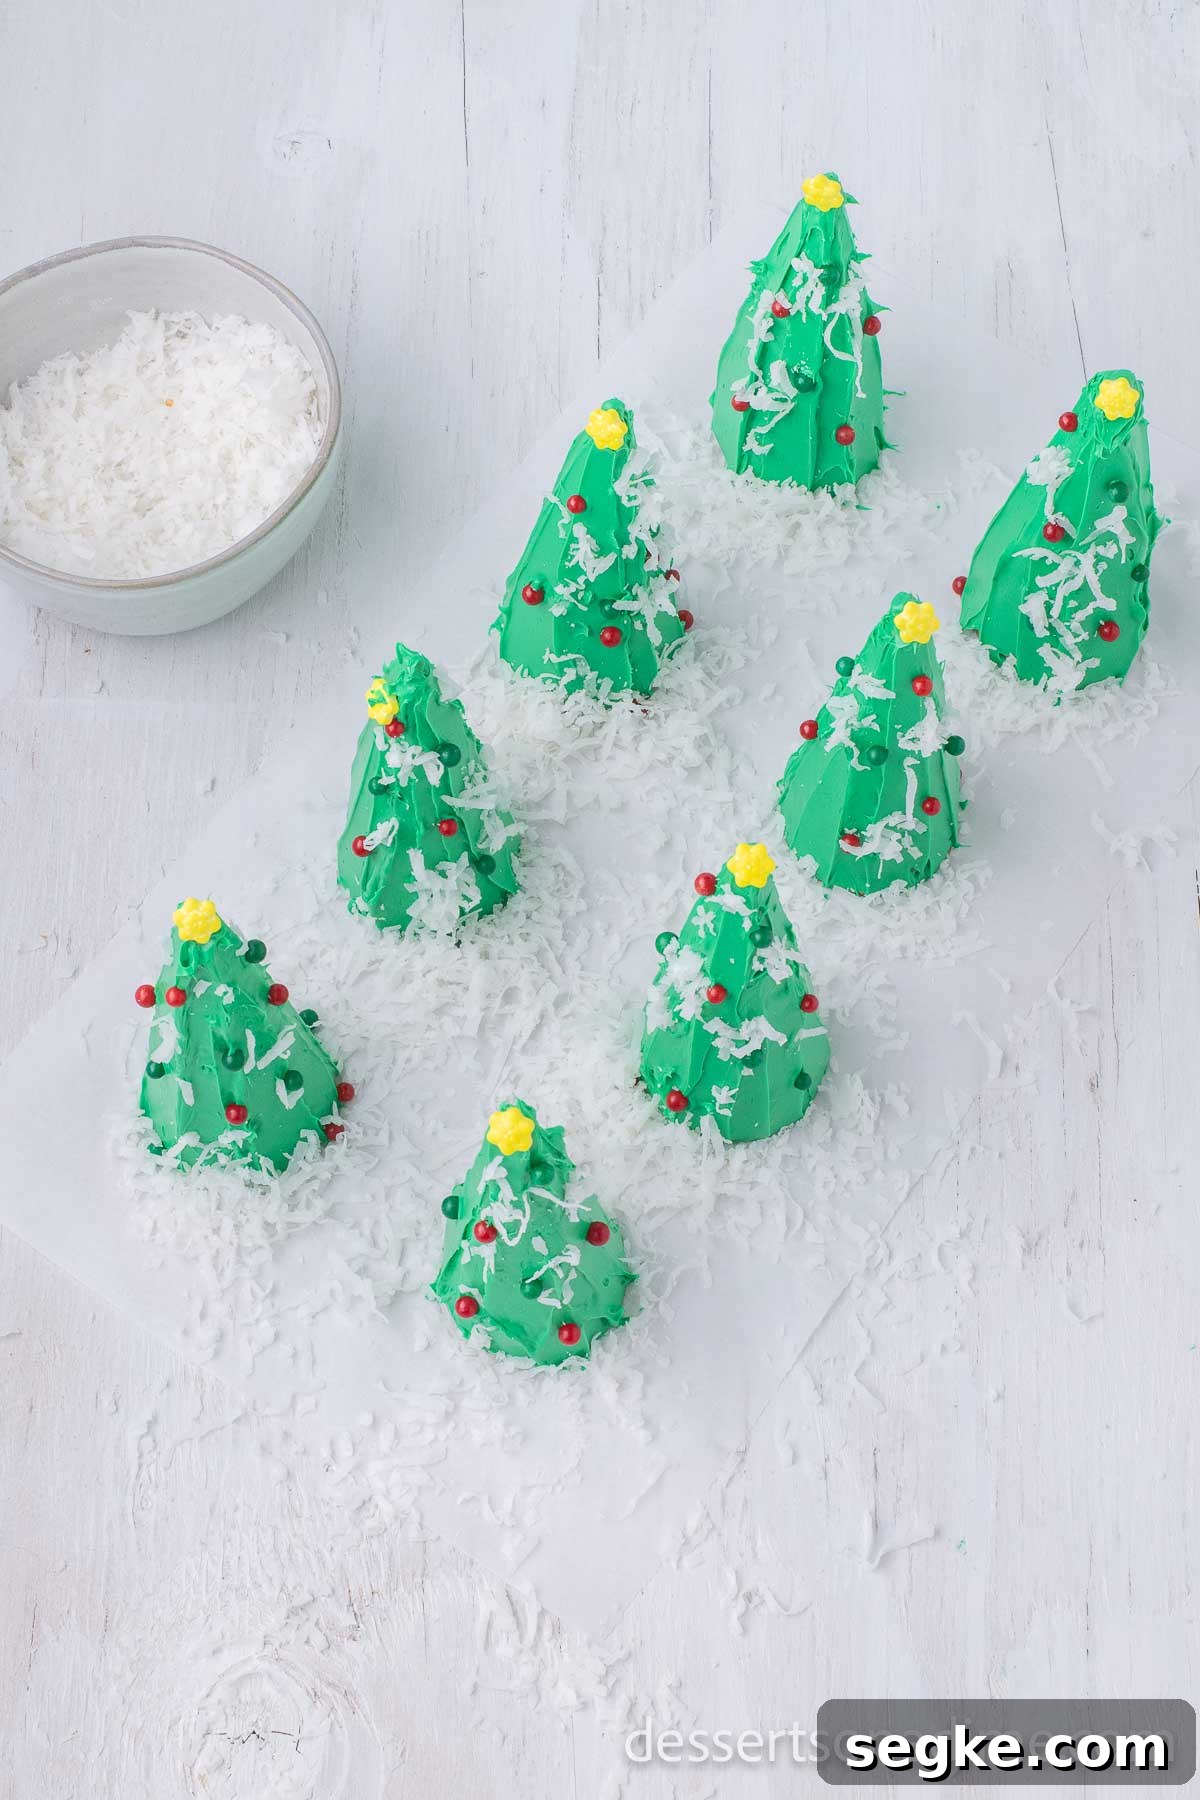
Step 6. Sprinkle shredded coconut over the trees for a snowy effect. Let the frosting set briefly, then serve or use them as table decorations.
Frequently Asked Questions
Yes. These cones are made from edible sugar cones, frosting, and candy, so they can be eaten right away after assembling.
Stored in an airtight container at room temperature, they should hold up for about 3 to 5 days. For best appearance, add delicate toppings like coconut and sprinkles just before serving.
Pro Tips:
- Decorate the cones while the frosting is still soft so the candies stick firmly.
- Store finished cones in a single layer inside an airtight container or wrap individually in foil if transporting.
- Avoid very large or heavy candies; they can pull down the frosting and make the cone unstable.
- Cover the cone completely with frosting for a polished look, but don’t use excessive frosting or the candy may slide off.
More Christmas Desserts
- Christmas Tree Cake Pops
- Easy Christmas Rice Krispie Treats
- Homemade Christmas Brownies
- Christmas Light Cookies
- Grinch Puppy Chow
Give these ice cream cone trees a try at your next holiday gathering — kids and adults alike enjoy decorating and snacking on them. If you make them, please leave a comment and share how your cones turned out.
Ice Cream Cone Christmas Trees – Recipe
Prep Time: 20 mins | Total Time: 20 mins | Servings: 8 | Cuisine: American | Course: Dessert | Calories: 254 | Author: Carrie Barnard
Ingredients
- 8 sugar ice cream cones (pointed cones)
- 16 oz tub of white frosting
- Green gel food coloring
- Assorted small candies for ornaments
- Shredded coconut for snow
Instructions
- Mix the white frosting with green gel food coloring until you reach the shade you like.
- Place the sugar cones upside down on wax paper or paper plates for easy decorating.
- Spread the green frosting over the outside of each cone using a butter knife, small spatula or piping bag.
- While the frosting is still soft, press small candies into the frosting to act as ornaments. Add shredded coconut for a snowy effect.
- Allow the frosting to set for a few minutes, then serve or arrange them for display. Store leftovers in an airtight container.
Nutrition (per serving)
Calories: 254; Carbohydrates: 42 g; Protein: 1 g; Fat: 9 g; Sugar: 36 g; Sodium: 115 mg.