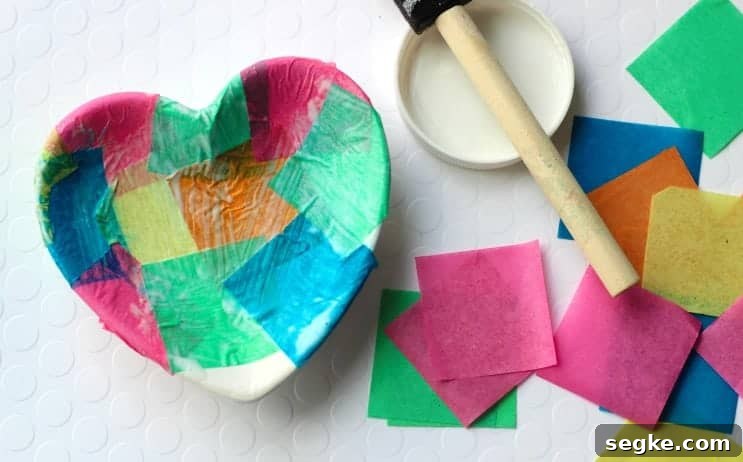
Add a little Mod Podge and some tissue paper and you can transform a plain small bowl into a charming homemade jewelry dish. This simple decoupage technique also works beautifully on plates, jars, vases, tiles and Mason jars. Oriental Trading provided the supplies used here in exchange for sharing a fun craft idea.
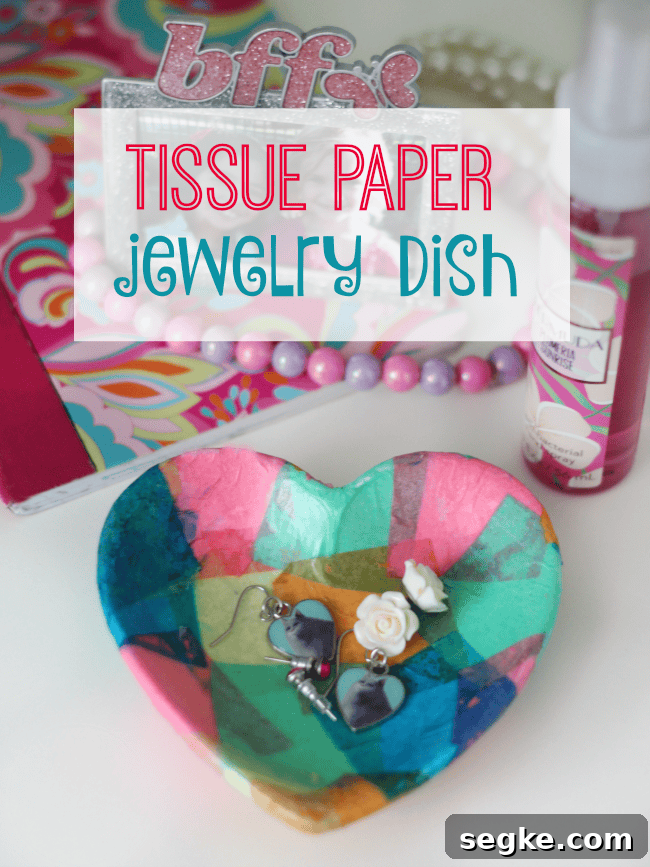
My daughters are crafty and love pulling materials from my craft closet to create an easy afternoon project. I also teach a class for girls ages 8–11, so projects like this are perfect: simple, fast, and forgiving. We made several small jewelry dishes from unfinished porcelain heart dishes and colorful tissue paper, and the results were bright, cheerful, and durable enough for everyday use.
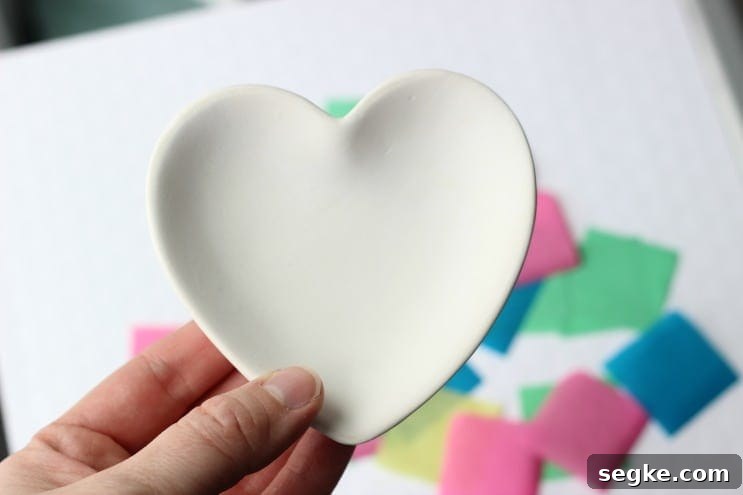
Homemade Jewelry Dish (Tissue Paper)
Supplies:
- Unfinished ceramic mini dish (or any small bowl, plate, Mason jar, vase, or tile)
- Mod Podge (or another decoupage glue/sealer)
- Sponge brush or foam brush
- Tissue paper squares in your chosen colors and patterns
- Optional: clear acrylic sealer for extra protection
This project is great for kids with supervision and for adults who want a quick custom gift or storage dish for rings and earrings. The tissue paper technique creates a stained-glass or watercolor look, depending on the colors and how many layers you use.
Step-by-step instructions:
- Prepare your workspace by covering it with newspaper or a craft mat. Have the dish, tissue paper, Mod Podge, and brush ready.
- Apply a thin, even coat of Mod Podge to the area you will cover. Work in small sections if your dish has curves or details.
- Lay the tissue squares over the adhesive and gently press them down with your fingers or the sponge brush. Smooth out air bubbles and wrinkles as you go. Tissue paper is delicate, so press gently to avoid tearing.
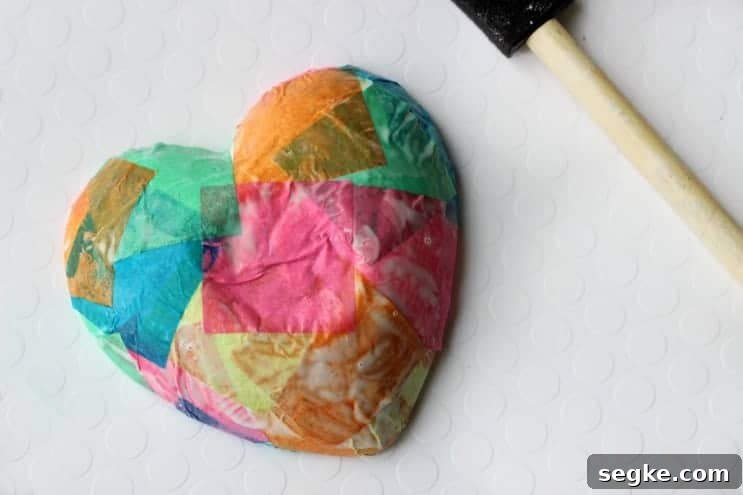
- Brush a light layer of Mod Podge over the top of each tissue piece to seal it in place. This top coat will also help the paper conform to any curves. If the tissue overlaps or creases around a curve, add small extra brush strokes of Mod Podge to smooth it down.
- Allow the front side to dry completely. Drying times vary by brand and humidity, but plan on at least 15–30 minutes for a thin coat. For best results, wait longer between layers.
- Flip the dish and repeat the process on the back if you want the design visible from both sides or if the backside will be seen when the dish is displayed.
- Once both sides are dry, apply one or two final coats of Mod Podge to the entire dish, front and back, allowing each coat to dry before adding the next. These final coats give the dish a durable, water-resistant finish suitable for holding everyday jewelry.
Tips and variations:
- Layer different colors of tissue paper to create depth and subtle color shifts.
- Cut shapes or patterns from tissue paper for a collaged design rather than using squares.
- For extra durability, finish with a clear acrylic sealer made for ceramics and craft projects.
- If working with children, pre-cut tissue squares and supervise the use of Mod Podge.
- Try this method on flat ceramic tiles to make coasters, on mason jars for custom storage, or on small vases for a colorful accent piece.
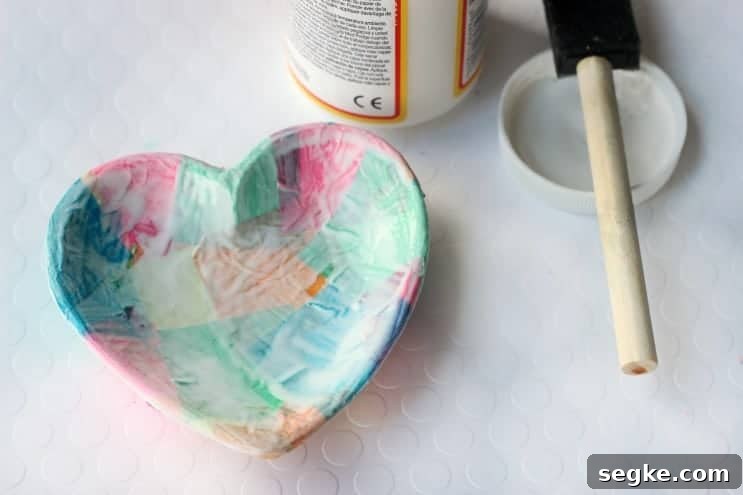
Final step: Once the final sealer coat is fully dry, your jewelry dish will be more resistant to scratches and water. While Mod Podge provides water resistance for regular handling, avoid soaking the piece for long periods to preserve the finish.
This small, colorful dish makes a lovely handmade gift or a pretty way to store daily jewelry on a dresser or bedside table. Try varying the tissue paper colors and layering techniques to create a set of matching dishes or coordinating home accents.
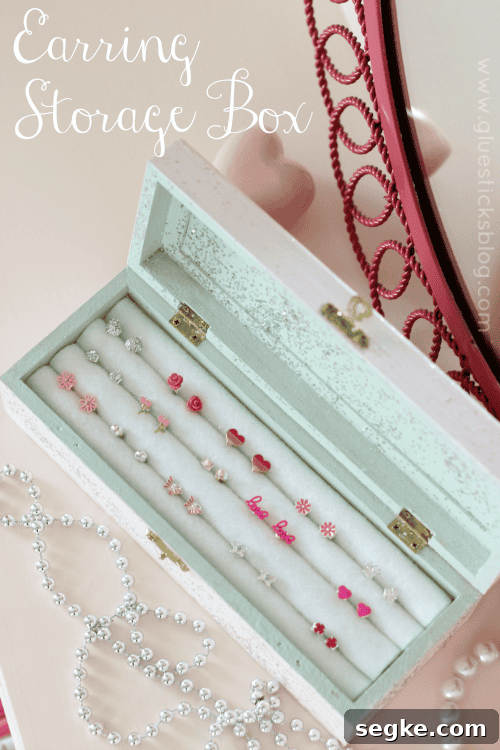
DIY Earring Box (related project idea)