
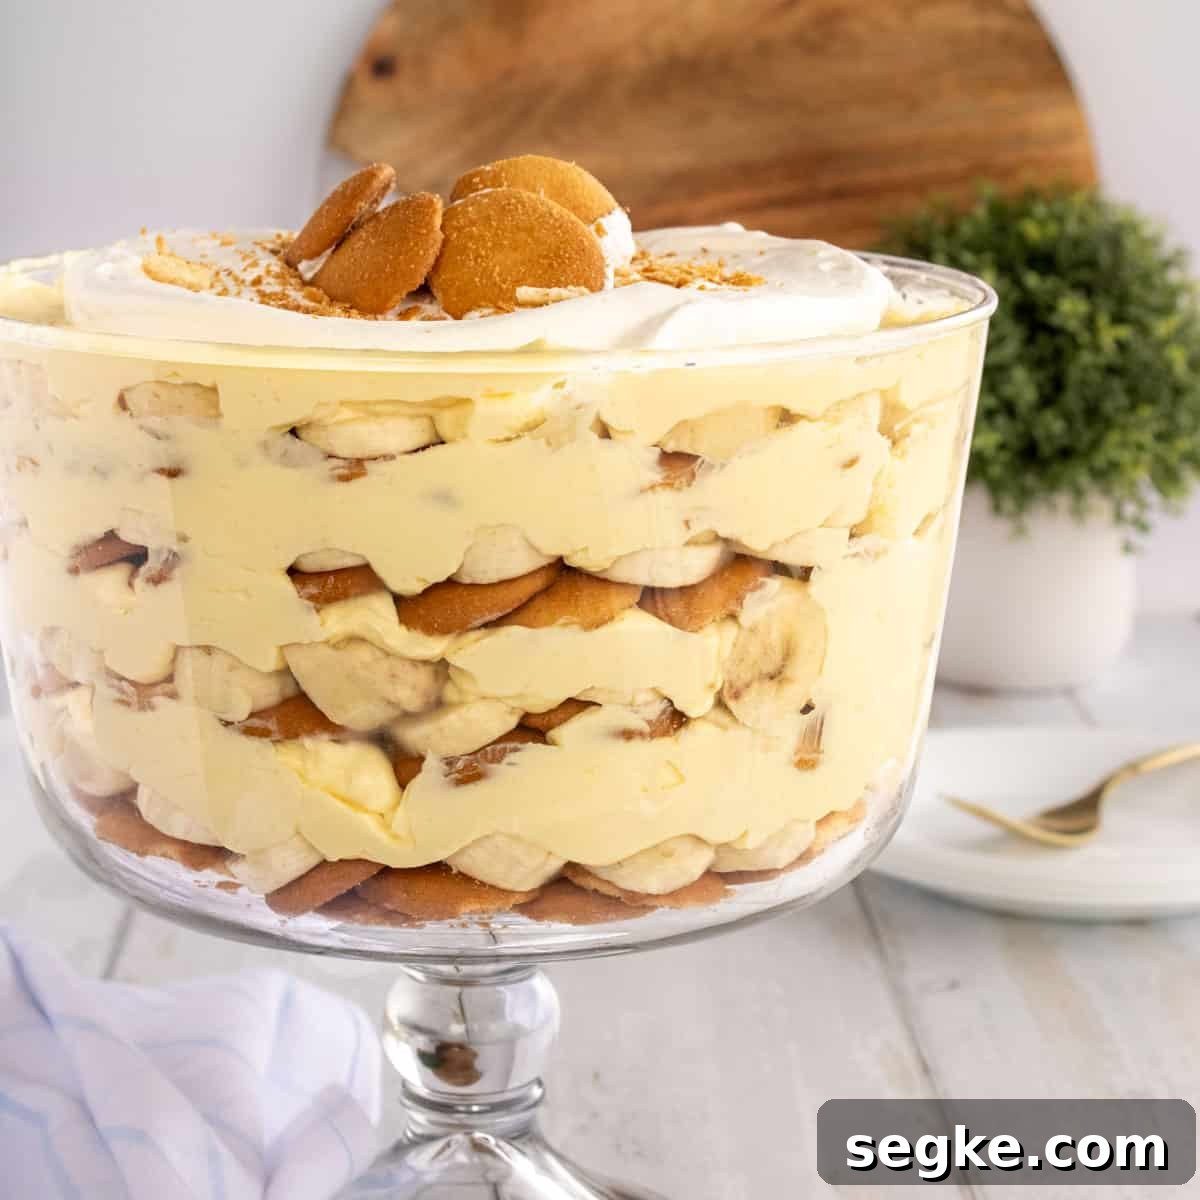
Enjoy a classic homemade Banana Pudding made with Nilla wafers. This easy, no-bake dessert layers creamy vanilla pudding, whipped cream, sliced bananas, and crisp Nilla wafers for a comforting, crowd-pleasing treat. It’s simple to make from scratch yet delivers that nostalgic Southern flavor everyone loves.
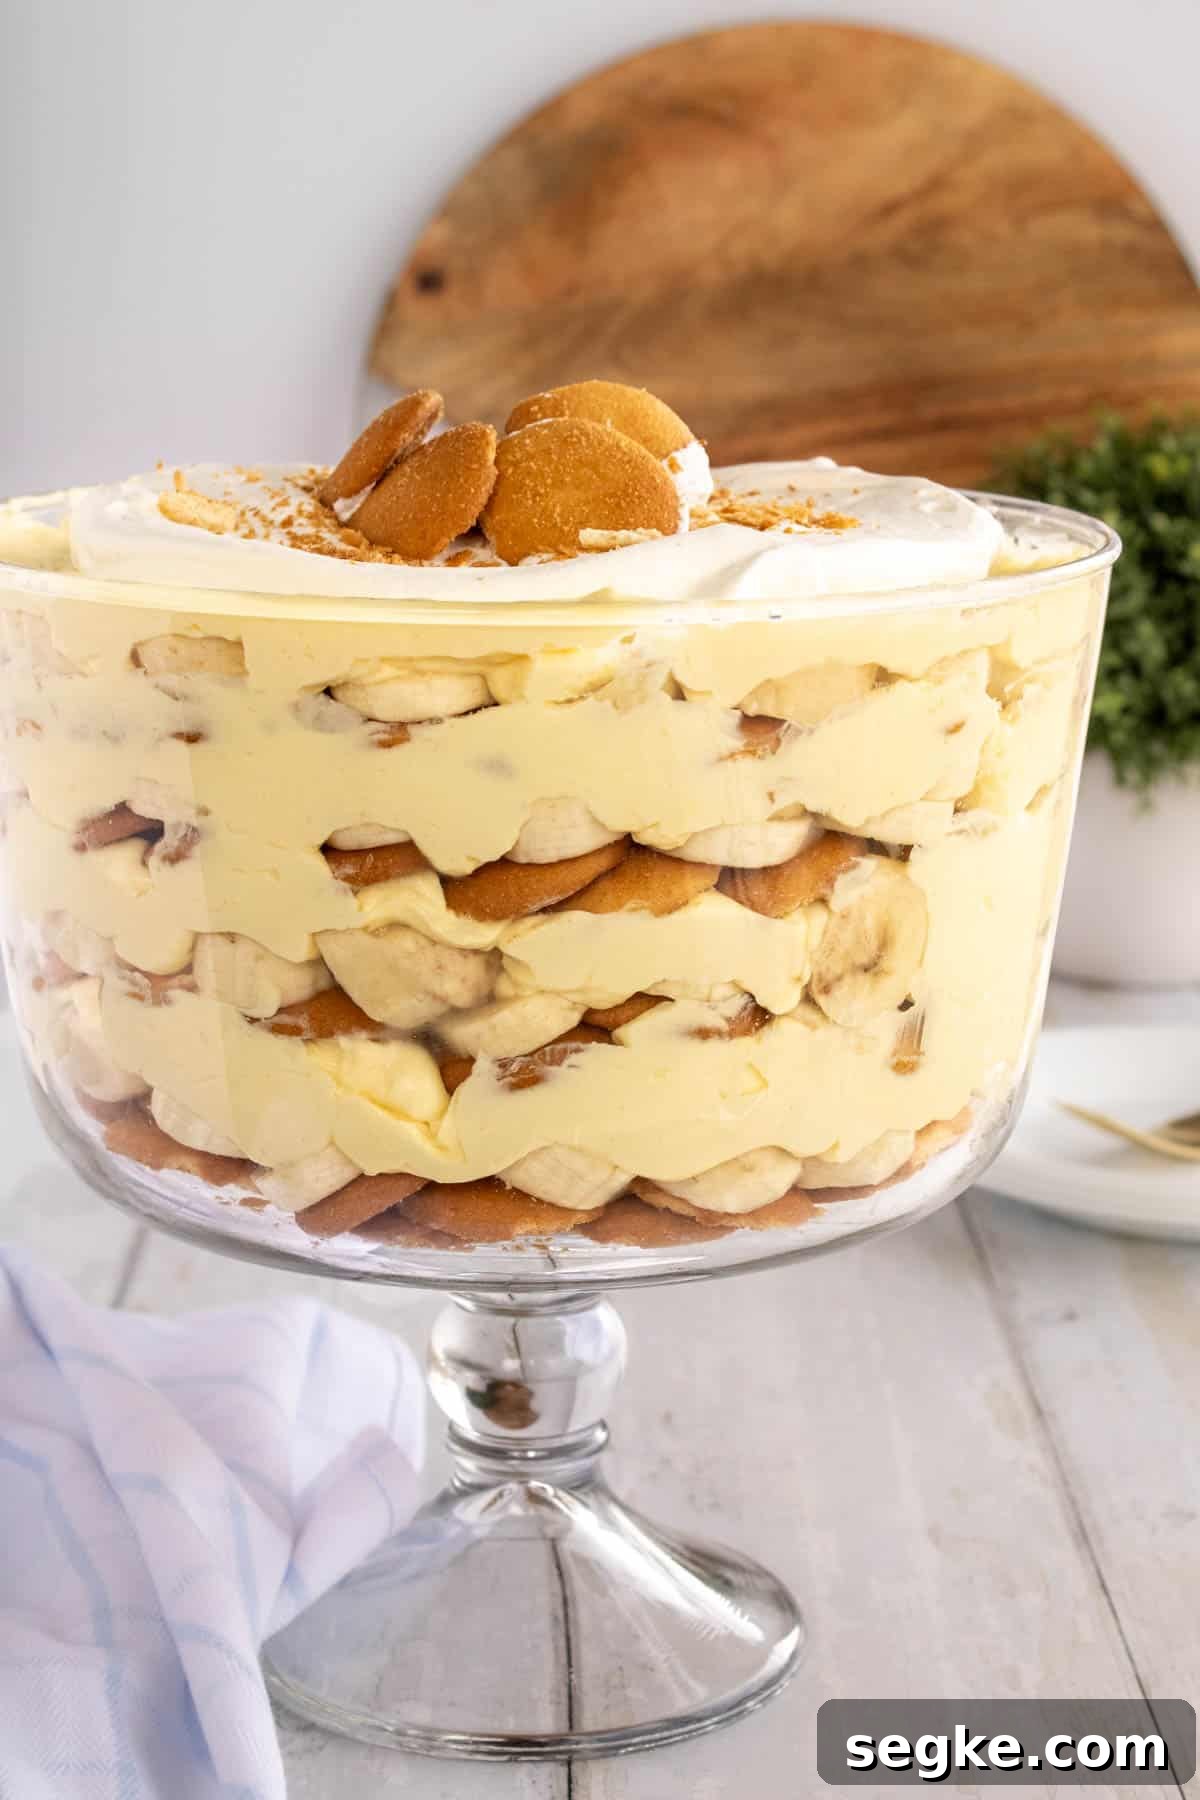
Why This Recipe is the Best
This banana pudding is a comforting, no-fuss dessert that combines silky vanilla pudding with lightly sweetened whipped cream, sliced bananas, and classic Nilla wafers. The ingredients are simple, the assembly is straightforward, and the final result is a layered trifle that looks as good as it tastes.
It works equally well for casual family dinners, potlucks, holiday gatherings, or warm-weather cookouts. The no-bake method keeps the prep quick while producing a rich, creamy texture that’s become a favorite in many households.
Other banana-inspired ideas you might enjoy: banana cookies, banana bread, and banana pumpkin muffins.
Key Ingredients
These are the essentials for a classic no-bake banana pudding. Choose quality ingredients for the best texture and flavor.
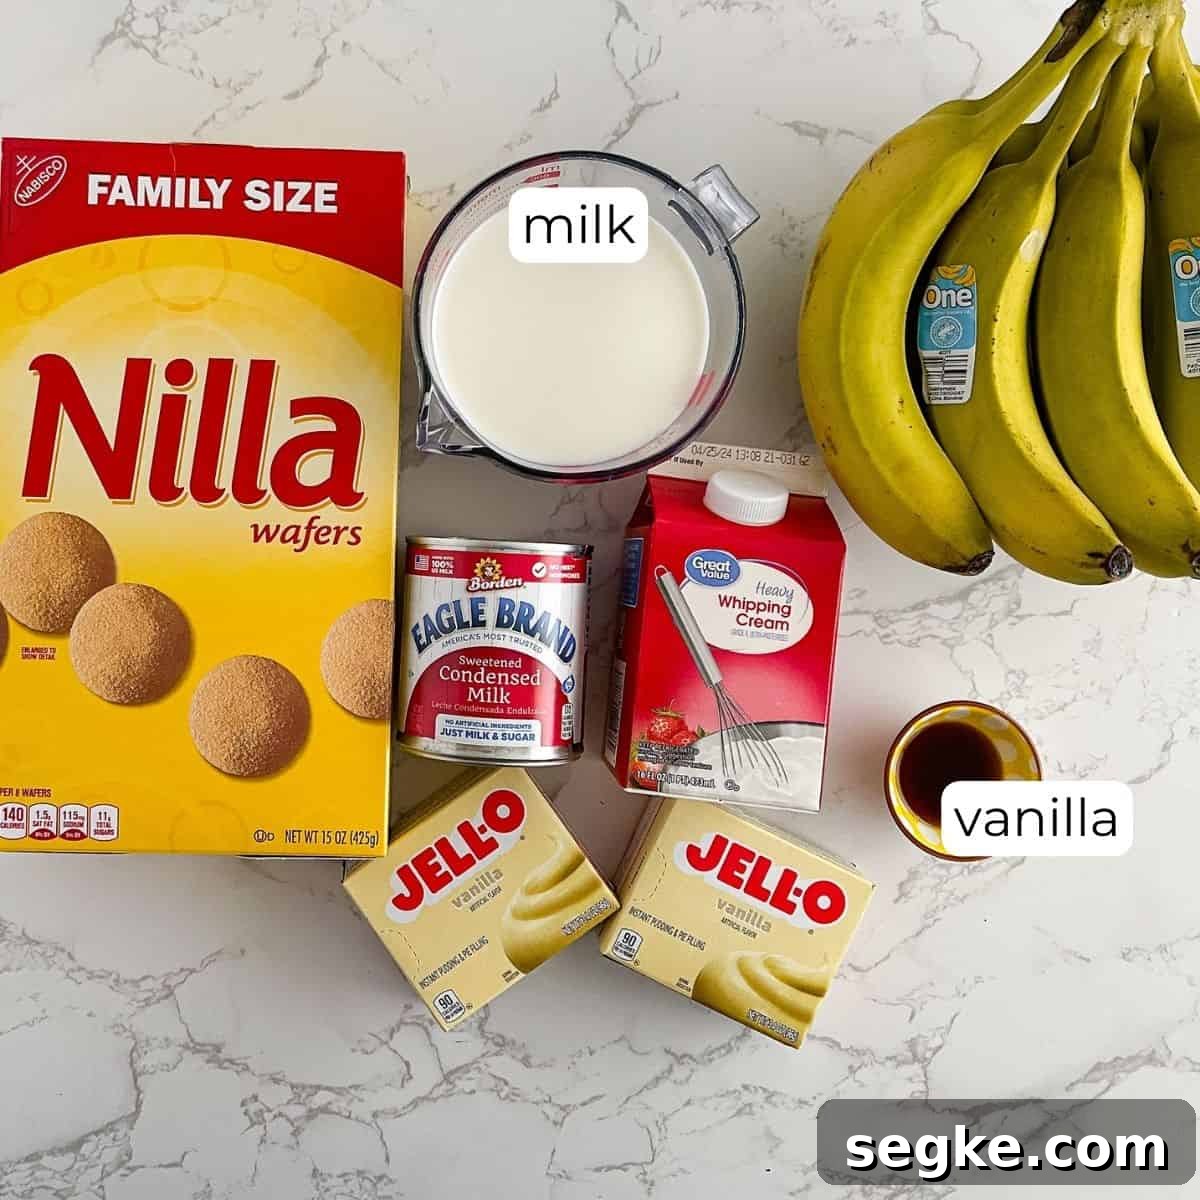
- Instant vanilla pudding mix – Use instant (jell-o style) vanilla pudding for a no-bake, quick set. Do not use cook-and-serve pudding for this recipe.
- Cold milk – Cold milk helps the instant pudding thicken properly and gives a smooth finish.
- Sweetened condensed milk – Adds richness and a lightly caramelized sweetness to the pudding base.
- Heavy whipping cream – Whipped into stiff peaks, then folded into the pudding to make it light and airy; some of the whipped cream is reserved to top the trifle.
- Nilla wafers – A crucial textural component. A family-size box is recommended because you’ll use many wafers to build the layers.
- Bananas – Choose bananas that are slightly green at the tips rather than fully overripe. They hold their shape better and provide a firmer texture in the pudding.
- Lemon juice – A small amount tossed with the banana slices prevents browning and keeps the fruit looking fresh.
- Powdered sugar (optional) – Used to lightly sweeten the portion of whipped cream reserved for the top if desired.
How to Make Homemade Banana Pudding
Follow these clear steps for a smooth assembly and the best results. Photos above illustrate each stage.
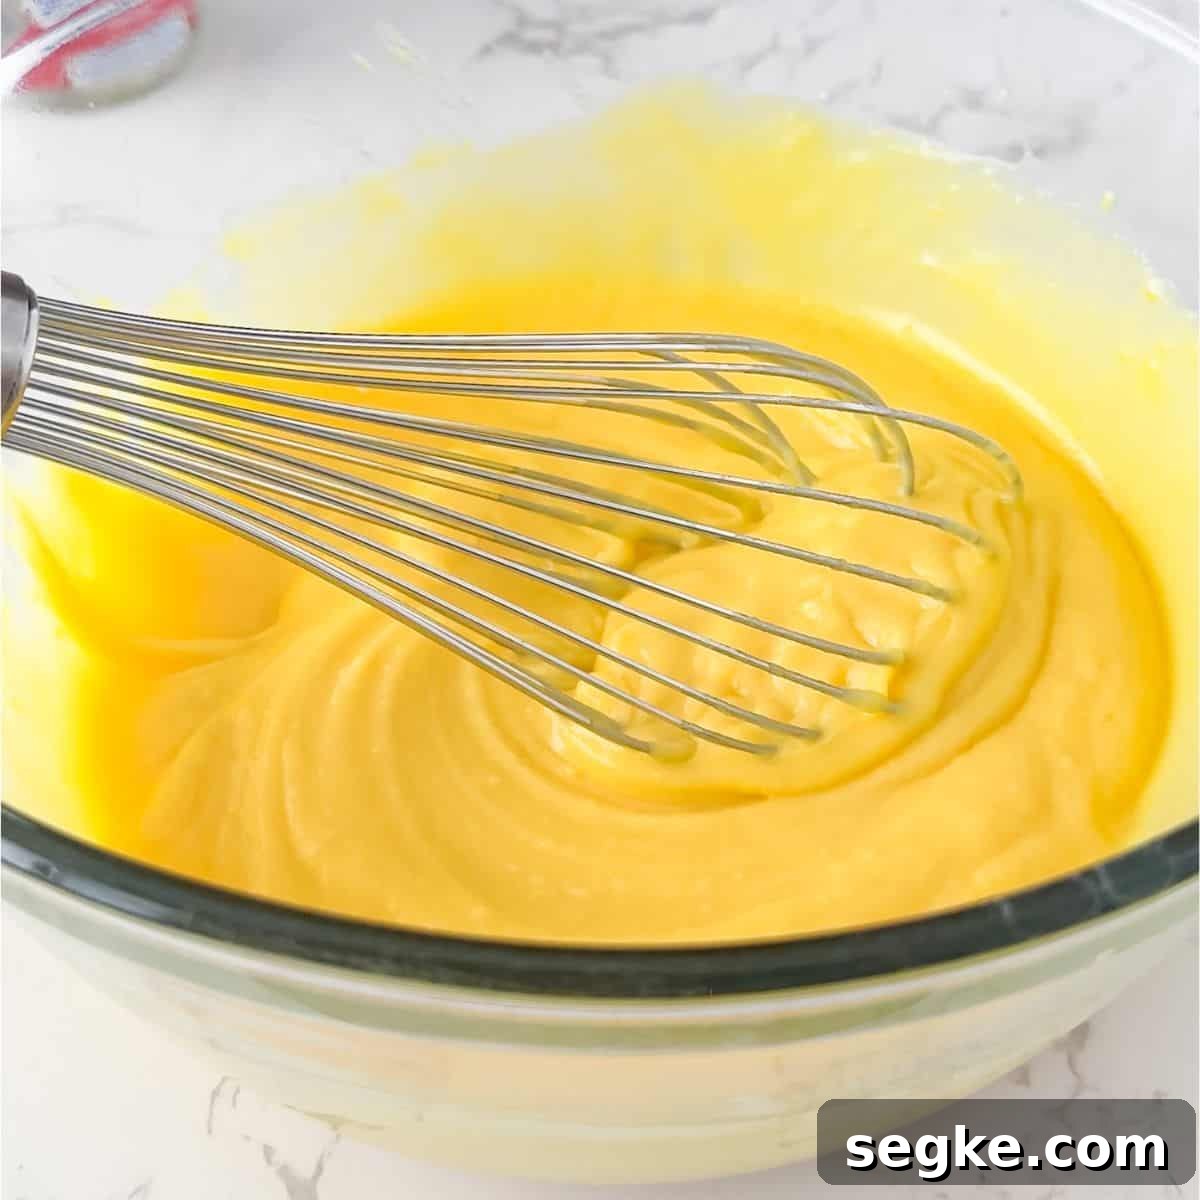
- Pour the cold milk into a medium or large mixing bowl. Sprinkle the instant vanilla pudding mix evenly over the milk and whisk until the mixture thickens and becomes smooth, about 1–2 minutes.
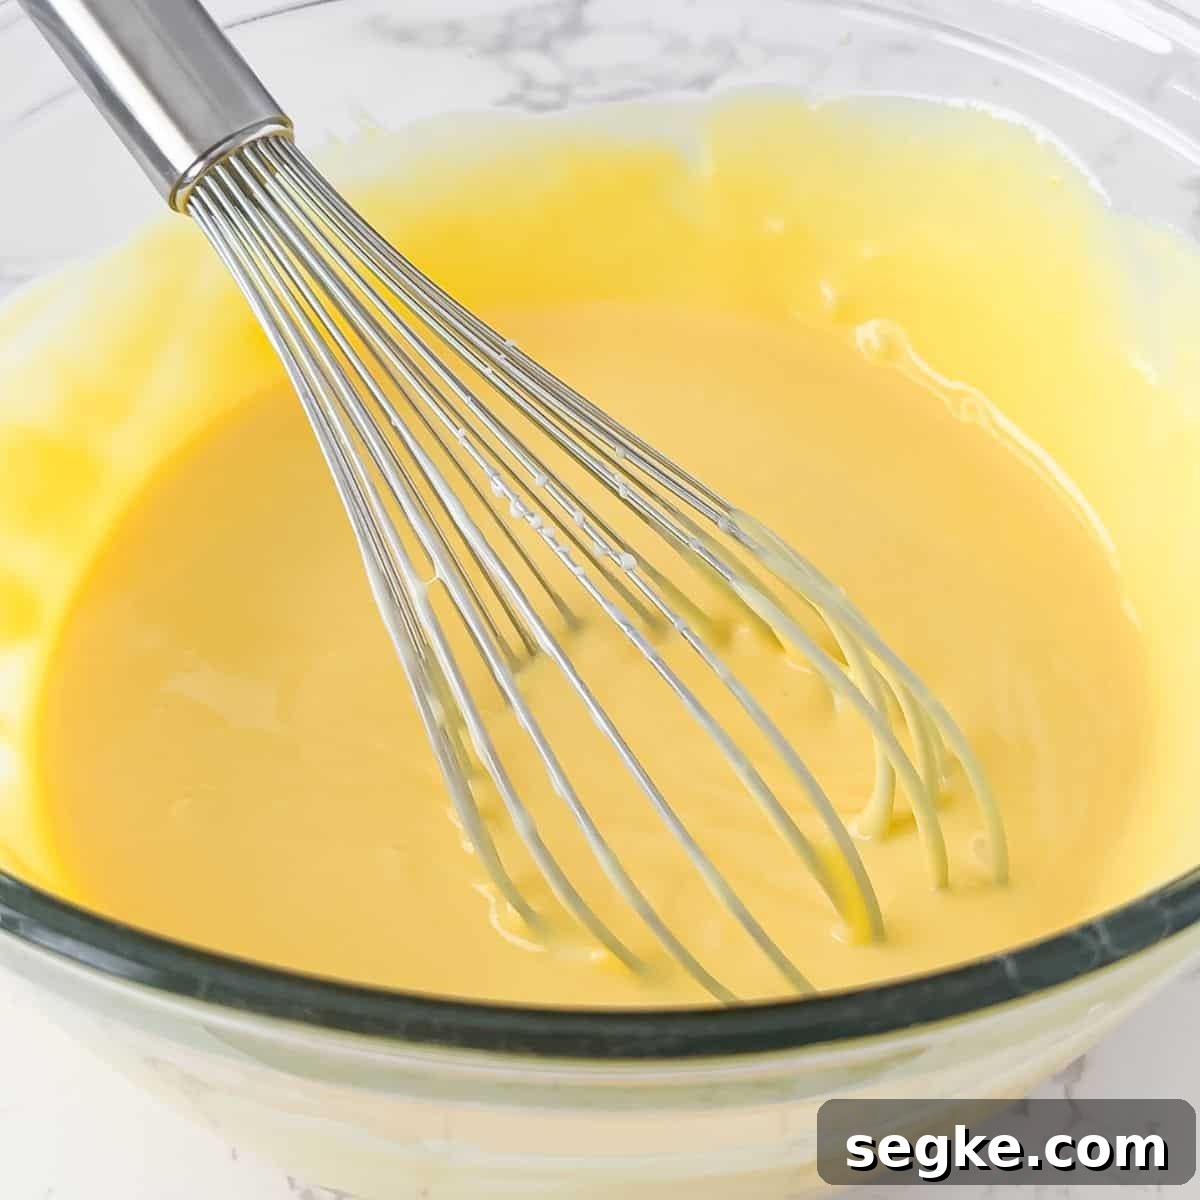
- Whisk in the sweetened condensed milk until fully incorporated and smooth. Add vanilla extract and stir to combine.
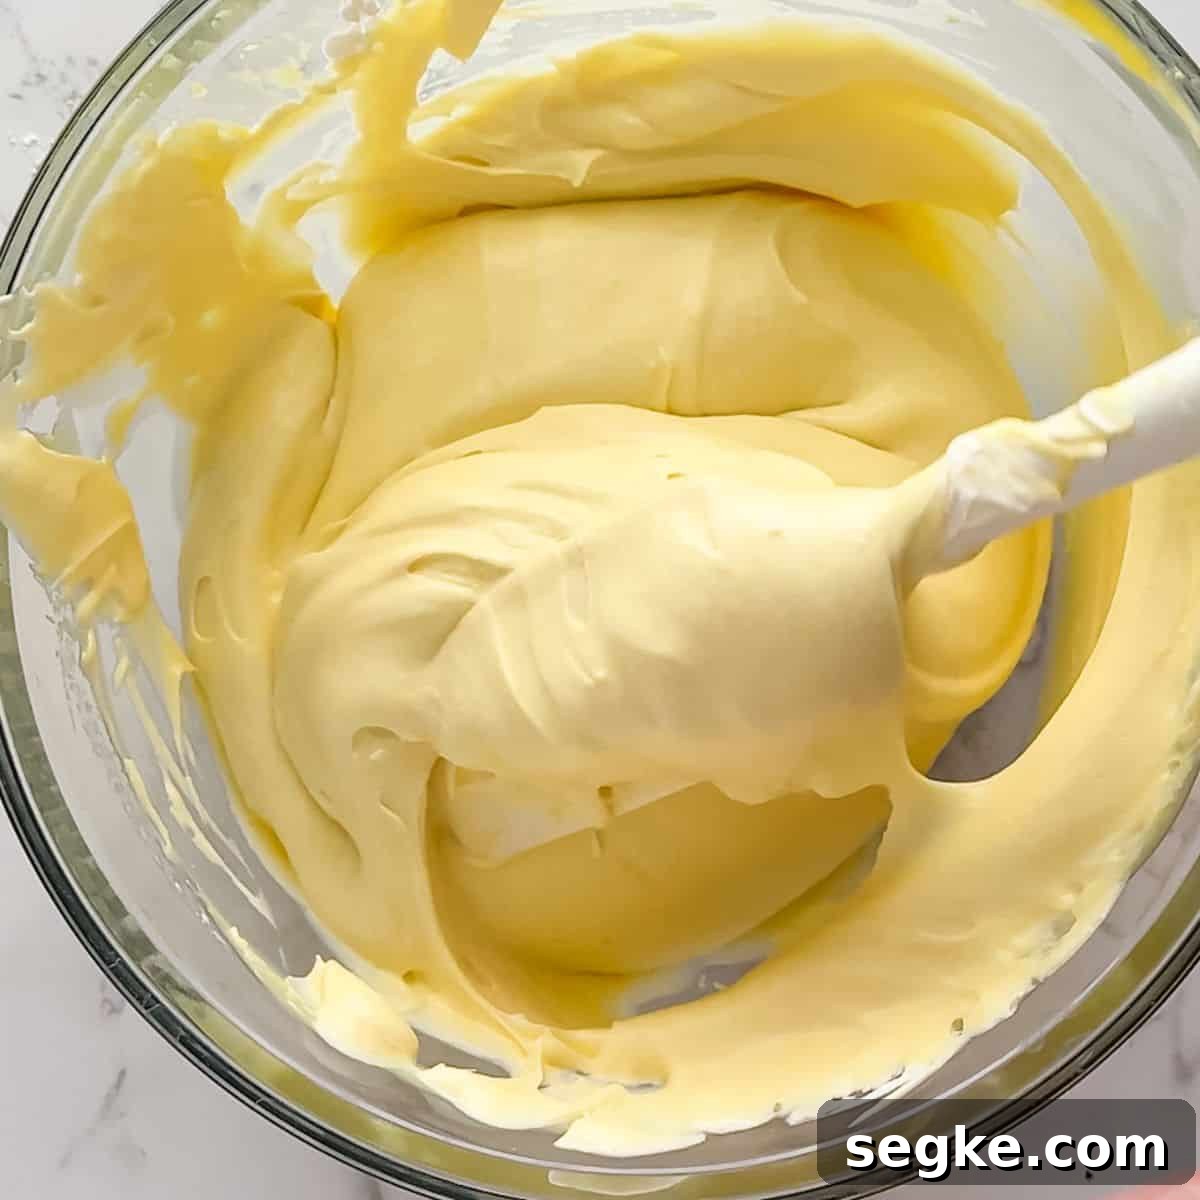
- In a separate bowl, whip the heavy whipping cream to stiff peaks. Gently fold about three-quarters of the whipped cream into the pudding mixture to keep it light and airy. Reserve the remaining whipped cream for topping; if you like it sweeter, fold in about 1 tablespoon powdered sugar to the reserved portion.
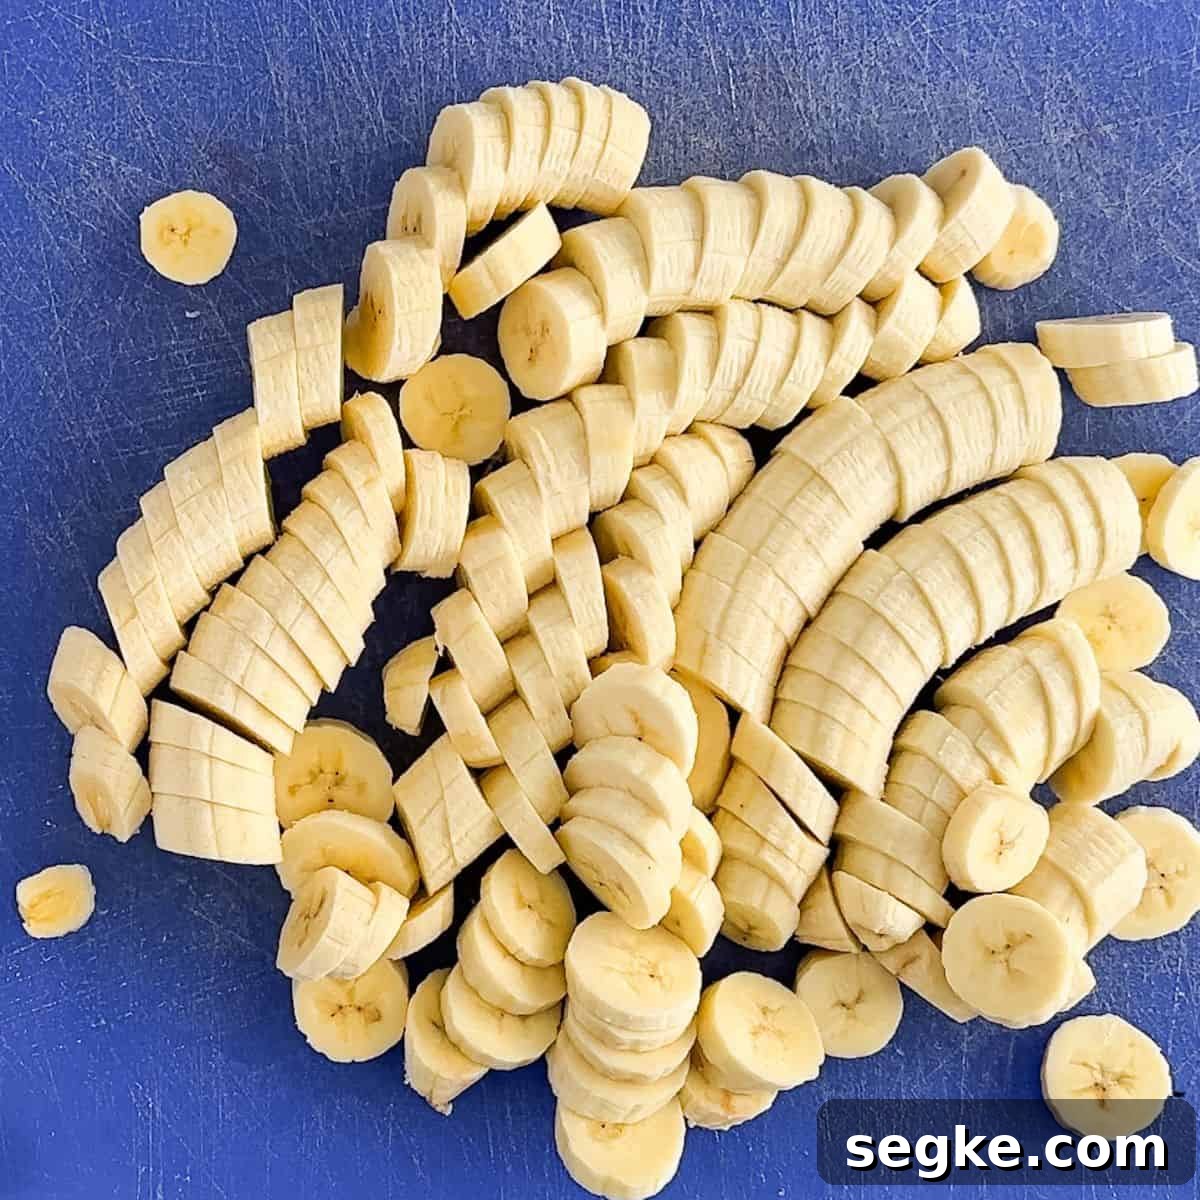
- Slice the bananas into roughly ½-inch rounds. Toss the slices lightly with the lemon juice to prevent discoloration and keep them fresh-looking during assembly.
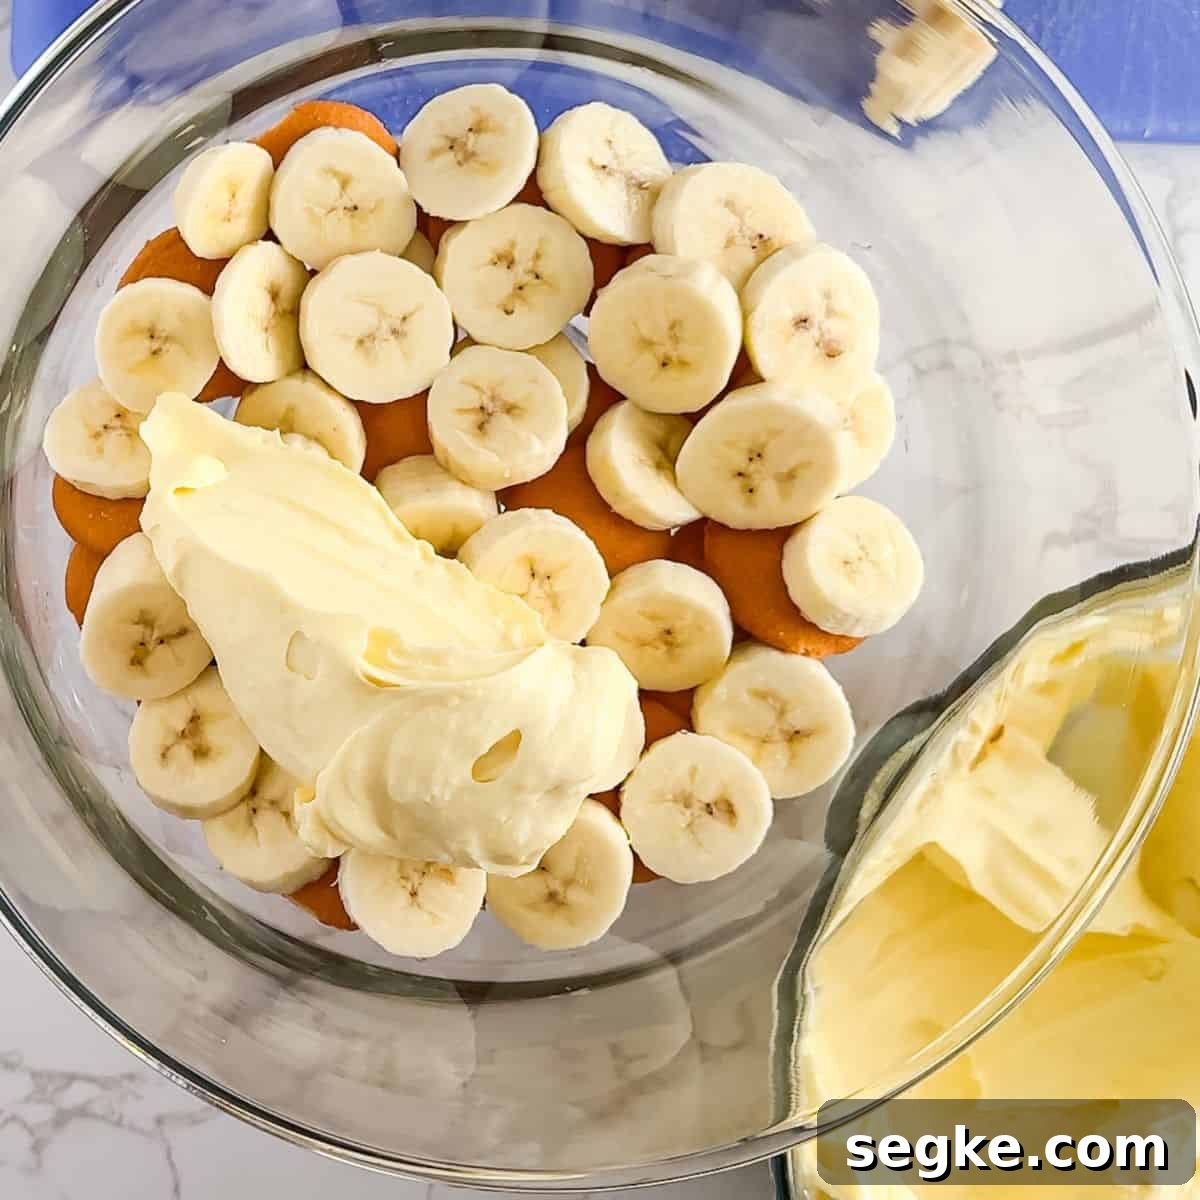
- Reserve a few Nilla wafers for decoration. In a trifle bowl or deep serving dish, layer one-quarter of the wafers along the bottom, then one-quarter of the bananas, followed by one-quarter of the pudding mixture. Repeat to create four distinct layers.
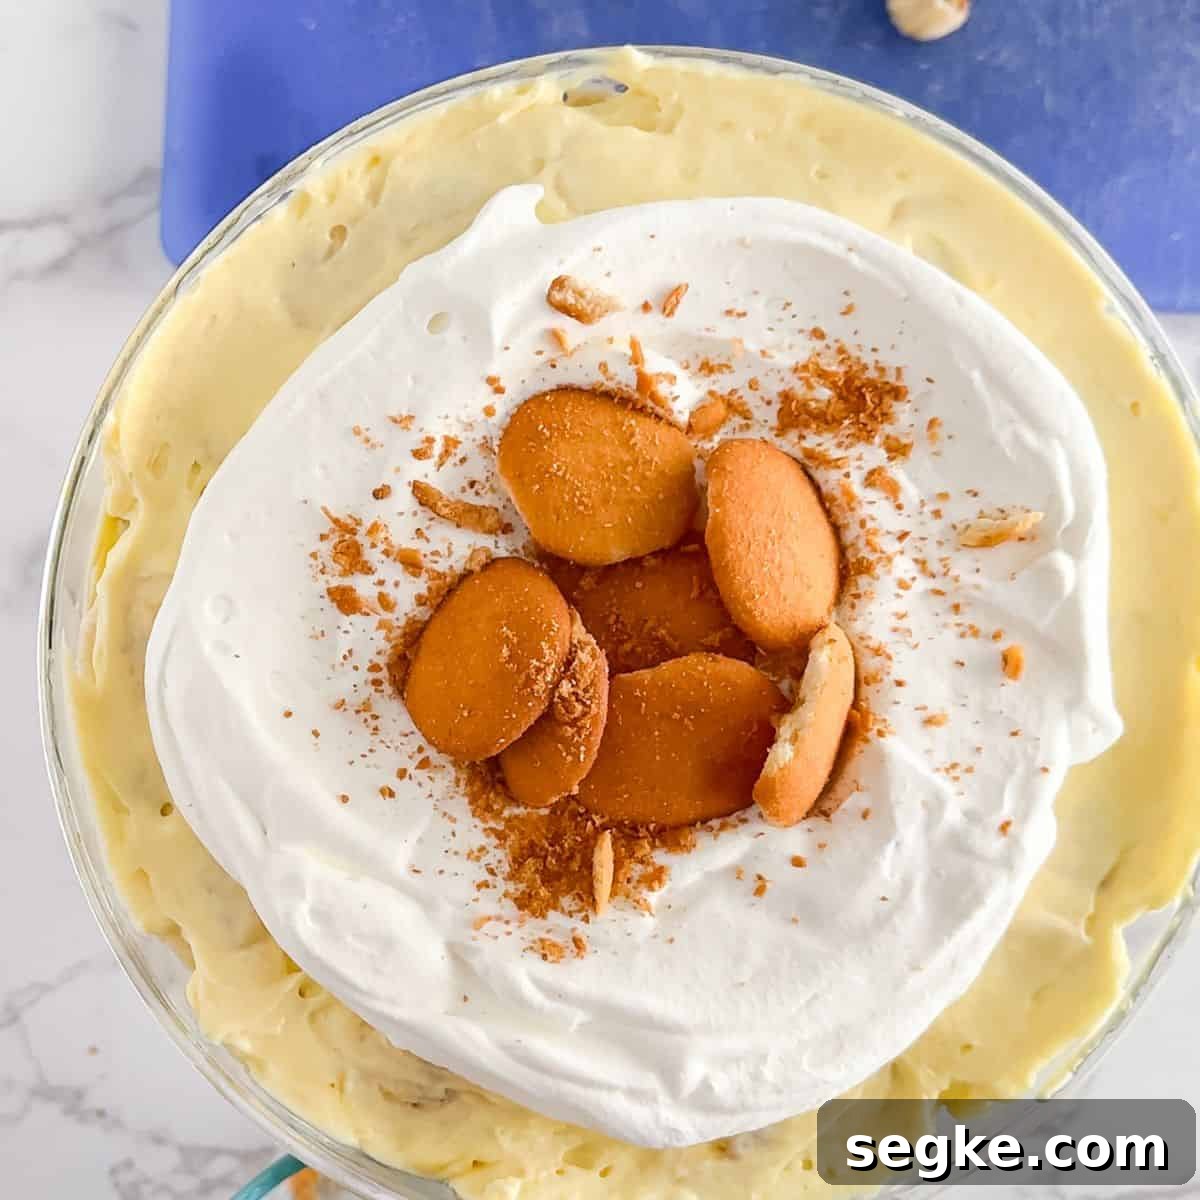
- After the final pudding layer, spread the remaining whipped cream on top and garnish with reserved wafers and crumbs. Chill the pudding for at least 2 hours to let the layers set and flavors meld. For best texture, enjoy within 24 hours.
Tip to prevent browning: Toss banana slices with a little lemon juice or brush the cut surfaces lightly to keep them from turning brown while you assemble the dessert.
Common Mistakes
One common error is not reserving enough pudding for the top layer. Portion the pudding into four even amounts before building to ensure each layer is complete. Another is using overly ripe bananas — they become mushy and can overly sweeten the dessert, so choose bananas that are still slightly green at the tips.
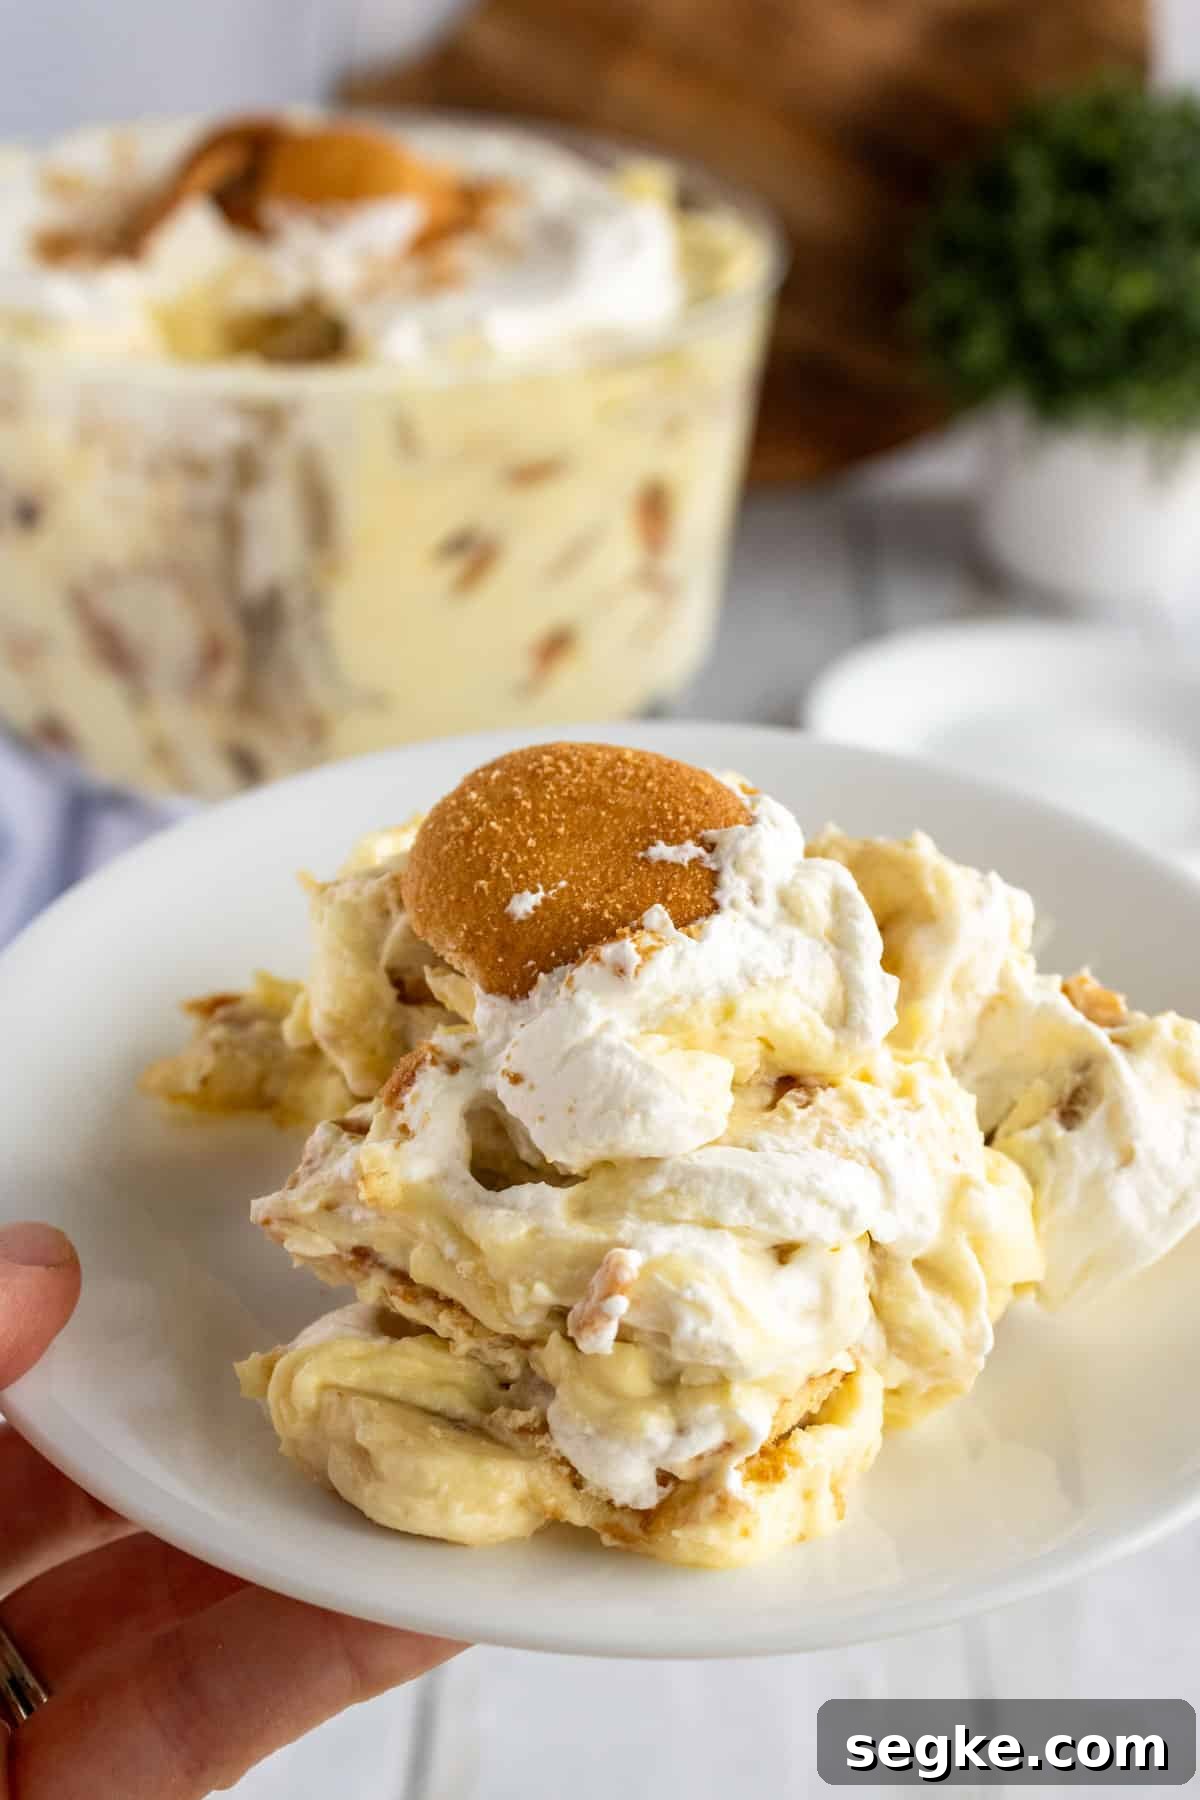
Top tip
Use bananas that are slightly green on the tips for a firmer texture and less mushiness. They hold up better in the layers and offer a pleasant contrast to the creamy pudding and crisp wafers.
Recipe
Banana Pudding Recipe
A southern-inspired, no-bake banana pudding made with Nilla wafers—perfect for spring gatherings, potlucks, or any time you want a simple, creamy dessert.
Equipment
- Trifle bowl or large serving dish
Ingredients
- 2 (3.4 oz) packages instant vanilla pudding
- 2 cups cold milk
- 14 oz sweetened condensed milk
- 2 teaspoons vanilla extract
- 2 cups heavy whipping cream, whipped and divided
- 15 oz box Nilla wafers (family size)
- 8 medium bananas
- 2 teaspoons lemon juice
Instructions
Make the filling
- Measure the cold milk into a large bowl. Sprinkle the vanilla pudding mixes over the milk and whisk until smooth and thick, about 1–2 minutes. Add the sweetened condensed milk and vanilla extract; stir to combine. Set aside.
- Whip the heavy cream to stiff peaks. Fold roughly three-quarters of the whipped cream into the pudding mixture until combined, keeping the mixture light. Sweeten the reserved whipped cream with 1 tablespoon powdered sugar if you want a sweeter topping; refrigerate.
- Slice bananas and toss with lemon juice to prevent browning.
Assembly
- Reserve 3–5 whole Nilla wafers for garnish. Layer one-quarter of the remaining wafers in the bottom of the trifle bowl, followed by one-quarter of the banana slices and one-quarter of the pudding mixture. Repeat three more times to build four layers.
- Top with the reserved whipped cream and decorate with remaining wafers and crumbs. Chill at least 2 hours. Serve within 24 hours for the best texture—the wafers will soften over time.
Notes
- Save enough pudding for the final layer; portion the pudding into four even servings before assembling.
- Thawed Cool Whip can replace whipped cream (use a 12 oz tub), but it will make the dessert sweeter.
- If whipped cream becomes grainy from over-whipping, add 1 tablespoon of heavy cream and gently re-whip to smooth it out.
- Use slightly under-ripe bananas to avoid mushy layers and excessive sweetness.
Nutrition (per serving)
Calories: 542 kcal • Carbohydrates: 77 g • Protein: 7 g • Fat: 24 g • Sugar: 52 g • Sodium: 292 mg
Related
Other creamy, layered desserts to try:
-

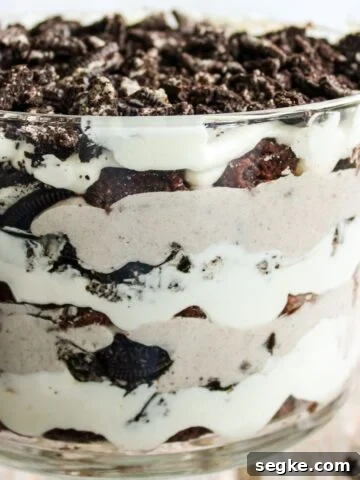
Best ever Oreo Brownie Trifle -
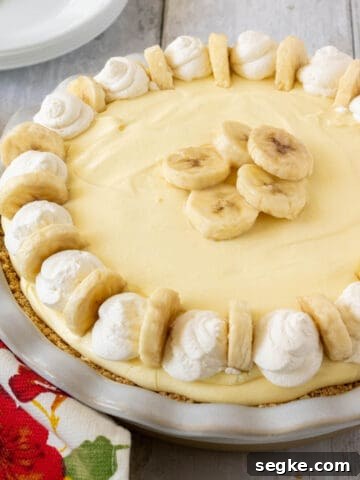
Easy Banana Cream Pie -
Easy Chocolate Cream Pie -
Black Bottom Pie
How Long Does Banana Pudding Last?
For the best texture, eat this banana pudding within 24 hours of assembly. Nilla wafers will soften after several hours and become noticeably soft by 24 hours. Store leftovers covered in the refrigerator; assembled pudding will keep for up to 24 hours, while unassembled components (pudding, whipped cream) can be stored separately in the refrigerator for 3–4 days.
Freezing a layered banana pudding is not recommended because bananas and wafers become mushy when thawed. If freezing is necessary, freeze the pudding base and whipped cream separately and thaw them before assembling with fresh banana slices and wafers.
Substitutions and Variations
Strawberry variation: Replace half of the banana slices with a pound of sliced strawberries for a fresh, colorful twist that pairs well with the vanilla pudding.
Cool Whip option: Substitute 12 oz thawed Cool Whip for the whipped cream if you prefer a quicker option—note that the dessert will be sweeter.
How to Serve
This pudding is beautiful in a trifle bowl, where you can display the neat layered edges, but it also works well in individual cups for parties or showers. To make individual servings, layer wafers, pudding, bananas, and whipped cream in small clear cups for an attractive and portable dessert.