I’ll admit I usually bristle at strict instructions, but when it comes to dusting there are clear techniques that actually make a difference. Dust isn’t just visible dirt and hair — it can hold particles that aggravate allergies and respiratory issues. The wrong approach simply sends dust back into the air, so you end up breathing the same particles again and again. Follow smart dusting practices and you’ll reduce sneezing, coughing, eye irritation and flare-ups of asthma and other sensitivities.
Below you’ll find practical, effective steps for how to dust the right way so your home stays cleaner, healthier and easier to maintain.
How to Dust the Right Way
Dusting effectively means capturing dust, not redistributing it. With the right tools and a consistent routine, you’ll remove contaminants from surfaces rather than sending them airborne. Read on for tool recommendations, step-by-step methods and timing advice to keep dust under control.
Choose the Right Tools
To trap dust instead of moving it, use tools designed to capture particles. You don’t need every item at once; build your toolkit over time.
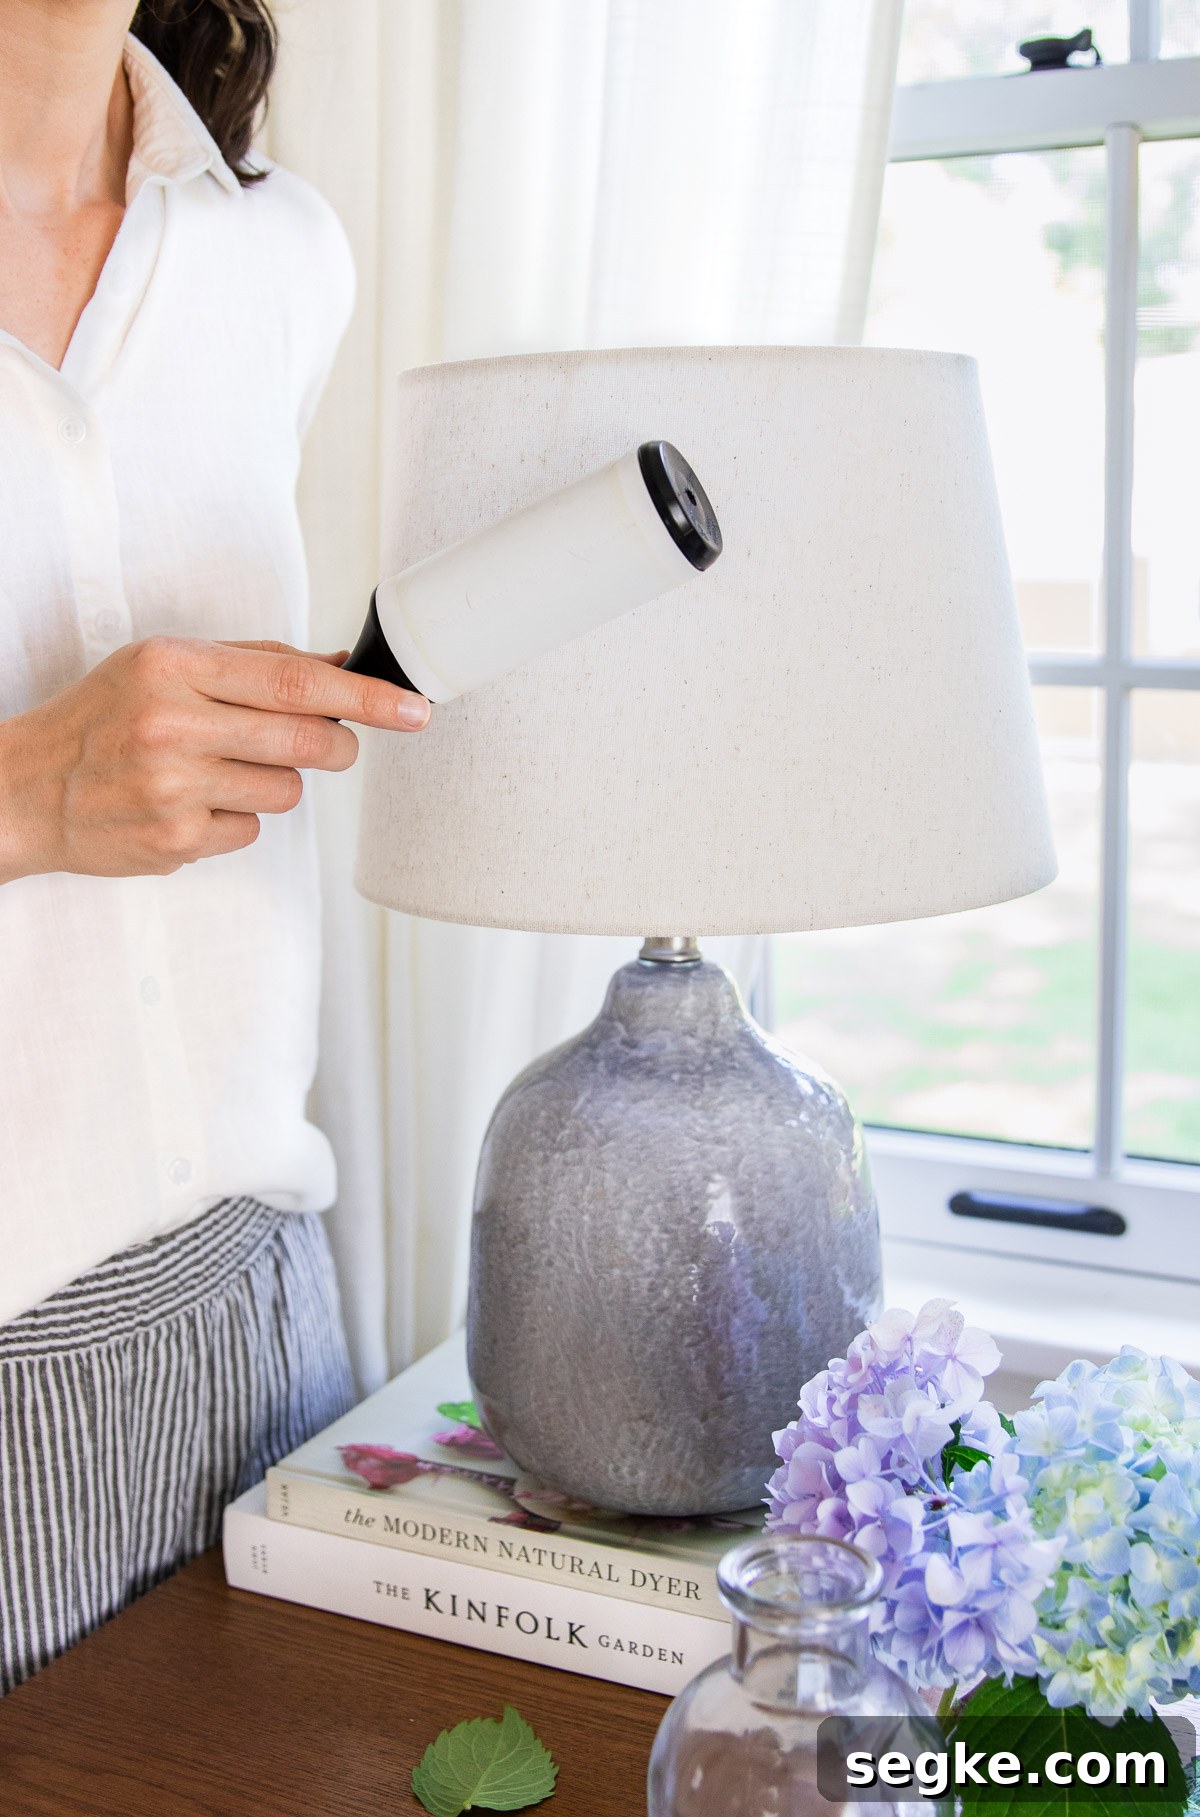
Lampshades and delicate fabrics — lint roller or a clean, soft brush
Curtains — vacuum dusting attachment
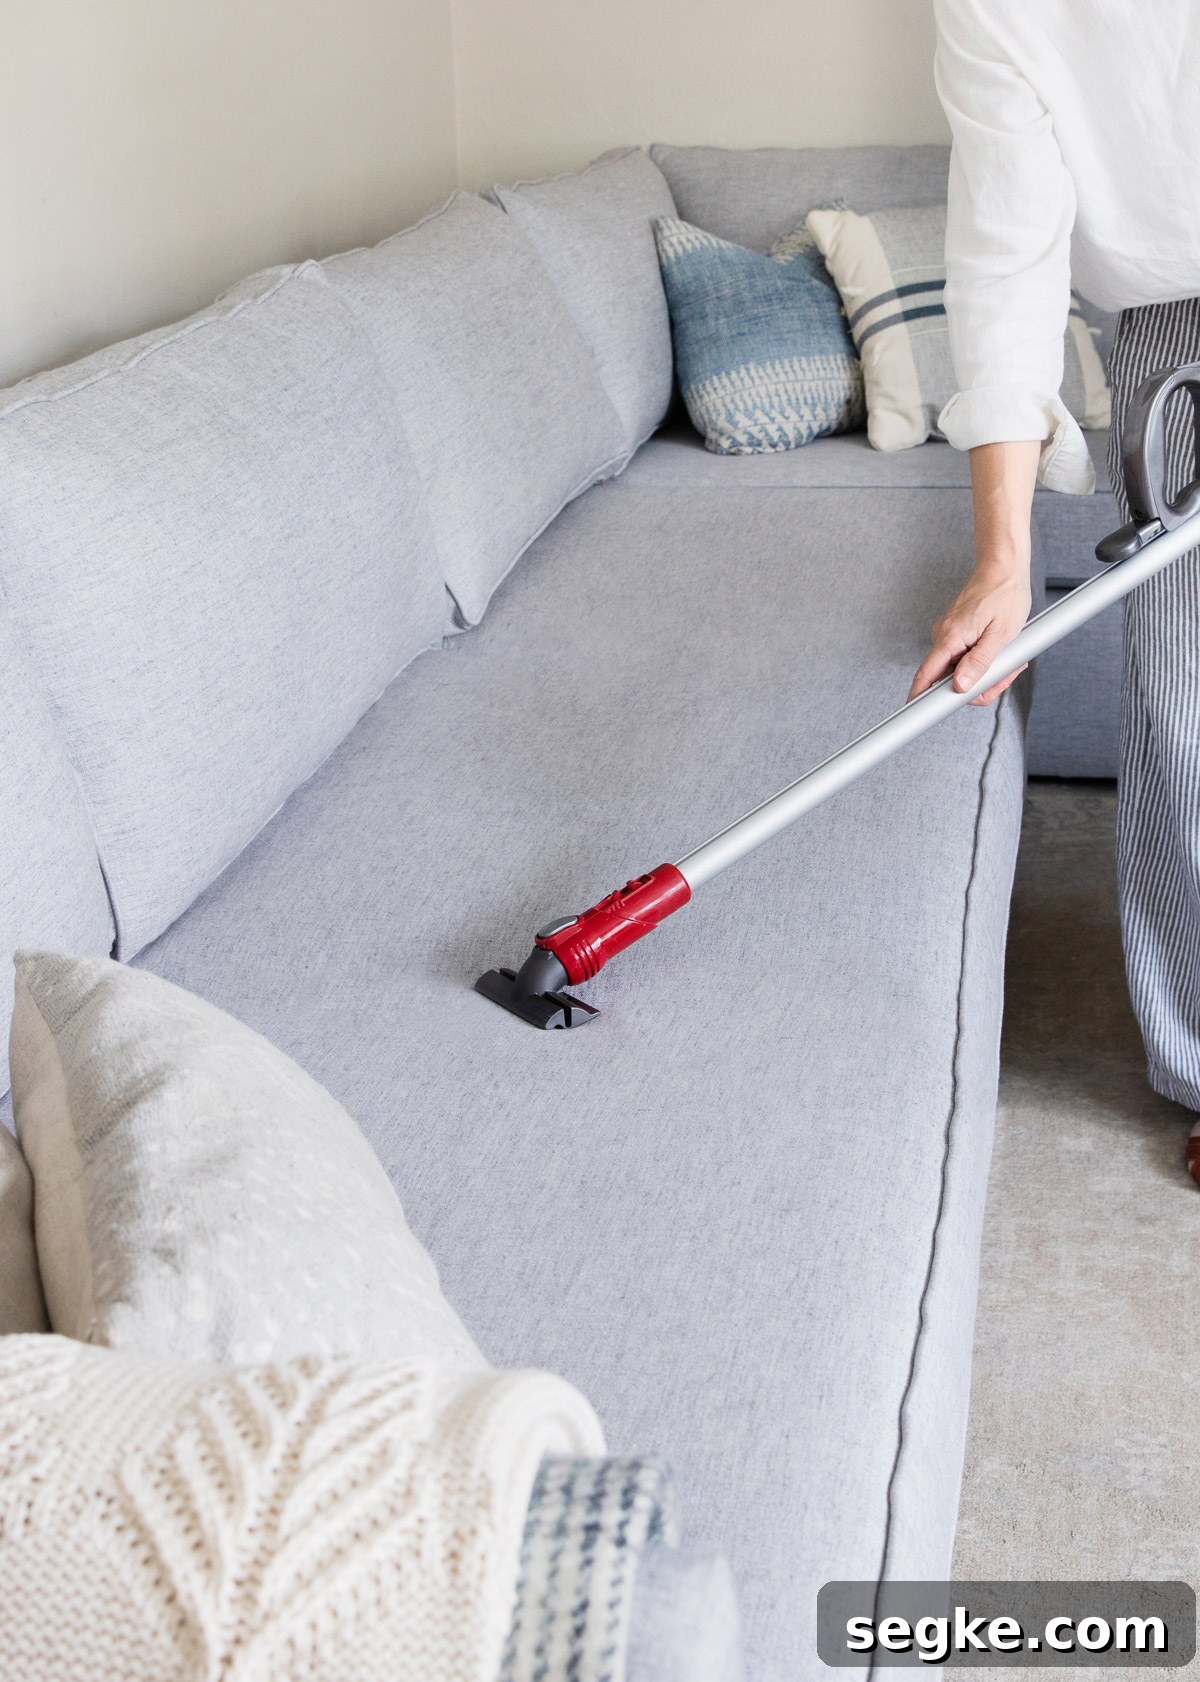
Upholstery — vacuum upholstery tool or soft brush attachment
Blinds — dedicated blind cleaner or microfiber mitt
Flat surfaces — quality microfiber cleaning cloths
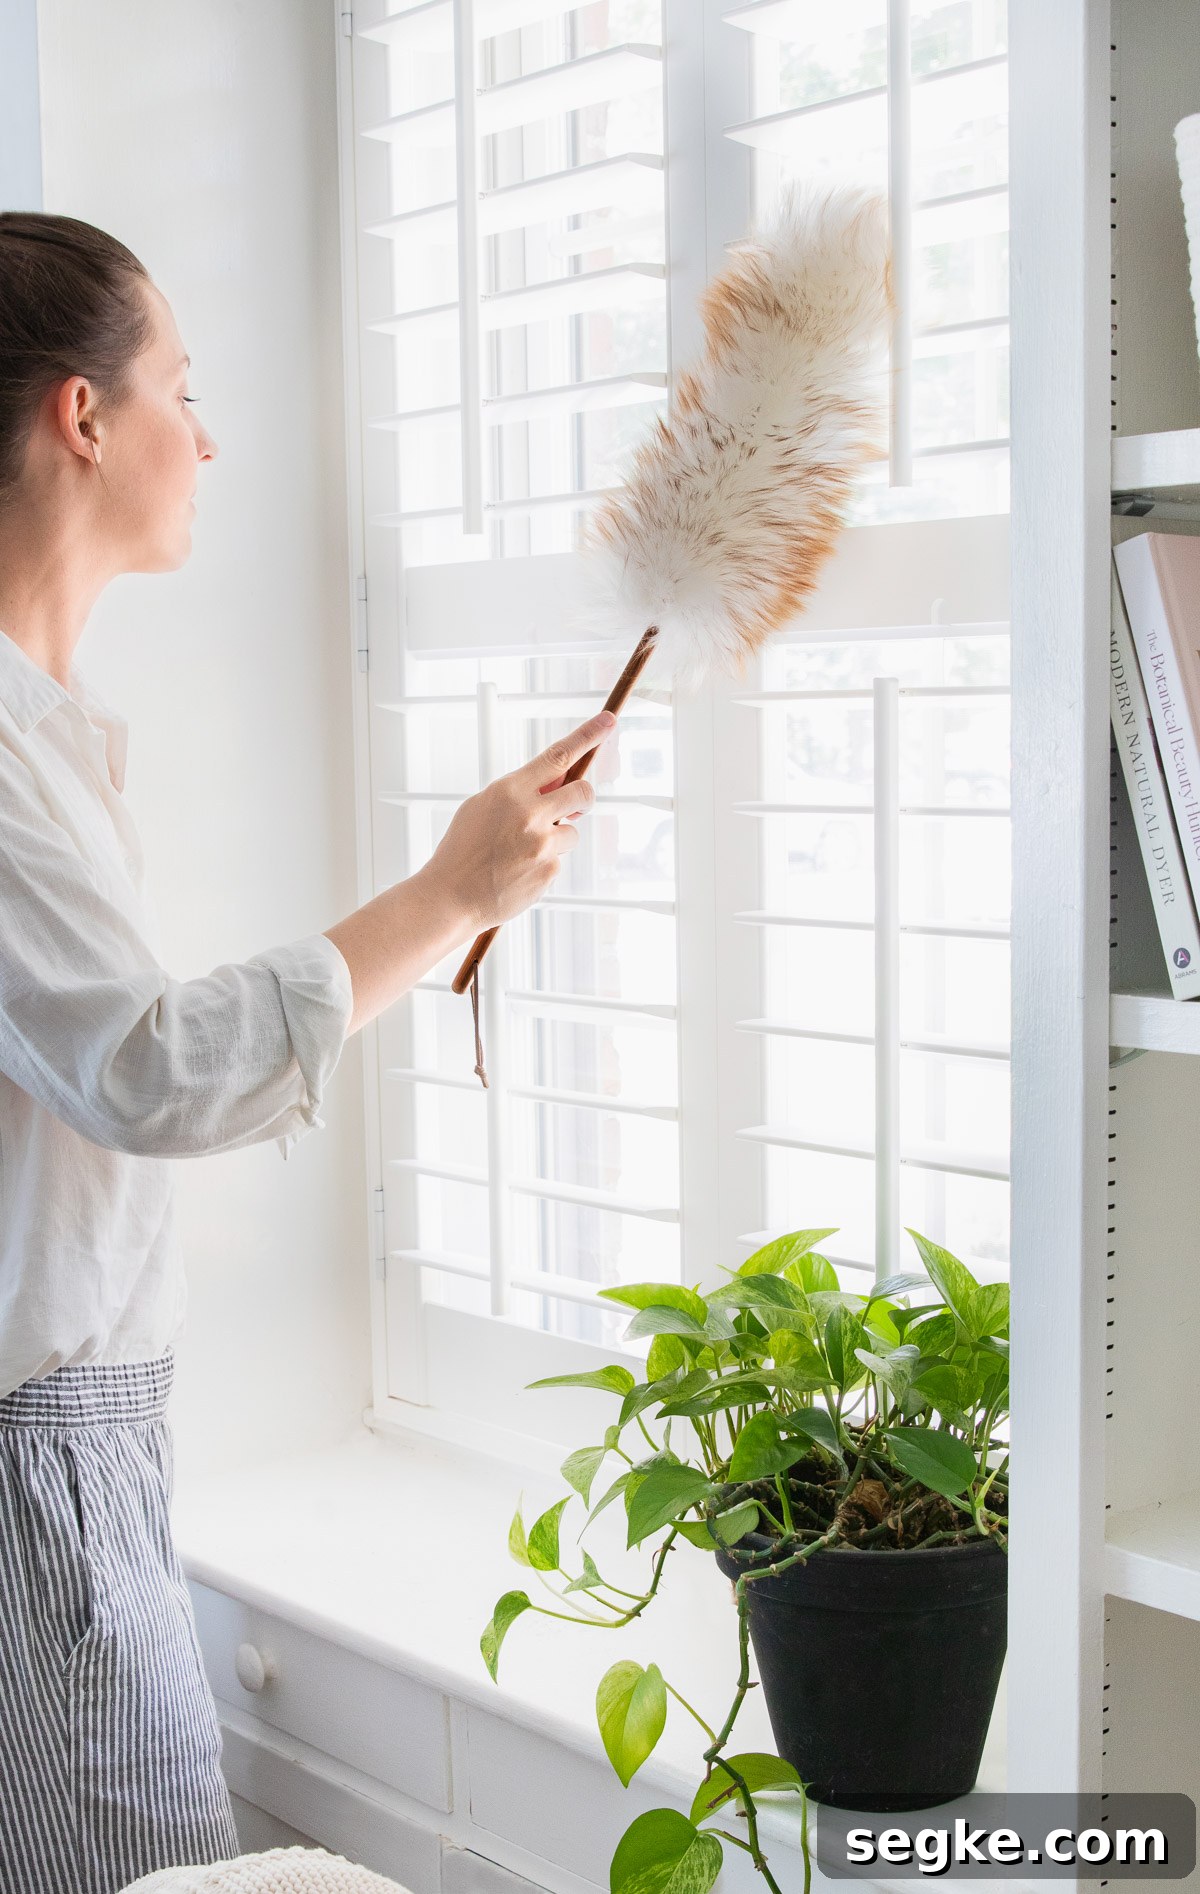
High spots, corners and ceiling fans — long-handled duster with a microfiber or electrostatic head
Start High and Work Your Way Down
Dust settles downward. Begin with ceiling fans, light fixtures, tops of cabinets, curtain rods and high shelves, then move progressively to lower surfaces like tables, counters, chairs, and finally floors and baseboards. This top-to-bottom approach prevents you from having to re-clean areas you already finished.
Use a Dusting Spray
Damp dusting captures particles far better than dry dusting. A lightly moistened microfiber cloth attracts and holds dust, whereas dry cloths often simply push particles into the air. A dusting spray also helps cut grease and can reduce how quickly surfaces re-accumulate dust.
Instead of spraying surfaces directly, mist the cloth lightly and then wipe. When a cloth becomes noticeably dirty, fold it so the clean side is exposed and continue with a fresh section. Replace or wash the cloth when it’s heavily soiled.
DIY dusting options
If you prefer homemade cleaners, look for simple recipes that use mild soap, water and a touch of oil or a gentle surfactant to help pick up dust. Homemade cloth dusters and DIY dusting sprays can be effective when used correctly.

Clean + Nourish Wood
Wood needs special care. Start by wiping wood surfaces with a microfiber cloth slightly dampened with a wood-safe cleaner. Be sure to clean edges, legs and undersides of tables and chairs. Follow with a dry, soft cloth to remove moisture and prevent damage.
Finish with a suitable wood polish or conditioner to restore luster and protect the finish. Proper wood care keeps furniture looking newer longer and helps prevent dust from adhering to dry, porous surfaces.
DIY wood cleaner and polish ideas
Simple blends using mild soap and water for cleaning, and beeswax-based or oil-based polishes for conditioning, work well. Test any DIY mix on an inconspicuous spot first to ensure compatibility with the finish.
Vacuum Upholstery, Rugs and Underneath Furniture
Modern vacuums with HEPA filters trap fine particles, so vacuuming can be done after dusting to remove what fell to the floor. For best results, vacuum both before and after dusting when you have time. Use the upholstery attachment to remove pet hair, lint and embedded dust from couches, chairs and mattress surfaces.
If you don’t have specialized tools, rubber gloves or a rubber mitt can help gather pet hair and lint from fabric surfaces — the slight static and friction will pull hairs up so you can vacuum them away. Don’t forget to vacuum under furniture and along baseboards where dust accumulates.
Finish by Mopping the Floors
After vacuuming, mop hard floors to capture any remaining fine dust and grime. Always vacuum before mopping so you don’t turn loose dirt into muddy streaks. Use a cleaning solution appropriate for your floor type and a microfiber mop to trap particles effectively.
Lightly Dust Every 7 Days
High-traffic and easy-to-reach surfaces — tables, countertops, upholstery, and visible shelves — benefit from weekly attention. Regular light dusting prevents buildup and helps reduce allergy triggers.
Deep Dust Every 3-4 Months
Less-accessible items and areas — electronics, books, top shelves, ceiling fans, vents, light fixtures, and behind appliances — can be scheduled for a deeper clean every three to four months. Deep dusting keeps long-neglected areas from becoming major sources of airborne particles.
Helpful Hints
— Close windows and turn off fans before you start to prevent dust from blowing around.
— Wash and dry microfiber cloths, dusters and vacuum tools after use so they’re ready and effective next time.
— Consider using a quality air purifier with a HEPA filter to reduce airborne dust between cleanings.
— Replace HVAC and air purifier filters according to manufacturer recommendations, typically at regular intervals like every few months.
— Declutter regularly. Fewer knickknacks means fewer places for dust to settle and accumulate.