
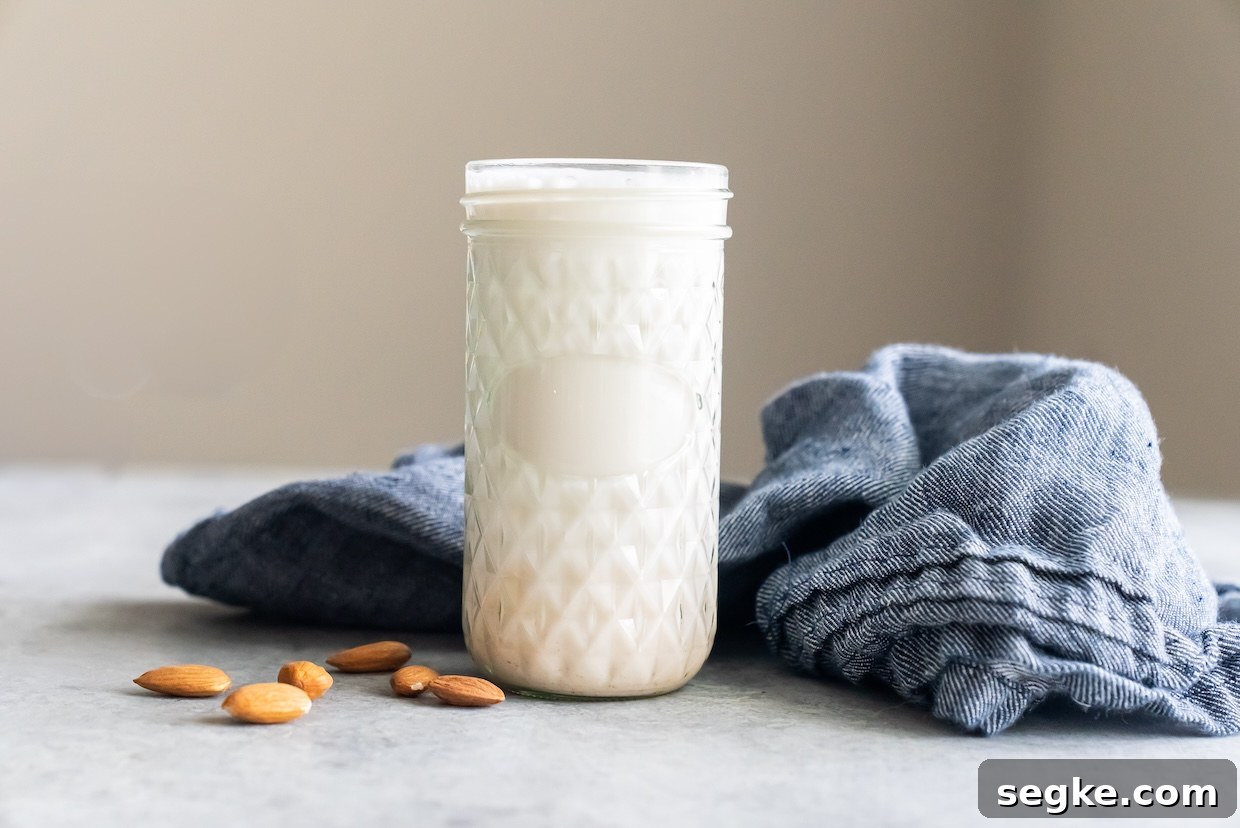
Making homemade almond milk is simple, fresh, and rewarding. With only three ingredients—raw almonds, water, and a pinch of salt—you can make a creamy, unsweetened almond milk that tastes better than most store-bought varieties. This straightforward recipe puts you in control of flavor, texture, and ingredients, producing a dairy-free milk suitable for drinking, cooking, and baking.
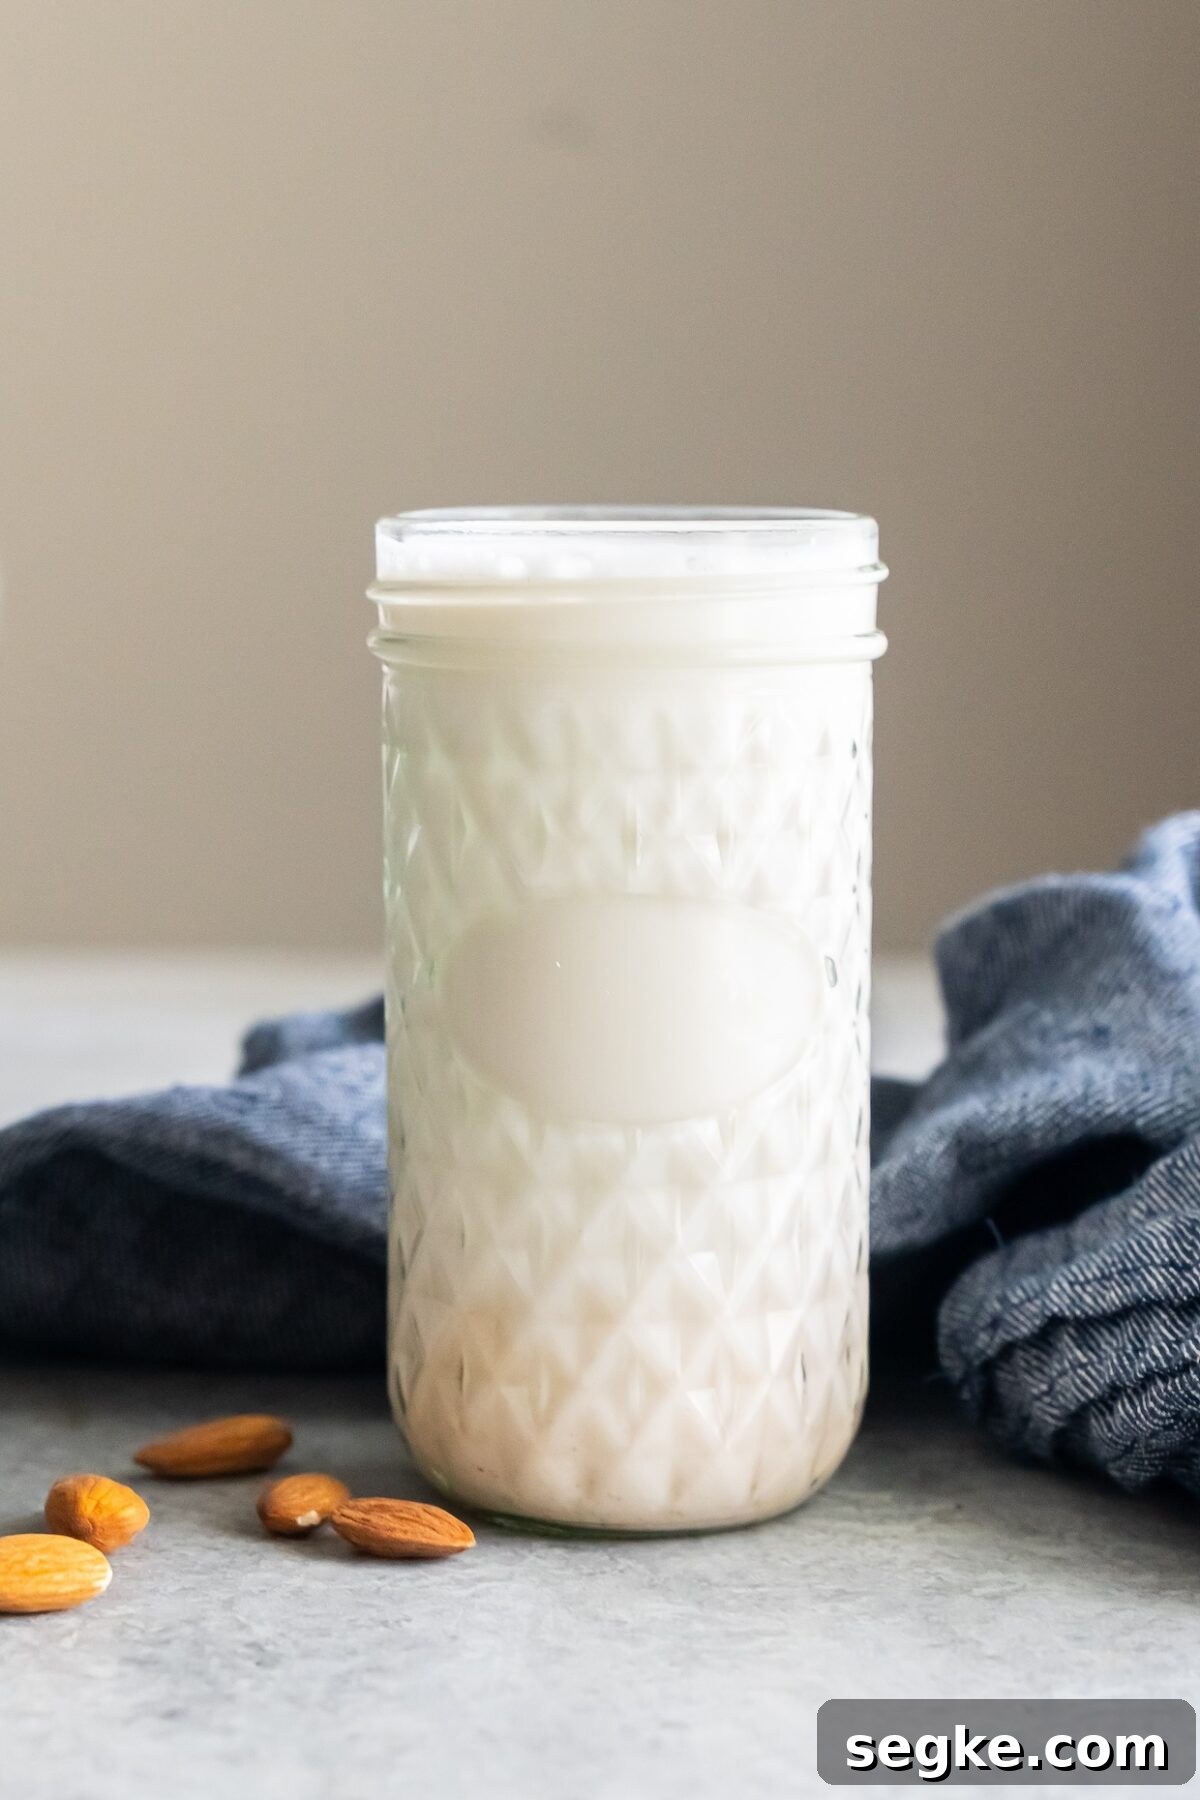
Easy Almond Milk Recipe
This unsweetened almond milk is made in minutes and requires very little equipment. It’s an excellent option if you want a preservative-free, additive-free milk alternative. The texture can be adjusted by changing the almond-to-water ratio, and the flavor is neutral enough to use in smoothies, coffee, baking, and savory dishes.
Why you’ll love this almond milk
- Simple ingredients: Only raw almonds, water, and a pinch of salt.
- Clean label: No preservatives, added sugar, or artificial stabilizers.
- Customizable: Control thickness by adding more or less water.
- Versatile: Use in beverages, desserts, cereals, or cooking.
- Economical and eco-friendly: Make small batches to cut cost and reduce packaging waste.
Ingredients
- 2 cups water
- Pinch of salt
- ¼ cup raw almonds
Tools needed to make homemade almond milk
You’ll need a high-speed blender or a nut milk maker capable of processing nuts into a smooth, creamy liquid. A fine-mesh strainer, nut milk bag, or cheesecloth is useful for straining out almond residue. An airtight glass container is recommended for storage.
How to make almond milk
- Combine ingredients: Place the almonds, water, and a pinch of salt into your blender or nut milk maker.
- Blend: Process on a high or standard setting until the mixture is smooth and creamy. This typically takes about 3–6 minutes depending on your appliance.
- Strain: Pour the blended mixture through a fine-mesh strainer, nut milk bag, or cheesecloth into a clean container. You may need to rinse the strainer once or twice to remove stubborn residue.
What can you make with homemade almond milk?
Homemade almond milk is highly versatile and can replace dairy milk in many recipes. Ideas include:
- Smoothies: Use as the liquid base for fruit or protein smoothies.
- Coffee and tea: Add to lattes or tea for a dairy-free alternative.
- Baking: Substitute one-for-one in muffins, pancakes, and quick breads.
- Desserts: Make dairy-free puddings, custards, or frozen treats.
- Breakfast: Pour over cereal or mix into oatmeal and overnight oats.
- Soups and sauces: Use to add creaminess without dairy.
How to store
Because this almond milk contains no preservatives, store it in an airtight glass container in the refrigerator and use within 2–3 days. Shake gently before using, as natural separation may occur.
Equipment
- High-speed blender or nut milk maker
- Fine-mesh strainer, nut milk bag, or cheesecloth
- Airtight glass container for storage
Homemade Almond Milk — Recipe Card
Servings
Makes about 2 cups
Prep time
About 6 minutes
Ingredients
- 2 cups water
- Pinch of salt
- ¼ cup raw almonds
Instructions
- Add almonds, water, and salt to your blender or nut milk maker.
- Blend until the mixture is smooth and creamy.
- Strain the milk through a fine-mesh strainer or nut milk bag into a clean container. Discard or reserve the almond pulp for other uses.
- Refrigerate in an airtight glass jar and use within 2–3 days.
Nutrition (approximate per batch)
- Calories: 95 kcal
- Carbohydrates: 3.3 g
- Protein: 3.5 g
- Fat: 8.3 g
- Fiber: 1.8 g
Tips and notes
- If you prefer a creamier milk, use less water. For a lighter milk, increase the water.
- Save the strained almond pulp to add to smoothies, baked goods, or as a base for crackers.
- Always store the milk cold and use within a few days to ensure freshness.