
Table of Contents
One essential but sometimes overlooked step after sous vide cooking is searing. Whether you finish a steak, roast, or chicken, a proper sear transforms texture and flavor. This article focuses on practical, reliable techniques for searing, with an emphasis on using a hot cast iron pan. The guidance also applies to grills, deep frying, and other finishing methods so you can choose what works best for your kitchen and equipment.
Why should we sear our food?
Searing adds crispness, color, and complex savory flavors through the Maillard reaction, a chemical process that browns proteins and creates many of the aromas and tastes we associate with well-cooked meat. That browning typically accelerates between roughly 140 and 165 °C (280–330 °F), producing a rich crust that contrasts with the tender interior that sous vide delivers. In short, searing completes the eating experience by combining the precise doneness from sous vide with the texture and depth of flavor you expect from traditional cooking.
How do we make sure we get the best sear after the sous vide?
Follow these clear steps to achieve a consistent, attractive crust without overcooking the interior.
1. Dry the surface thoroughly. After removing meat from its bag, blot the exterior with paper towels until it is as dry as possible. Any surface moisture will create steam on the pan and prevent proper browning.
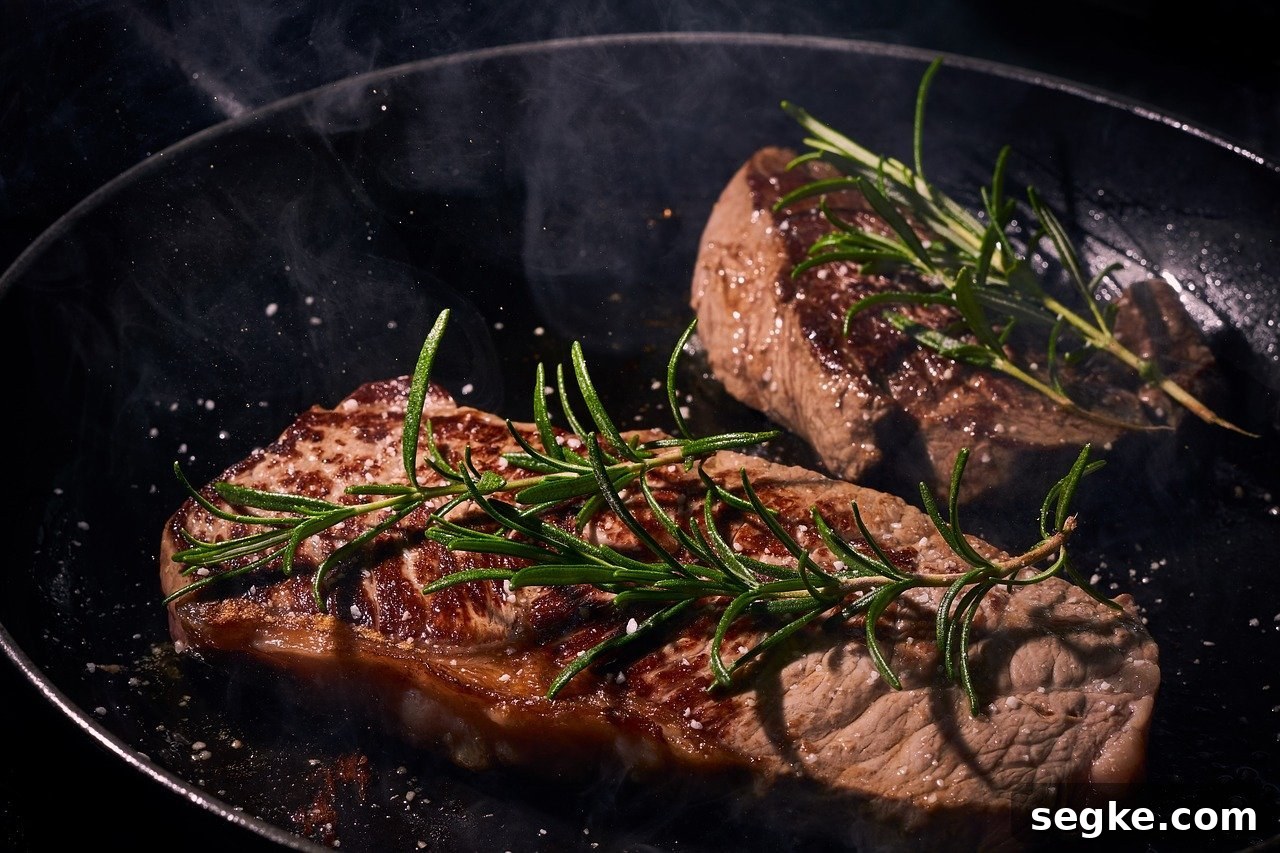
2. Preheat the pan until it’s screaming hot. A cast iron skillet is ideal because it retains and distributes heat well. Preheat the pan over high heat until it radiates heat—this is essential to triggering the Maillard reaction quickly without transferring too much heat to the center.
3. Use a high smoke point oil. Choose oils such as avocado oil, refined grapeseed oil, or ghee. These oils let you sear at high temperatures with less smoke and fewer burnt flavors.
4. Apply pressure briefly if needed. A meat press or heavy spatula held down for a few seconds helps ensure even contact between meat and pan, especially for thicker cuts.
5. Rotate for even coverage and keep sear time short. Rotate the meat every 10–20 seconds to develop an even crust; total sear time is typically 1–2 minutes depending on thickness and desired color. The goal is surface color without raising the interior temperature significantly.
6. Consider finishing touches. For extra control, a culinary torch can quickly darken and crisp the surface without prolonged pan time. Use it sparingly and evenly for the best result.
What other Searing Methods are good for the Sous Vide?
Grill
Grilling is a great outdoor finishing option. Preheat the grill to its highest setting with the lid closed to build maximum heat. Lightly oil the meat’s surface, then place it on the hottest part of the grate for 45–90 seconds per side. Keep sear times short to avoid drying and monitor closely—grill marks and char add appealing flavor if you don’t leave the meat on too long.
Frying
Deep frying or shallow deep-frying gives an exceptionally even browned exterior while preserving the sous vide interior. Heat oil to around 375 °F (190 °C) and briefly immerse the meat for 30–90 seconds. Because water and hot oil react violently, ensure the exterior is thoroughly dried before frying to prevent oil spatter and ensure safety.
Cooling
If you’re worried about overcooking the center while searing, briefly chill the cooked item in the refrigerator or freezer for a few minutes. Cooling the surface slightly reduces heat transfer to the core during searing, allowing a longer surface browning window while keeping the interior at the precise sous vide temperature.
Flour
Lightly dusting the exterior with a thin layer of flour or cornstarch can help form a more pronounced crust and add a subtle textural difference. Use sparingly so that the coating browns quickly without burning.
In summary, a quick, hot sear is the final step that turns perfectly cooked sous vide meat into a restaurant-quality dish. Dry the surface, use a very hot pan or other high-heat method, choose a high-smoke-point fat, and keep searing brief. With a few simple precautions—drying, short sear times, and optional chilling or torching—you’ll get a beautiful crust while preserving the juiciness and precise doneness that make sous vide so valuable.