
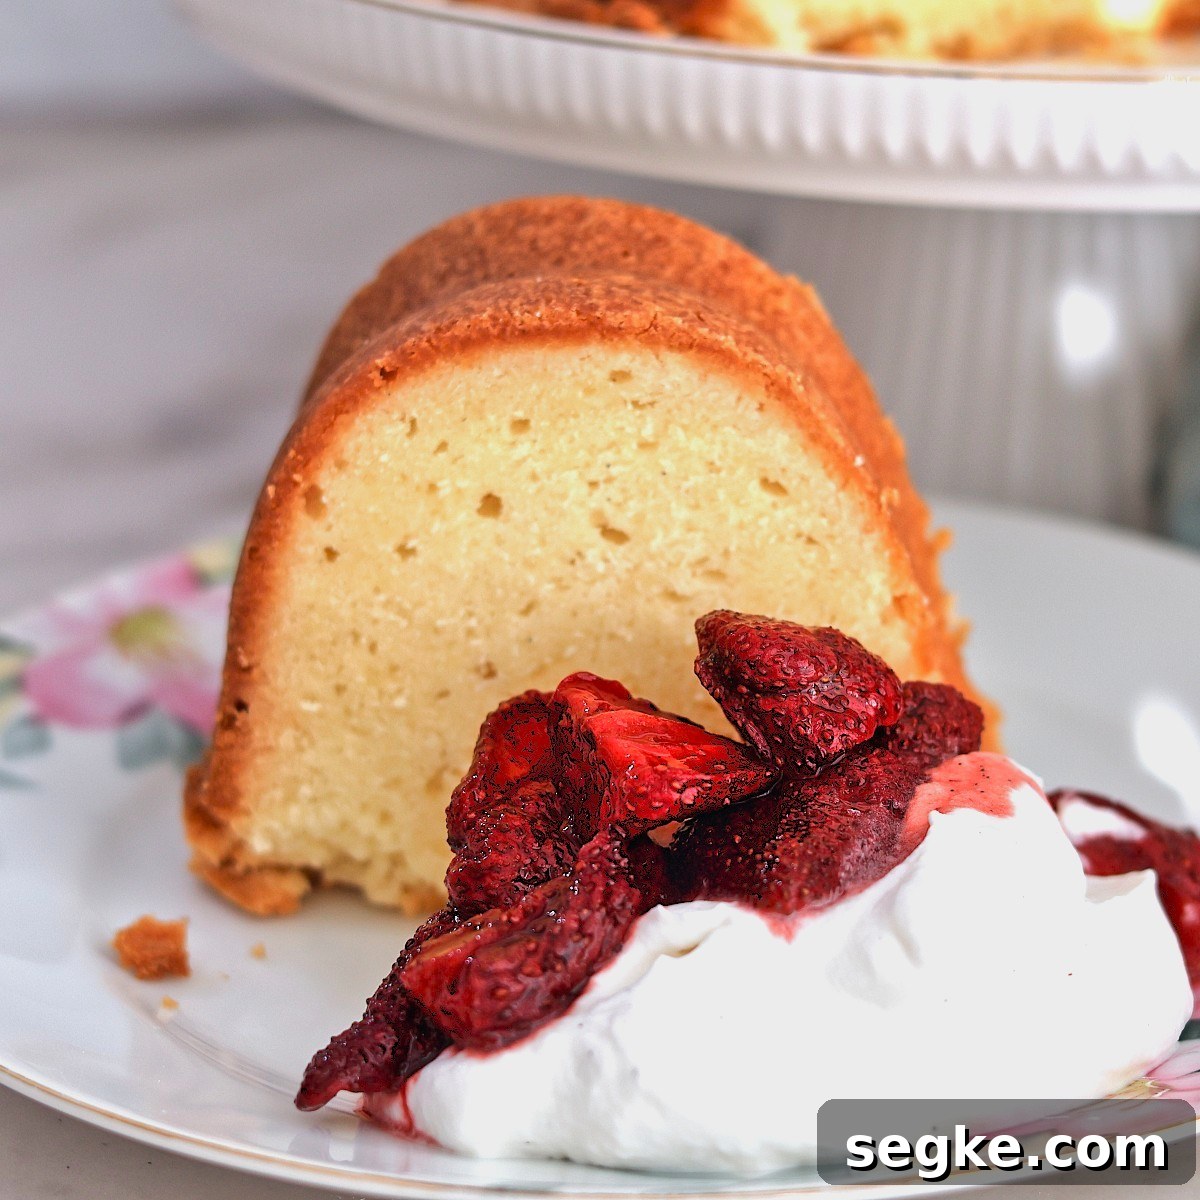
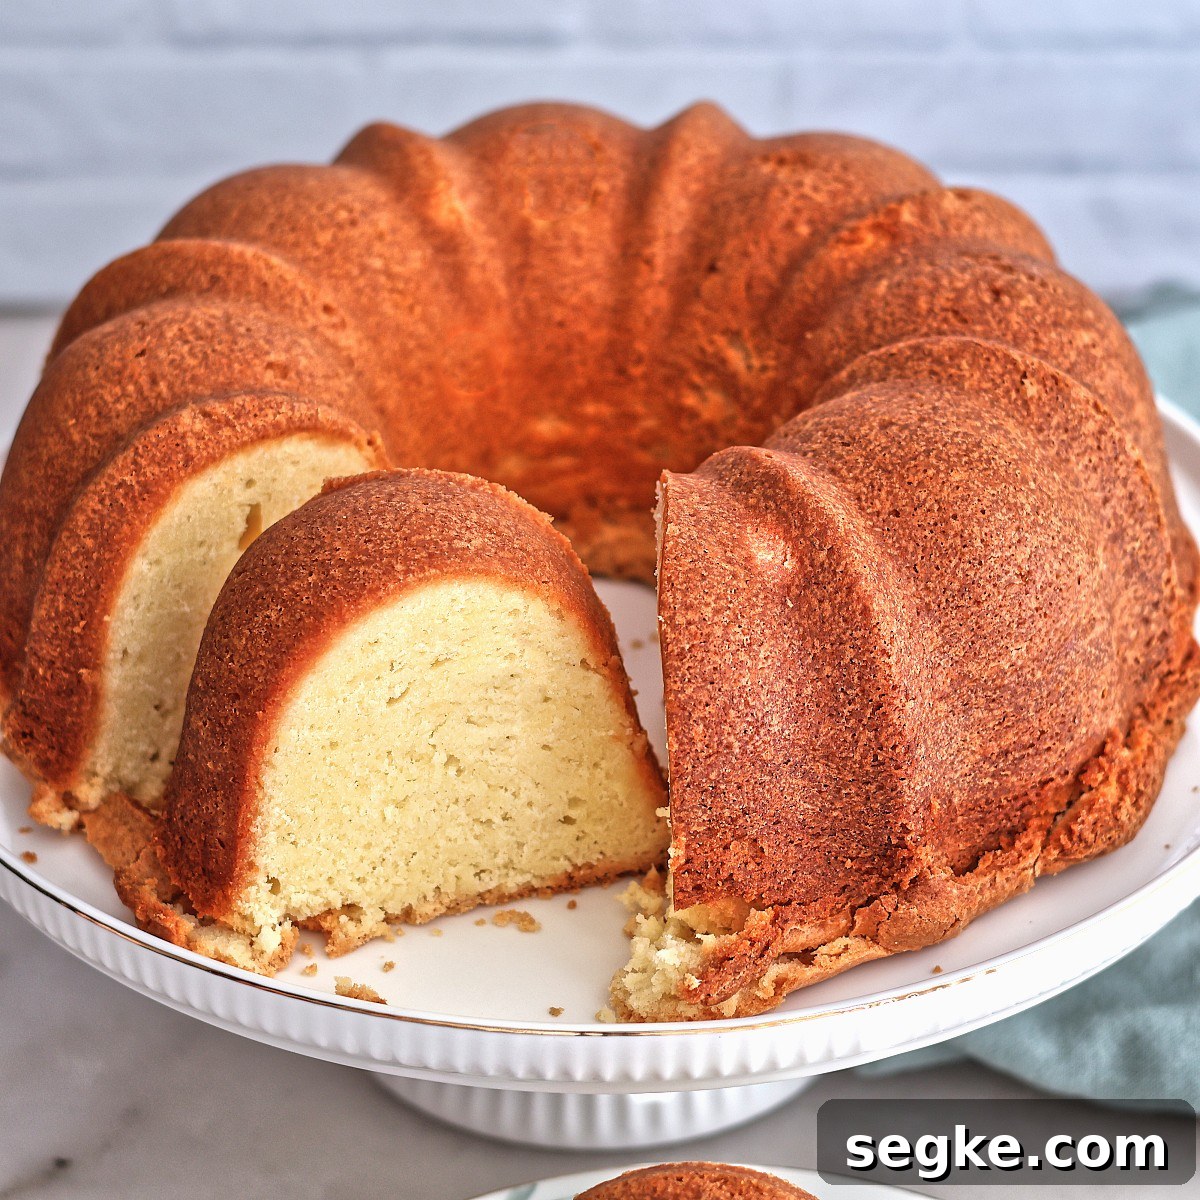
Rich, buttery, and wonderfully tender, this gluten free pound cake owes its irresistible texture to a surprise addition: cream cheese. The cream cheese enriches the batter, producing a velvety crumb that stays moist for days while preserving the classic dense character of a pound cake.
Some items referenced in this post may be affiliate links; at no extra cost to you, purchases made through those links may earn a small commission.
This Perfect Gluten Free Pound Cake recipe first appeared in March 2019 and has since been updated with new photos, a short video, and additional tips to help you succeed.
This is not an ordinary pound cake—it’s the kind you’ll bake again and again. Its dense yet tender crumb and deep buttery flavor make it every bit as satisfying as the classic wheat-based versions. Serve it plain, dusted with powdered sugar, or topped with macerated berries and whipped cream for an elegant dessert that’s simple to prepare.
I like to use both vanilla and almond extracts for a subtle, layered flavor. The almond extract adds a faint, fragrant note that complements the butter and cream cheese without overpowering them.
Ingredients needed
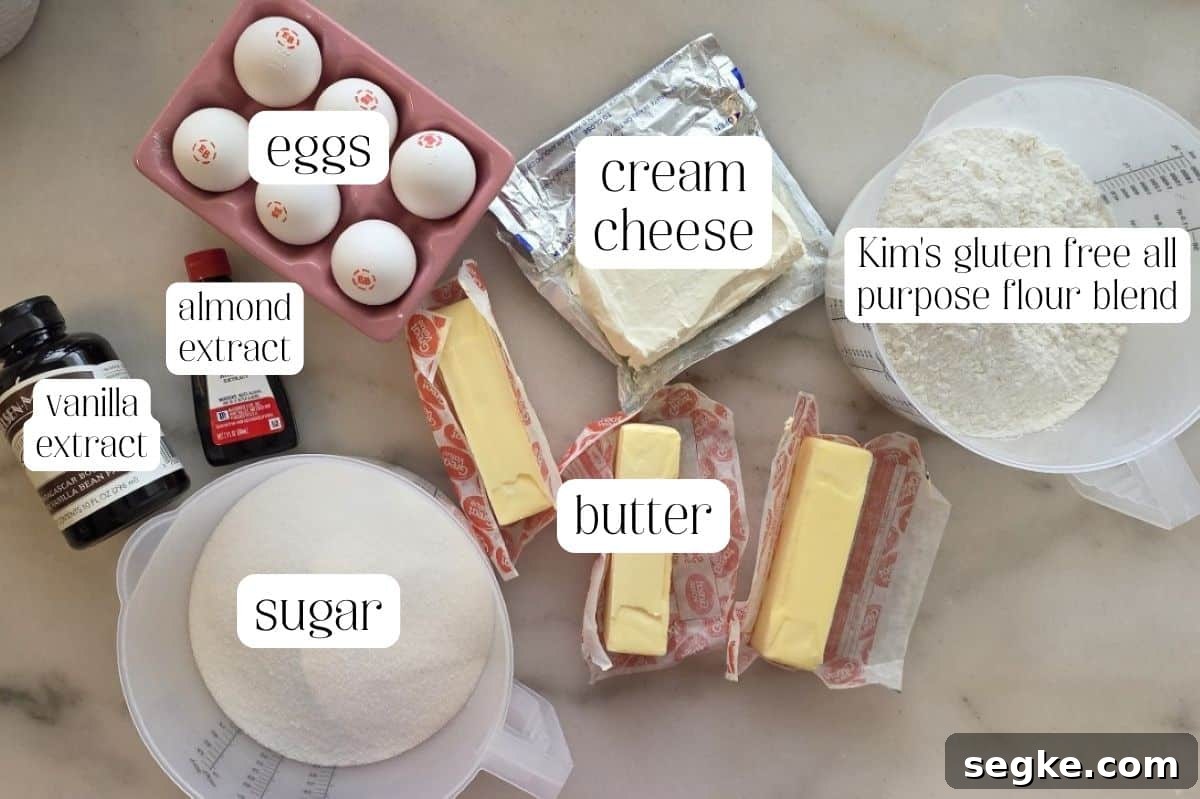
- Cream cheese — Not traditional for pound cake, but essential here. It adds richness, moisture, and a subtle tang that improves texture and flavor. Use full-fat cream cheese at room temperature for best results.
- Butter — Pound cake is known for its generous butter content. This recipe uses nearly three sticks of butter to achieve that classic, tender crumb and deep buttery taste.
- Eggs — Eggs are the sole leavener in this recipe. Beating the eggs into the batter one at a time incorporates air and builds structure, producing the cake’s characteristic rise and fine crumb.
- Almond extract — A small amount brings a warm, aromatic lift to the cake. Use sparingly so it enhances rather than dominates the flavor profile.
How this pound cake rises
You might wonder how a cake can rise without baking powder or baking soda. The answer is eggs and technique. Properly creamed butter, cream cheese, and sugar trap air, and adding eggs slowly builds that aeration further. The air expands during baking, giving the cake its rise. In short, the rise here comes from mechanical aeration rather than chemical leavening.
Let’s make this beautiful pound cake
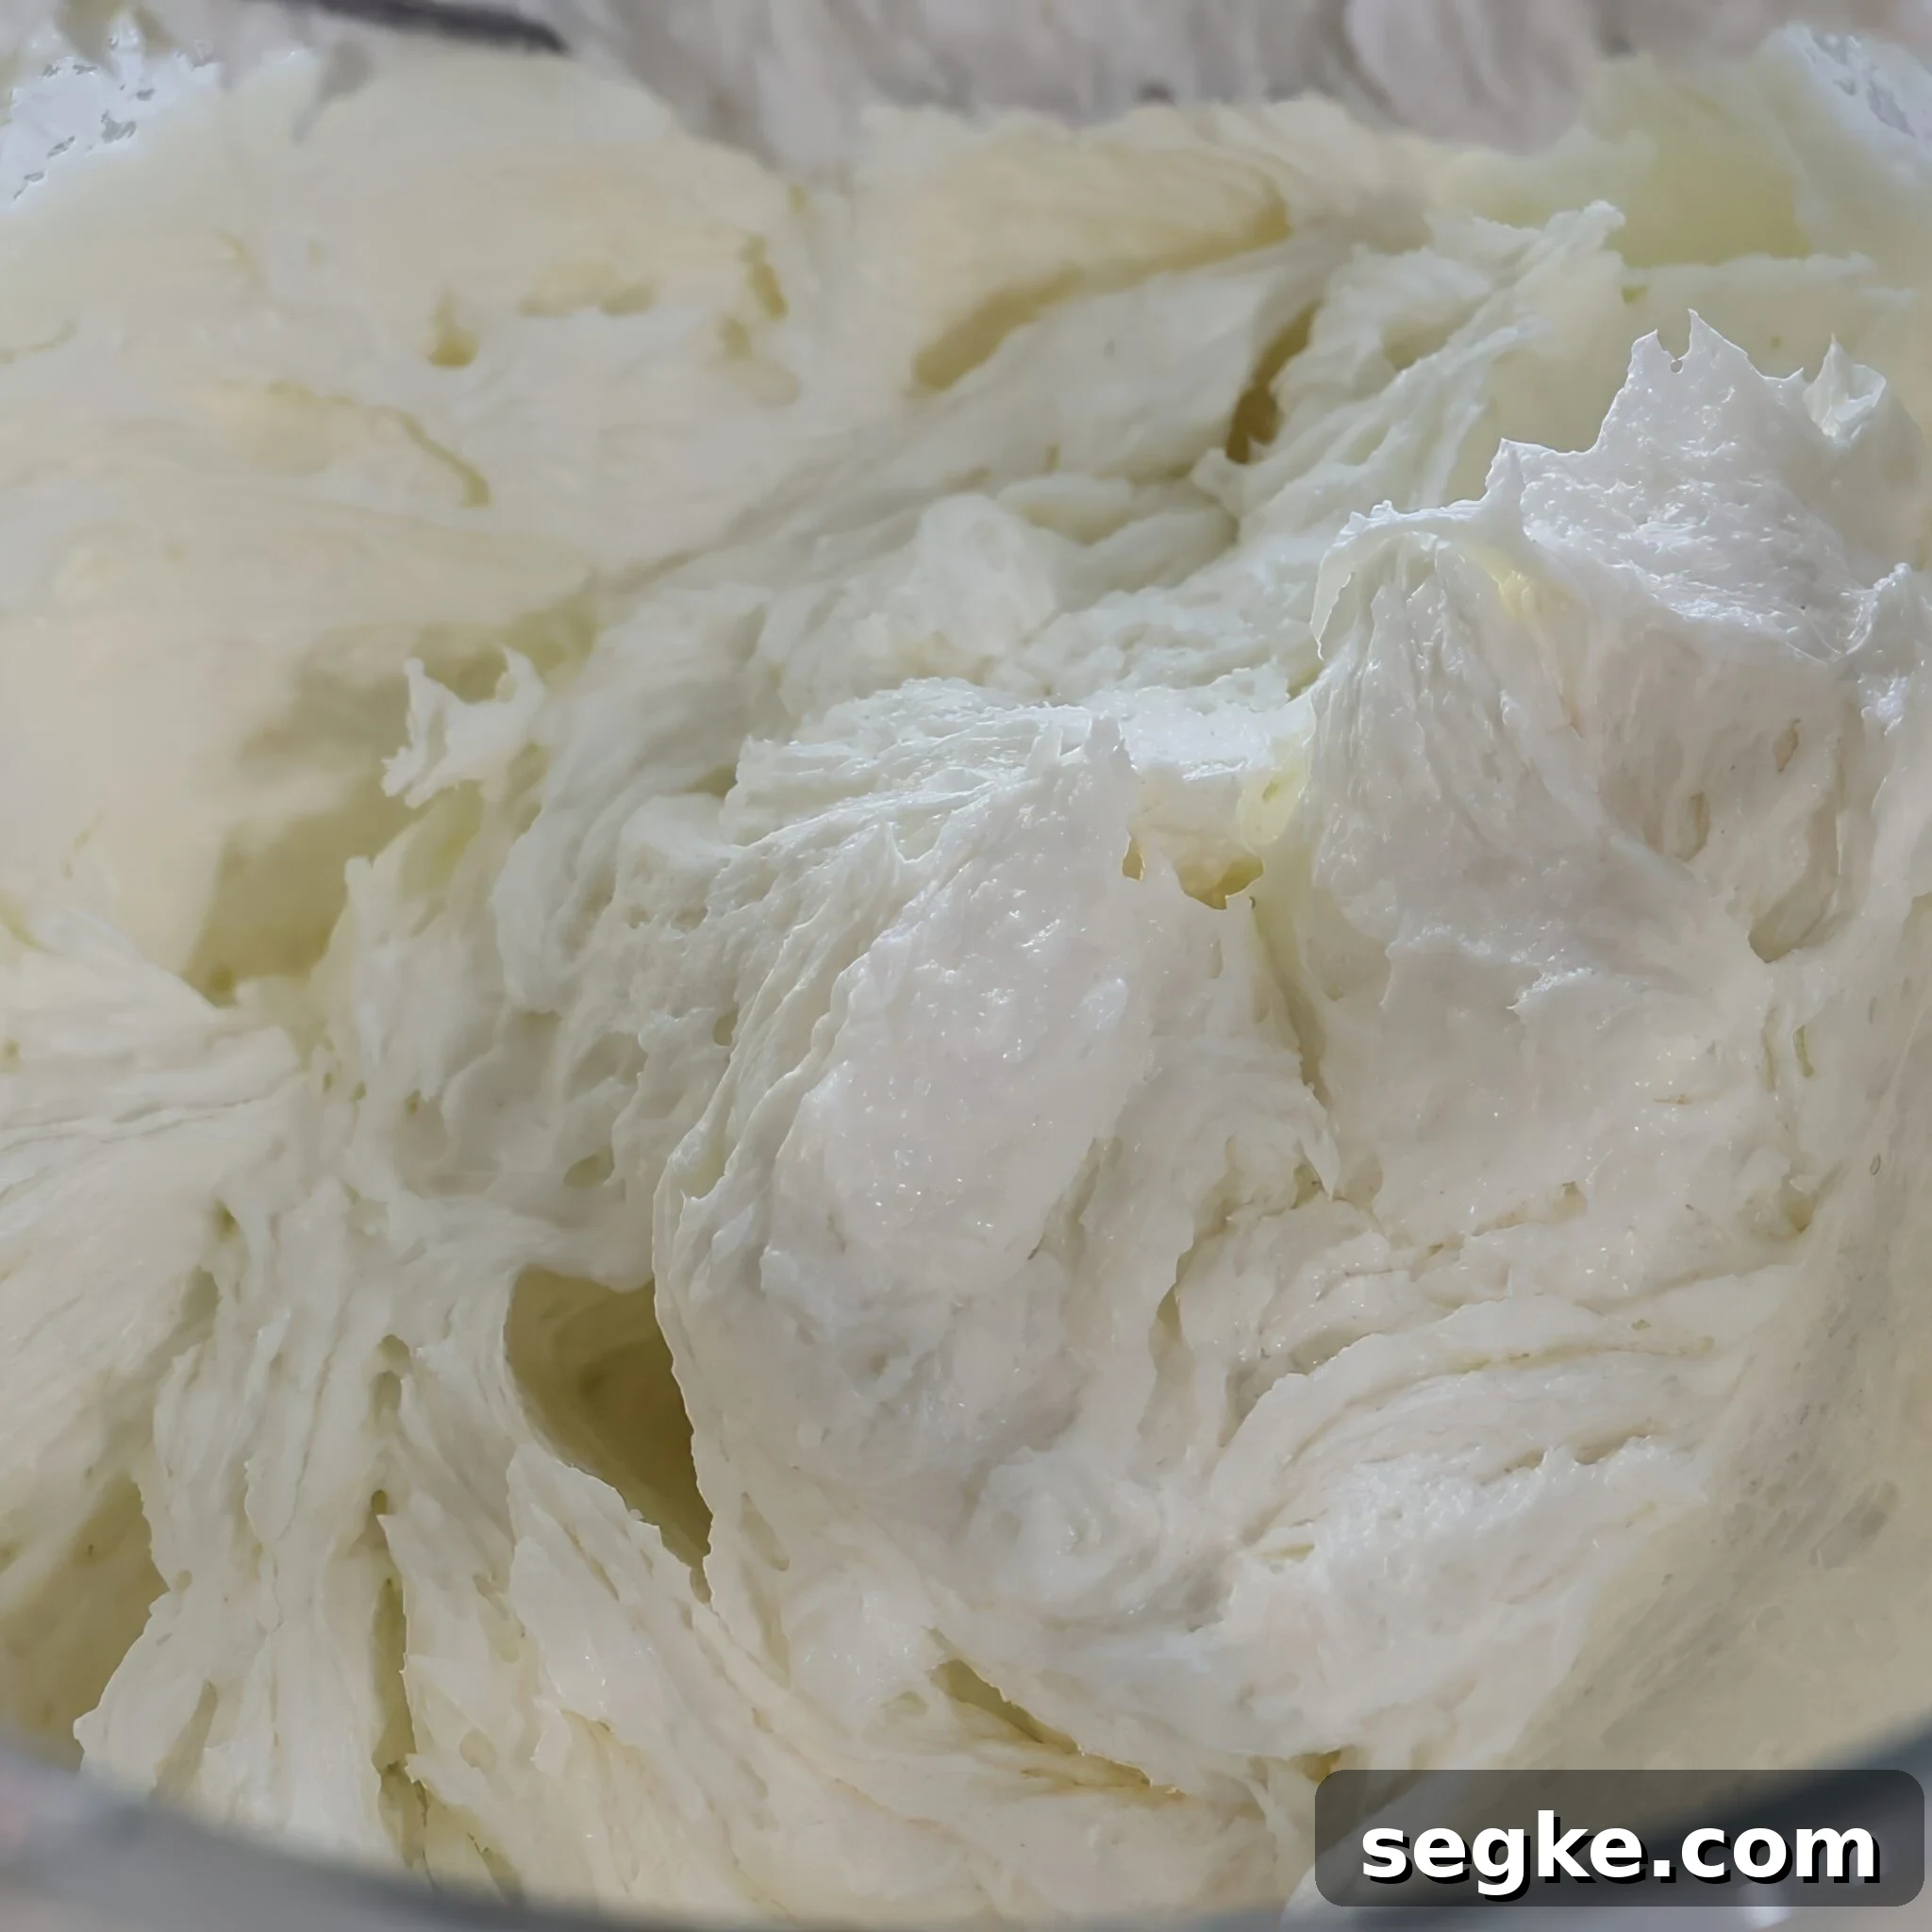
- Step 1: In the bowl of a stand mixer fitted with the paddle attachment, cream the butter and cream cheese together for about 2 minutes until smooth. Gradually add the sugar, then increase the speed to medium-high and beat for 7 minutes, until the mixture is very pale and fluffy.
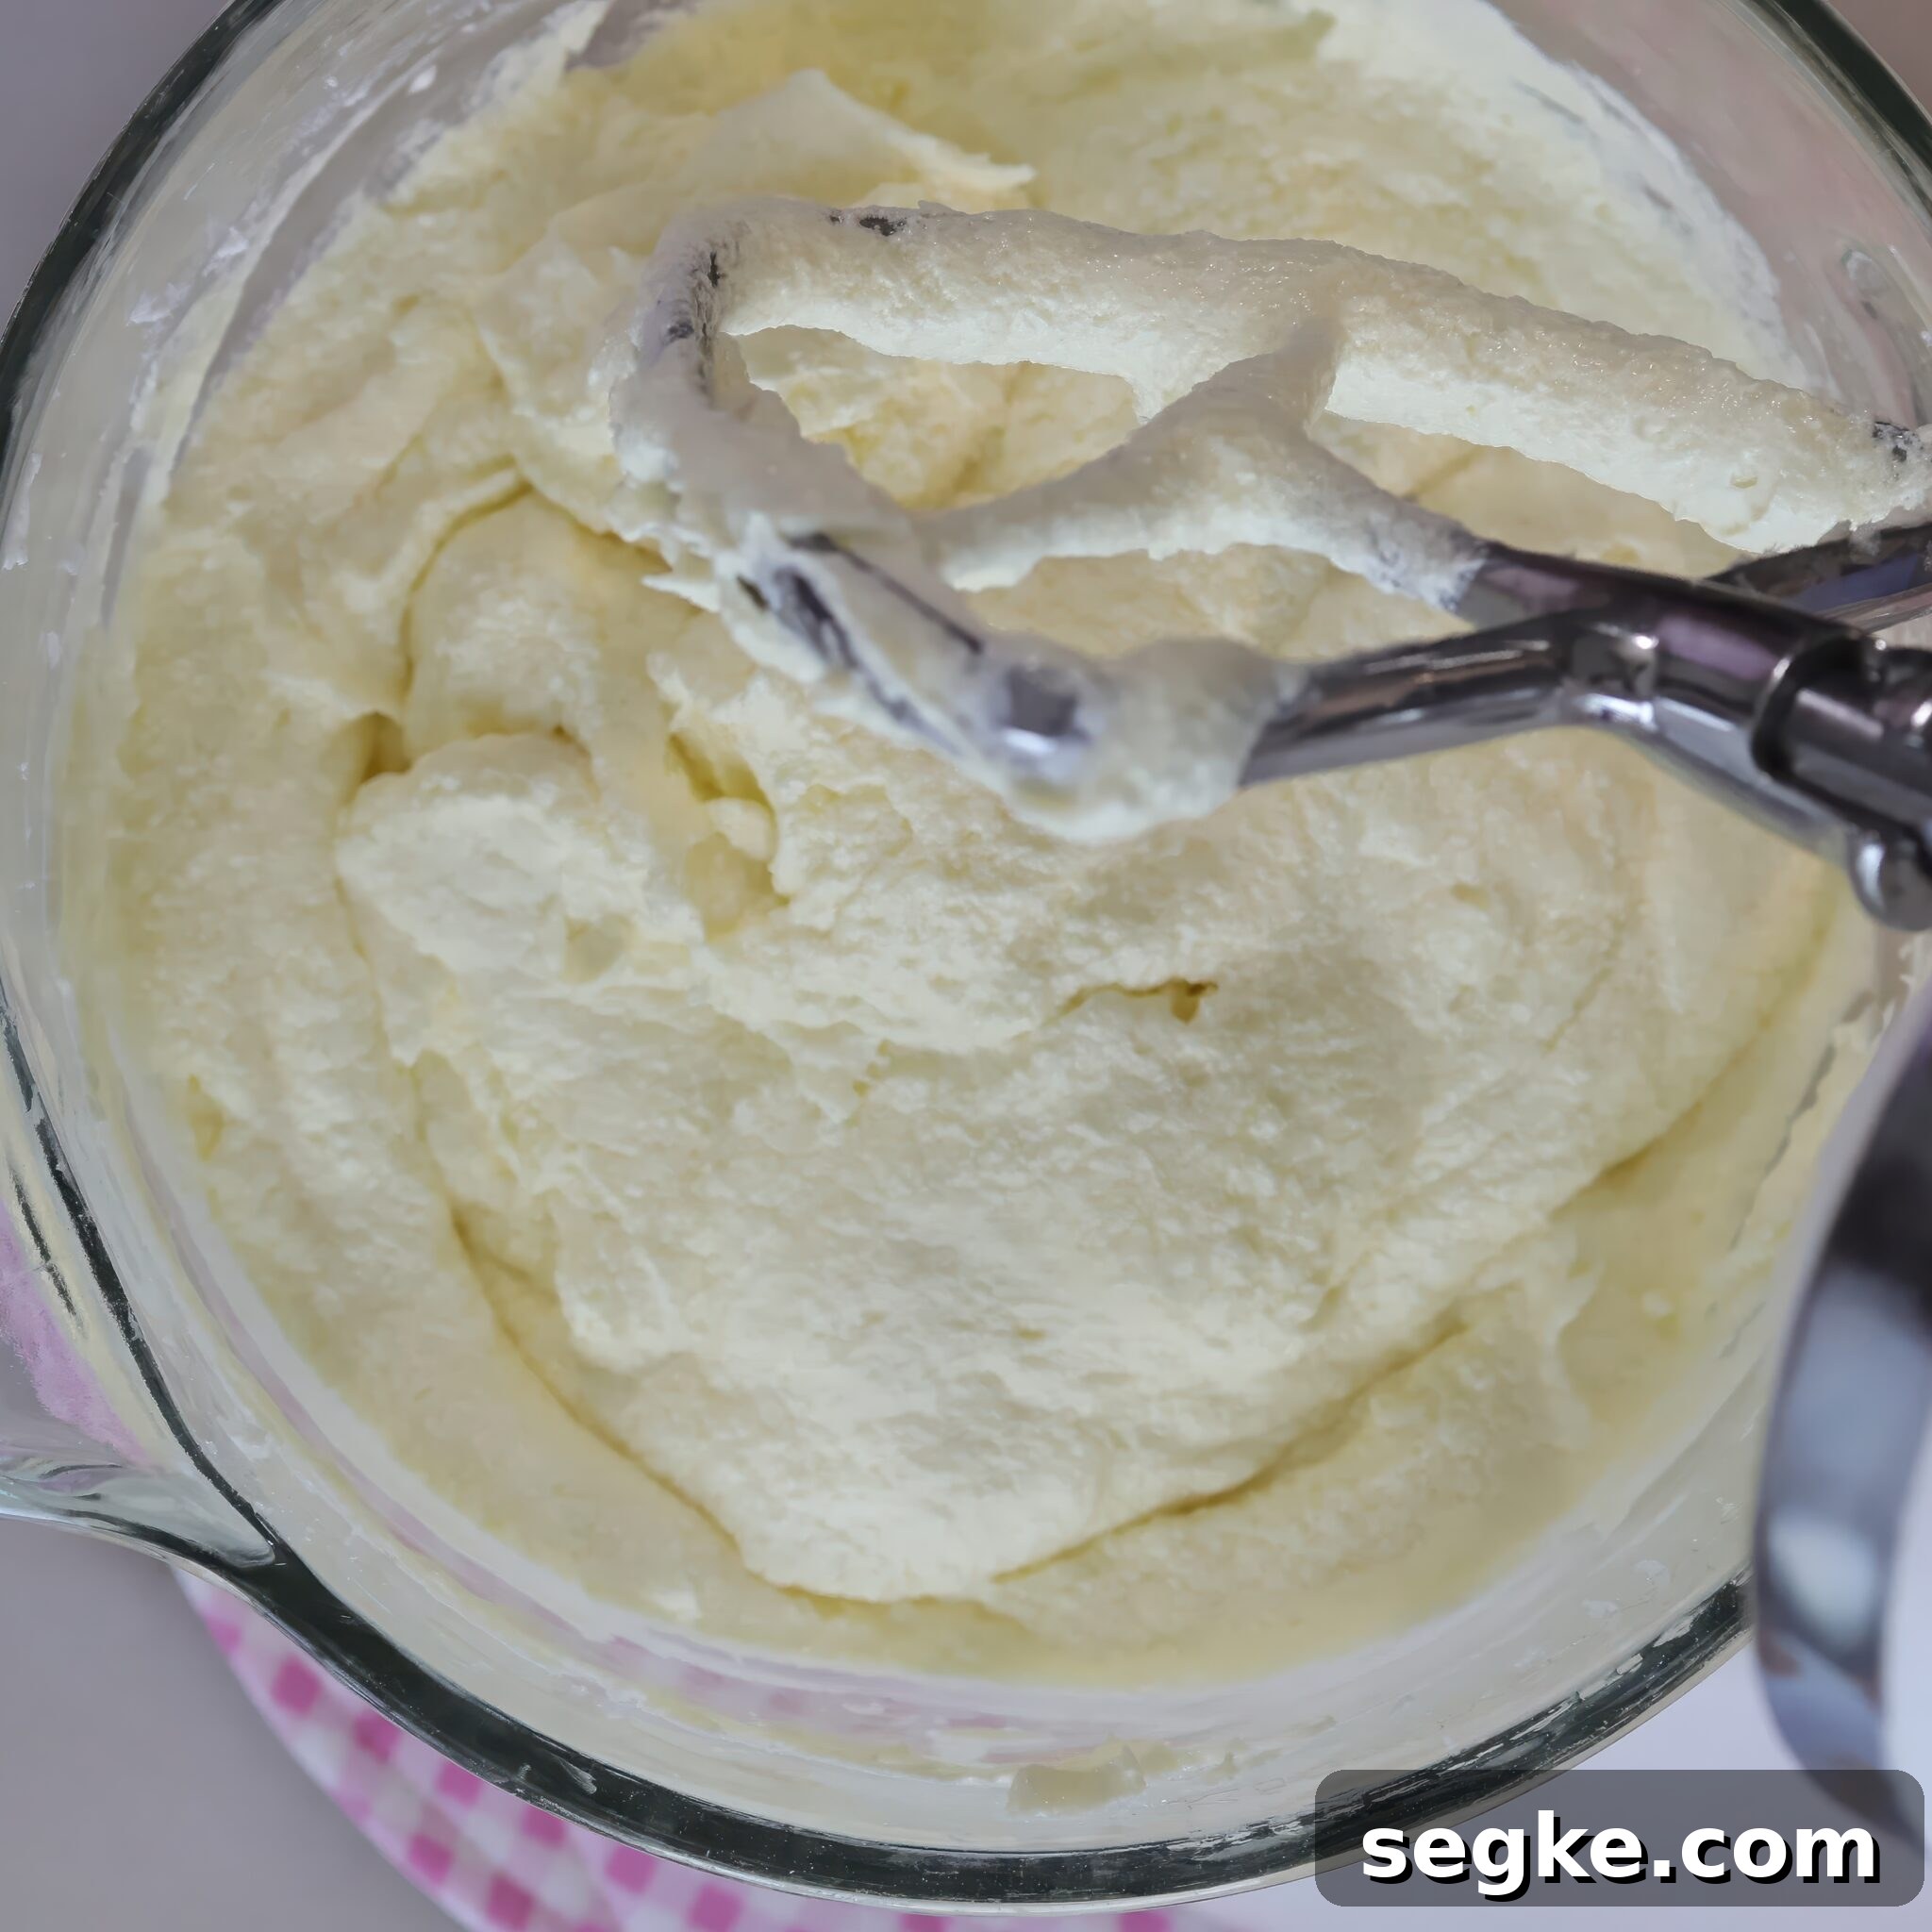
- Step 2: With the mixer on low, add the eggs one at a time, beating for about 30 seconds after each addition. After all eggs are incorporated, scrape the bowl and increase the speed to medium; beat for an additional 2 minutes to stabilize the batter.
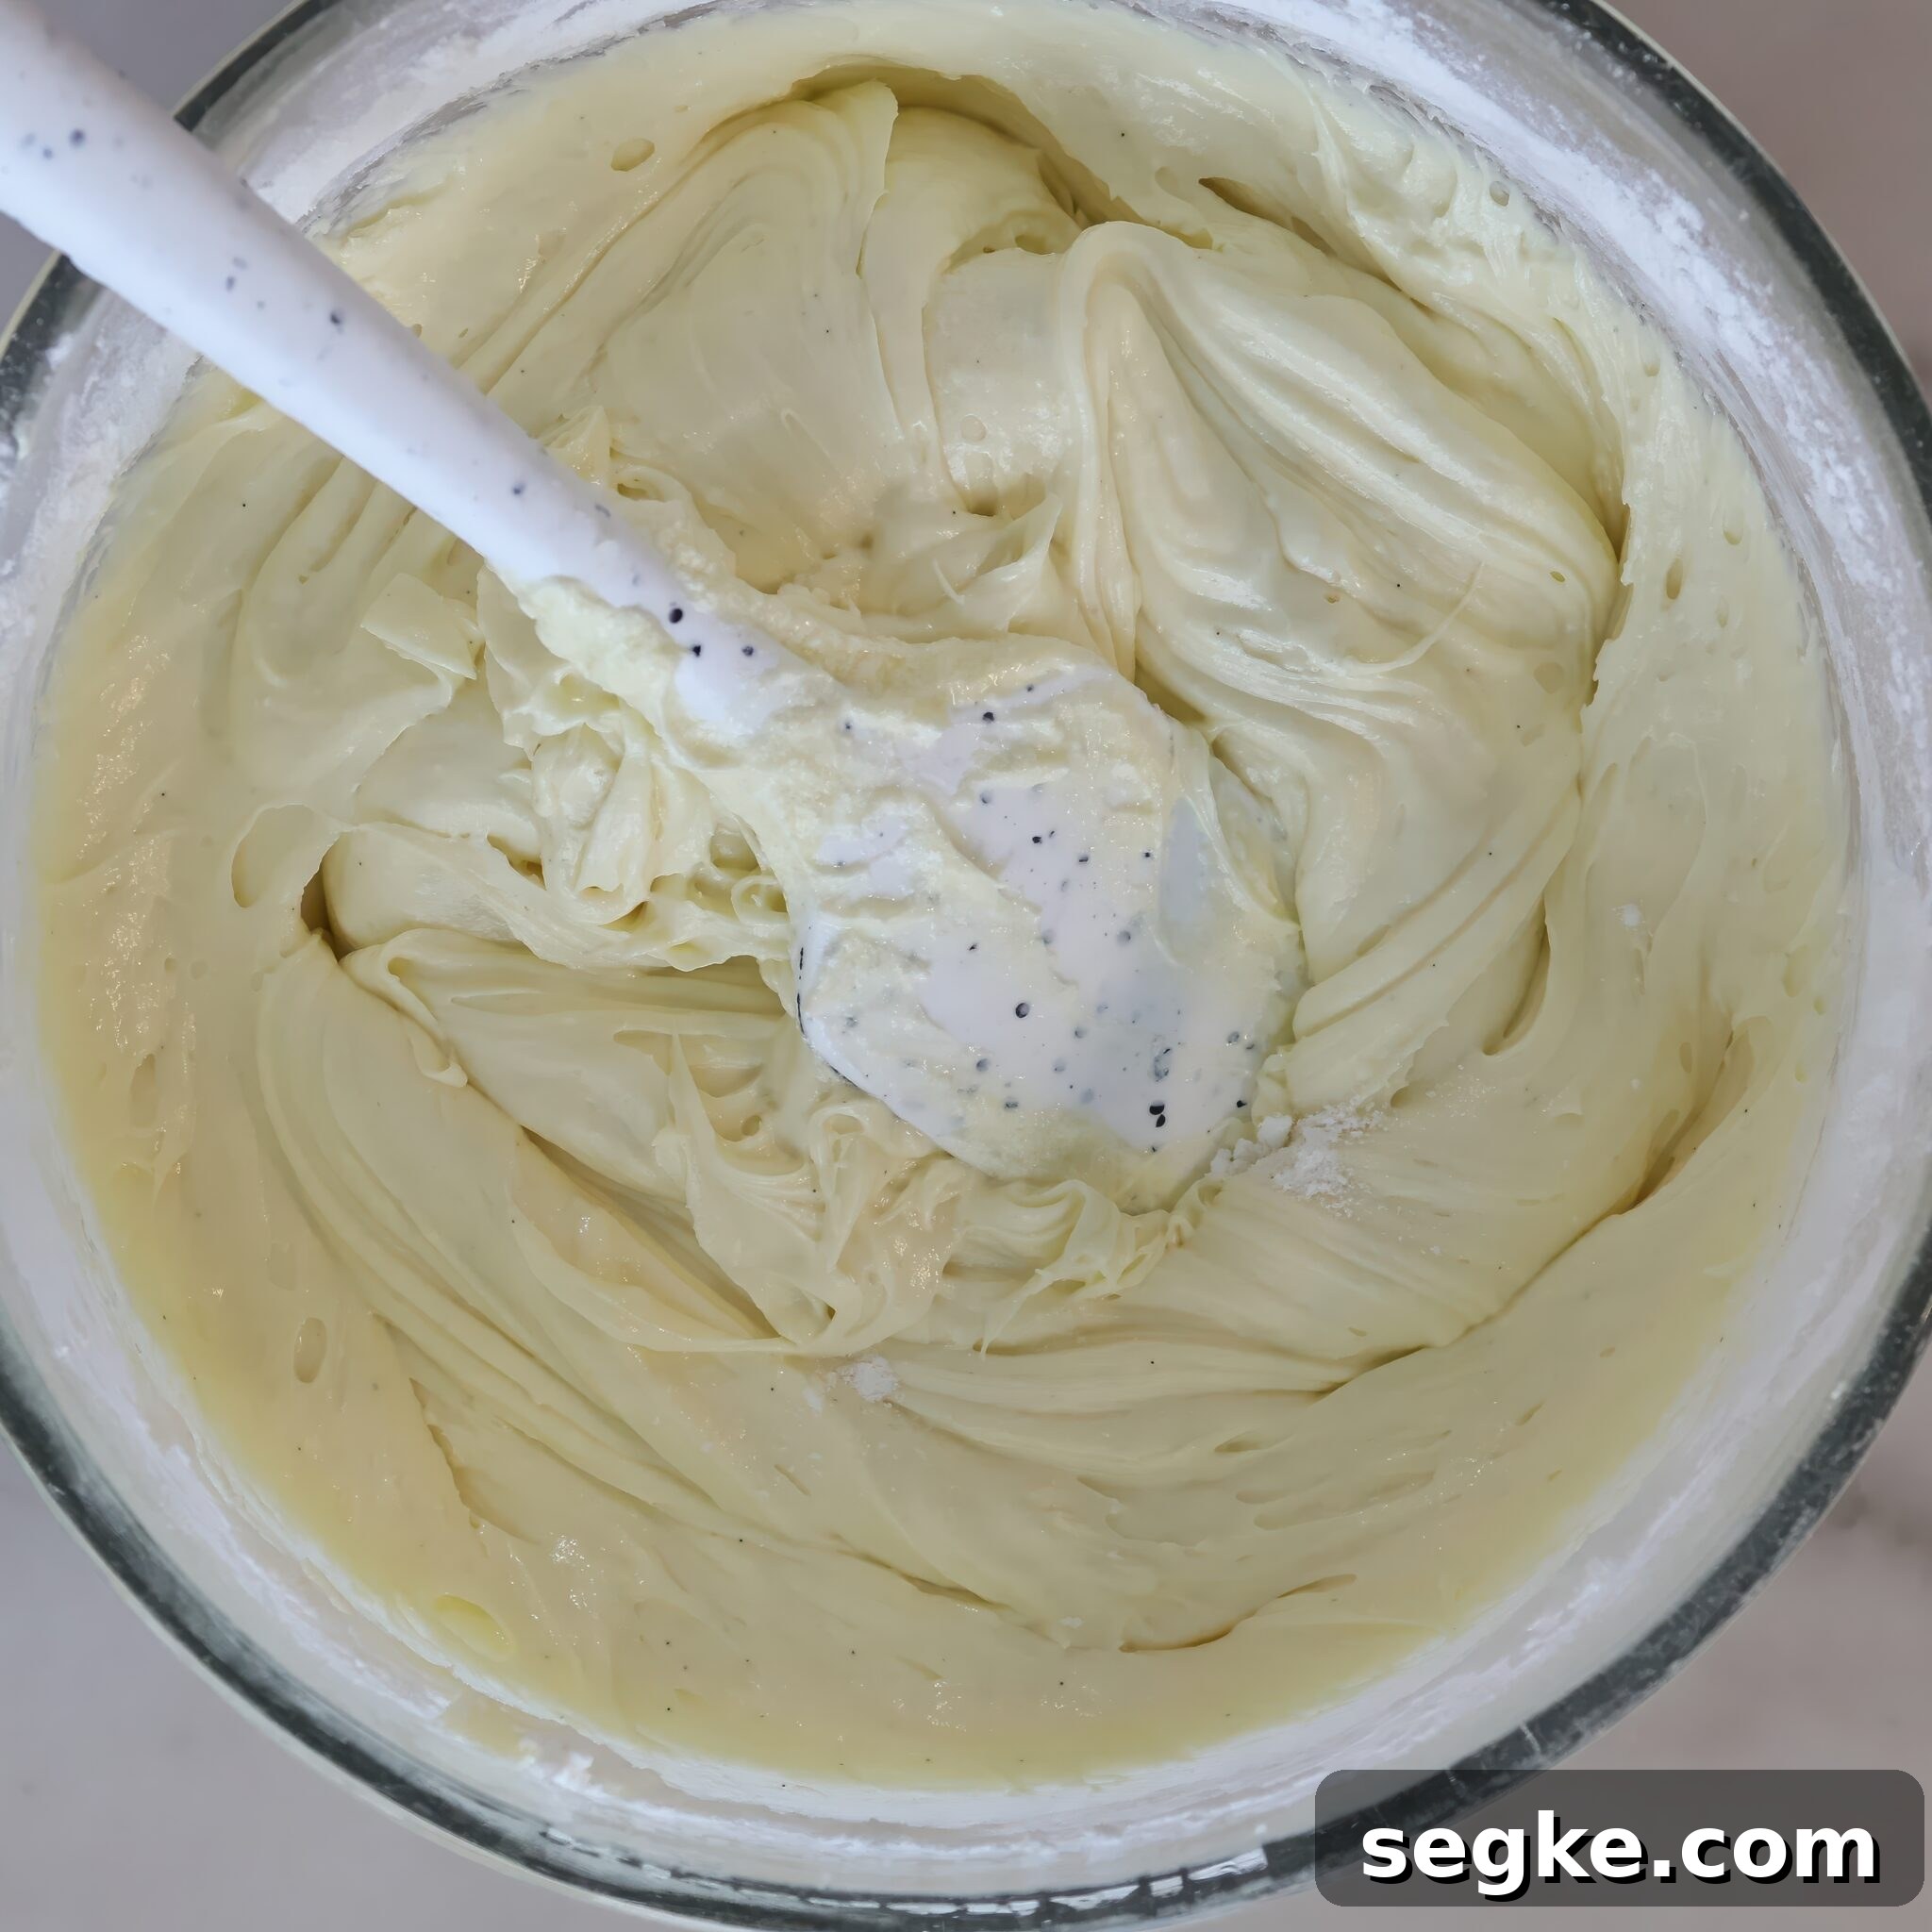
- Step 3: On low speed, add the gluten free flour blend just until combined. Fold the remaining flour by hand if needed to avoid overmixing. Stir in the vanilla and almond extracts at the end.
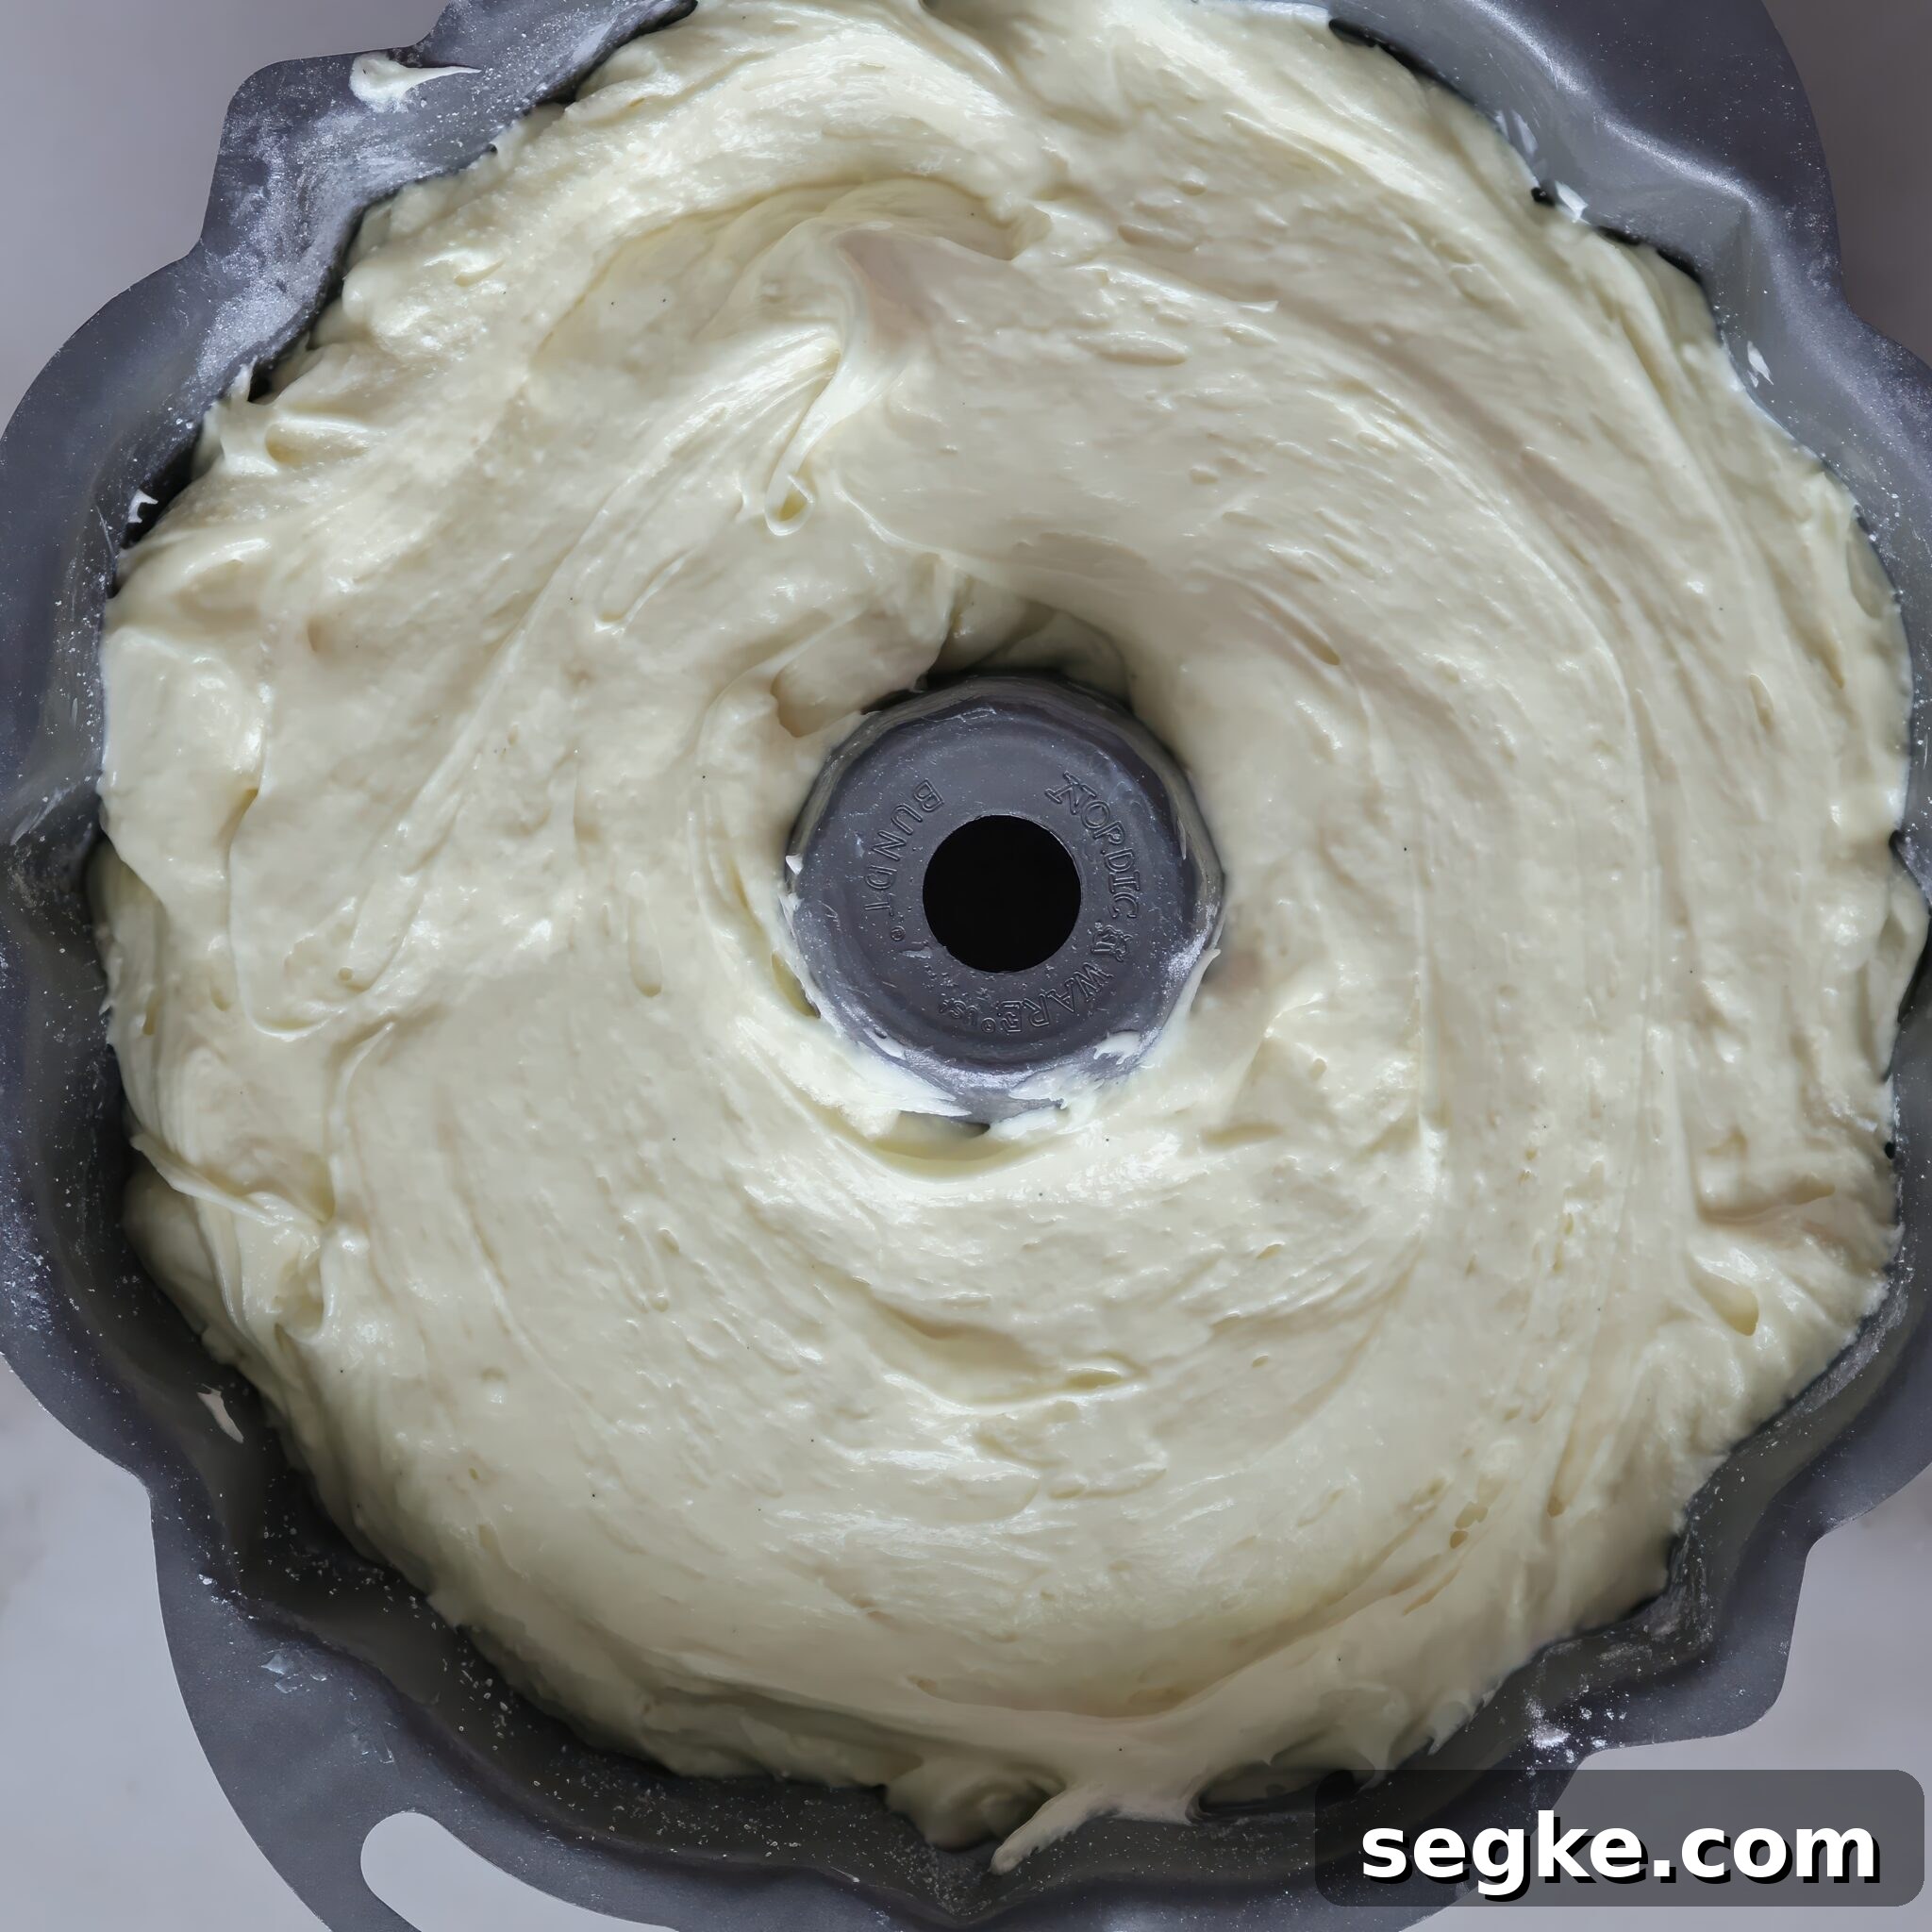
- Step 4: Pour the batter into a well-greased and floured Bundt or tube pan. Smooth the top with an offset spatula to ensure even baking.
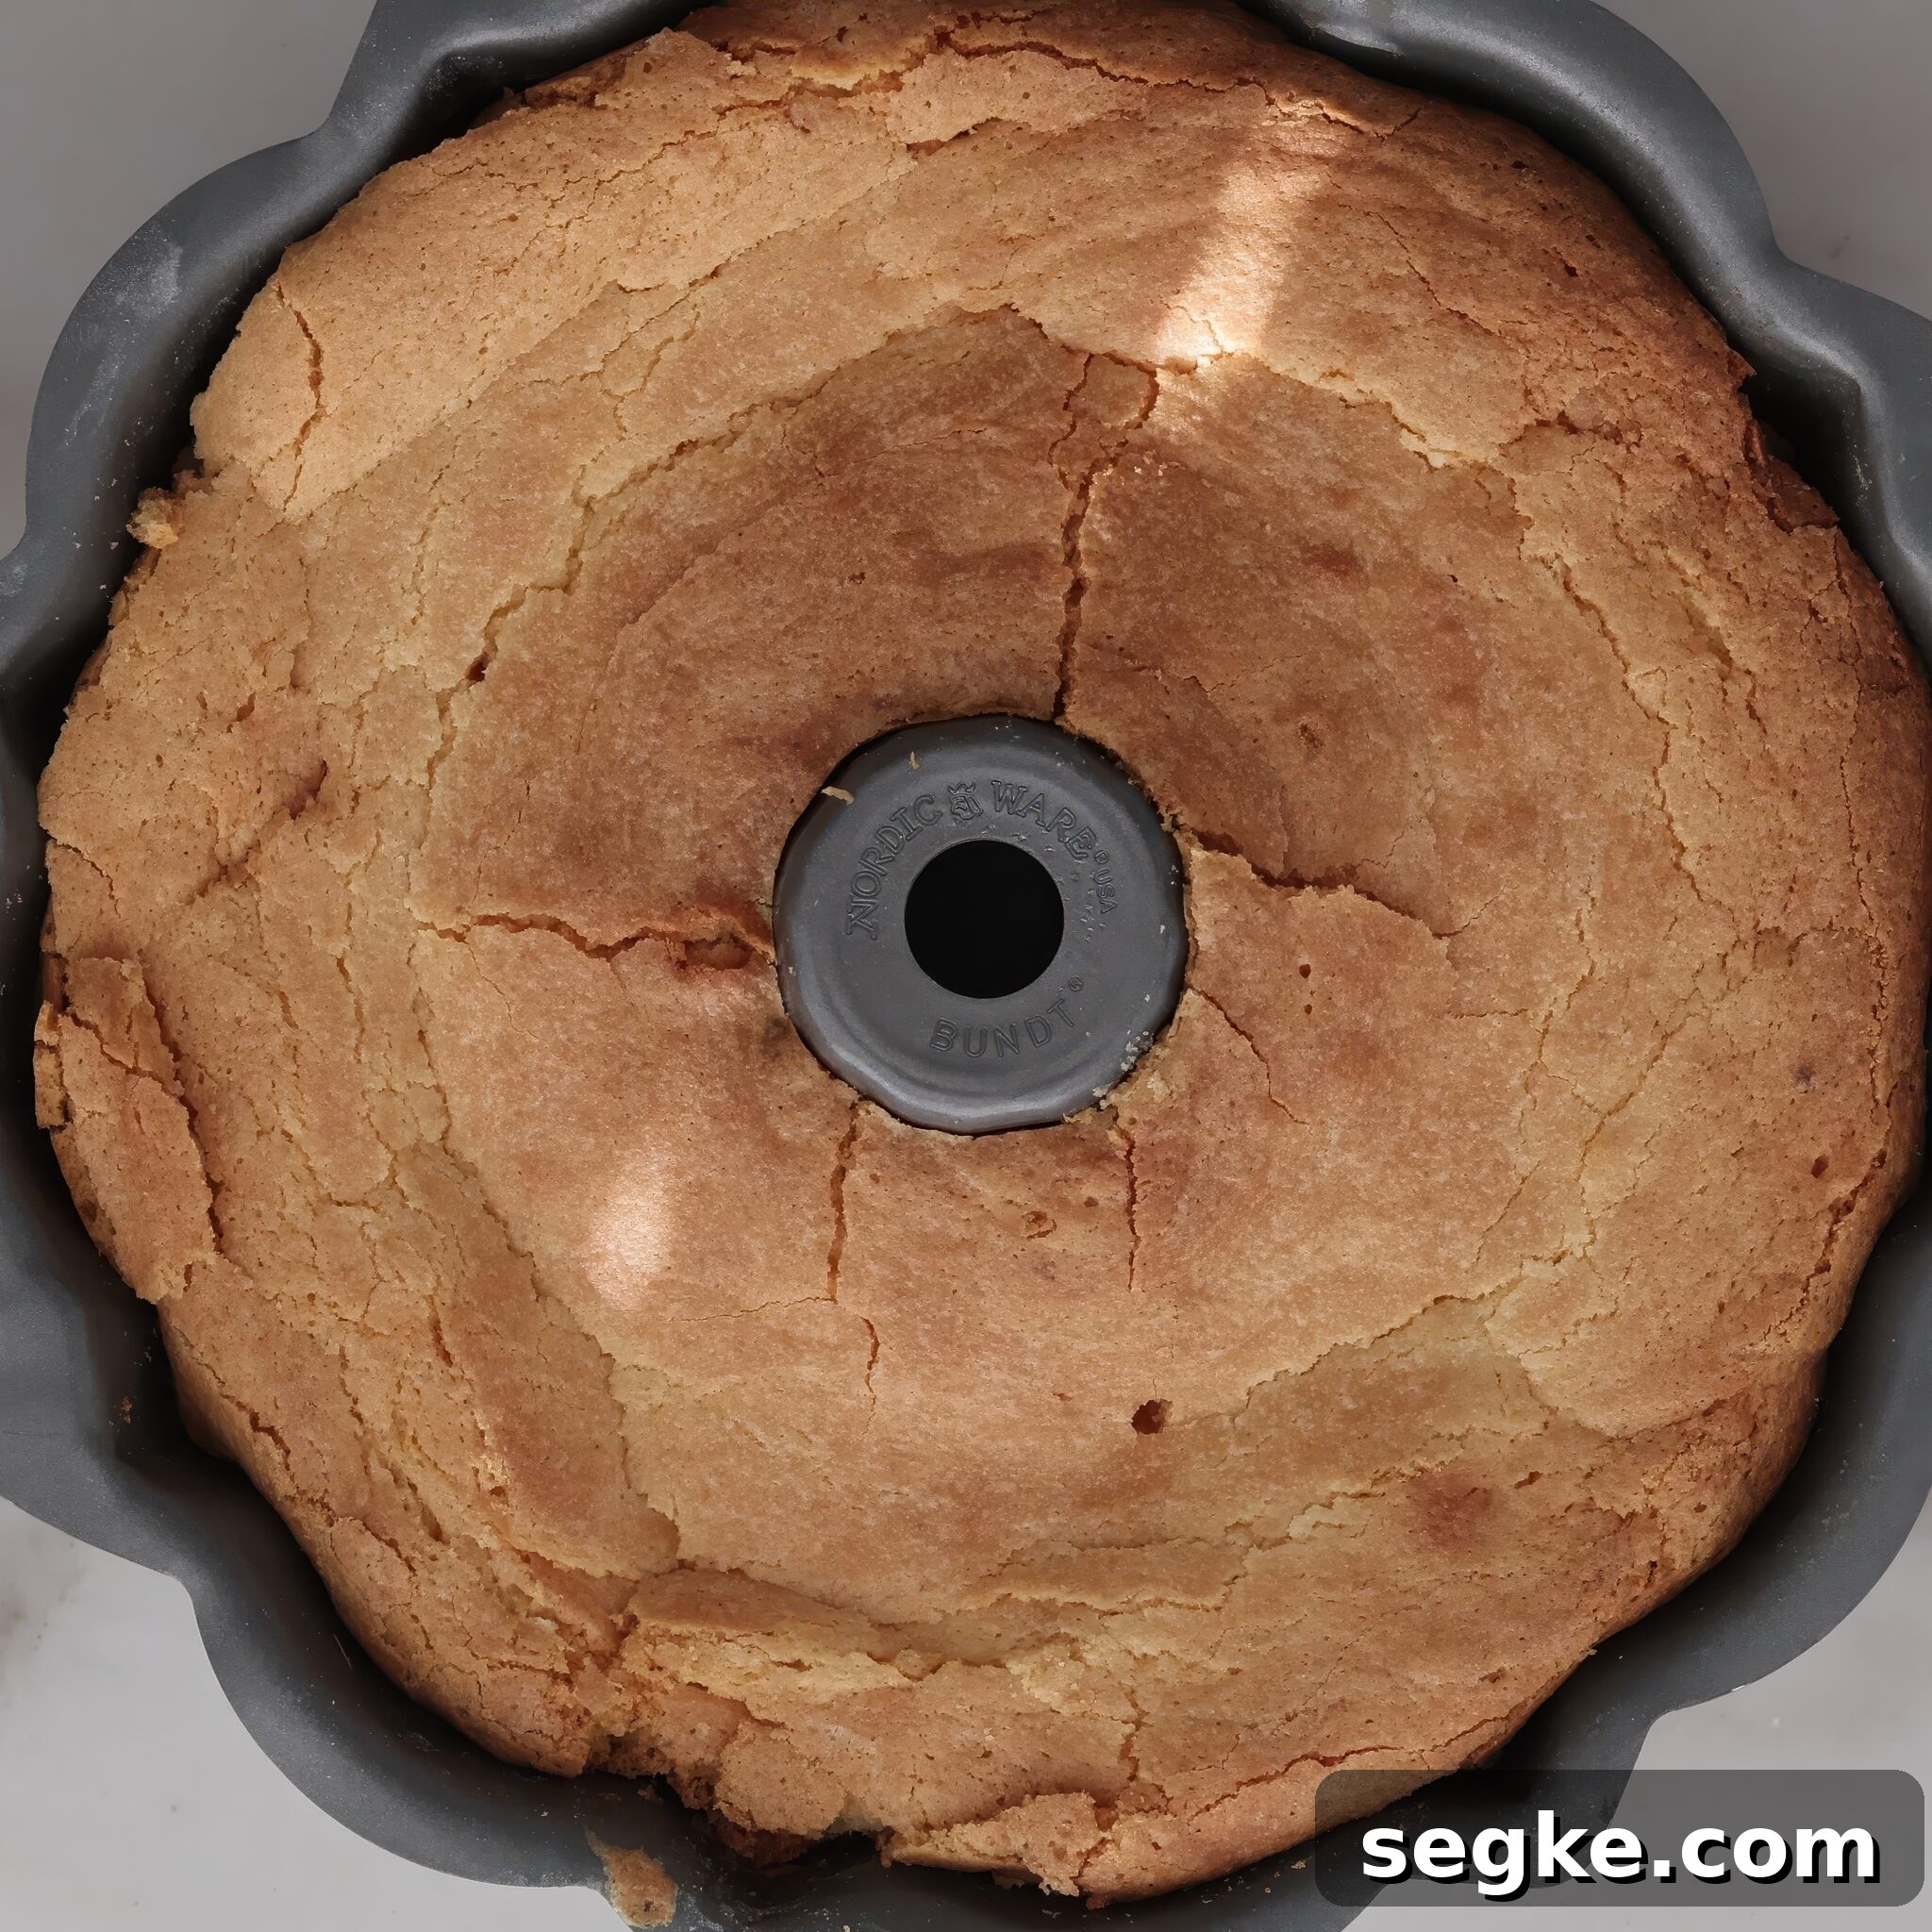
- Step 5: Bake at 300°F (150°C) for 1½ to 2 hours. Begin checking at the 1½ hour mark by inserting a long skewer into the center; it should come out with just a few moist crumbs attached, not wet batter. Allow the cake to cool in the pan for one hour on a wire rack.
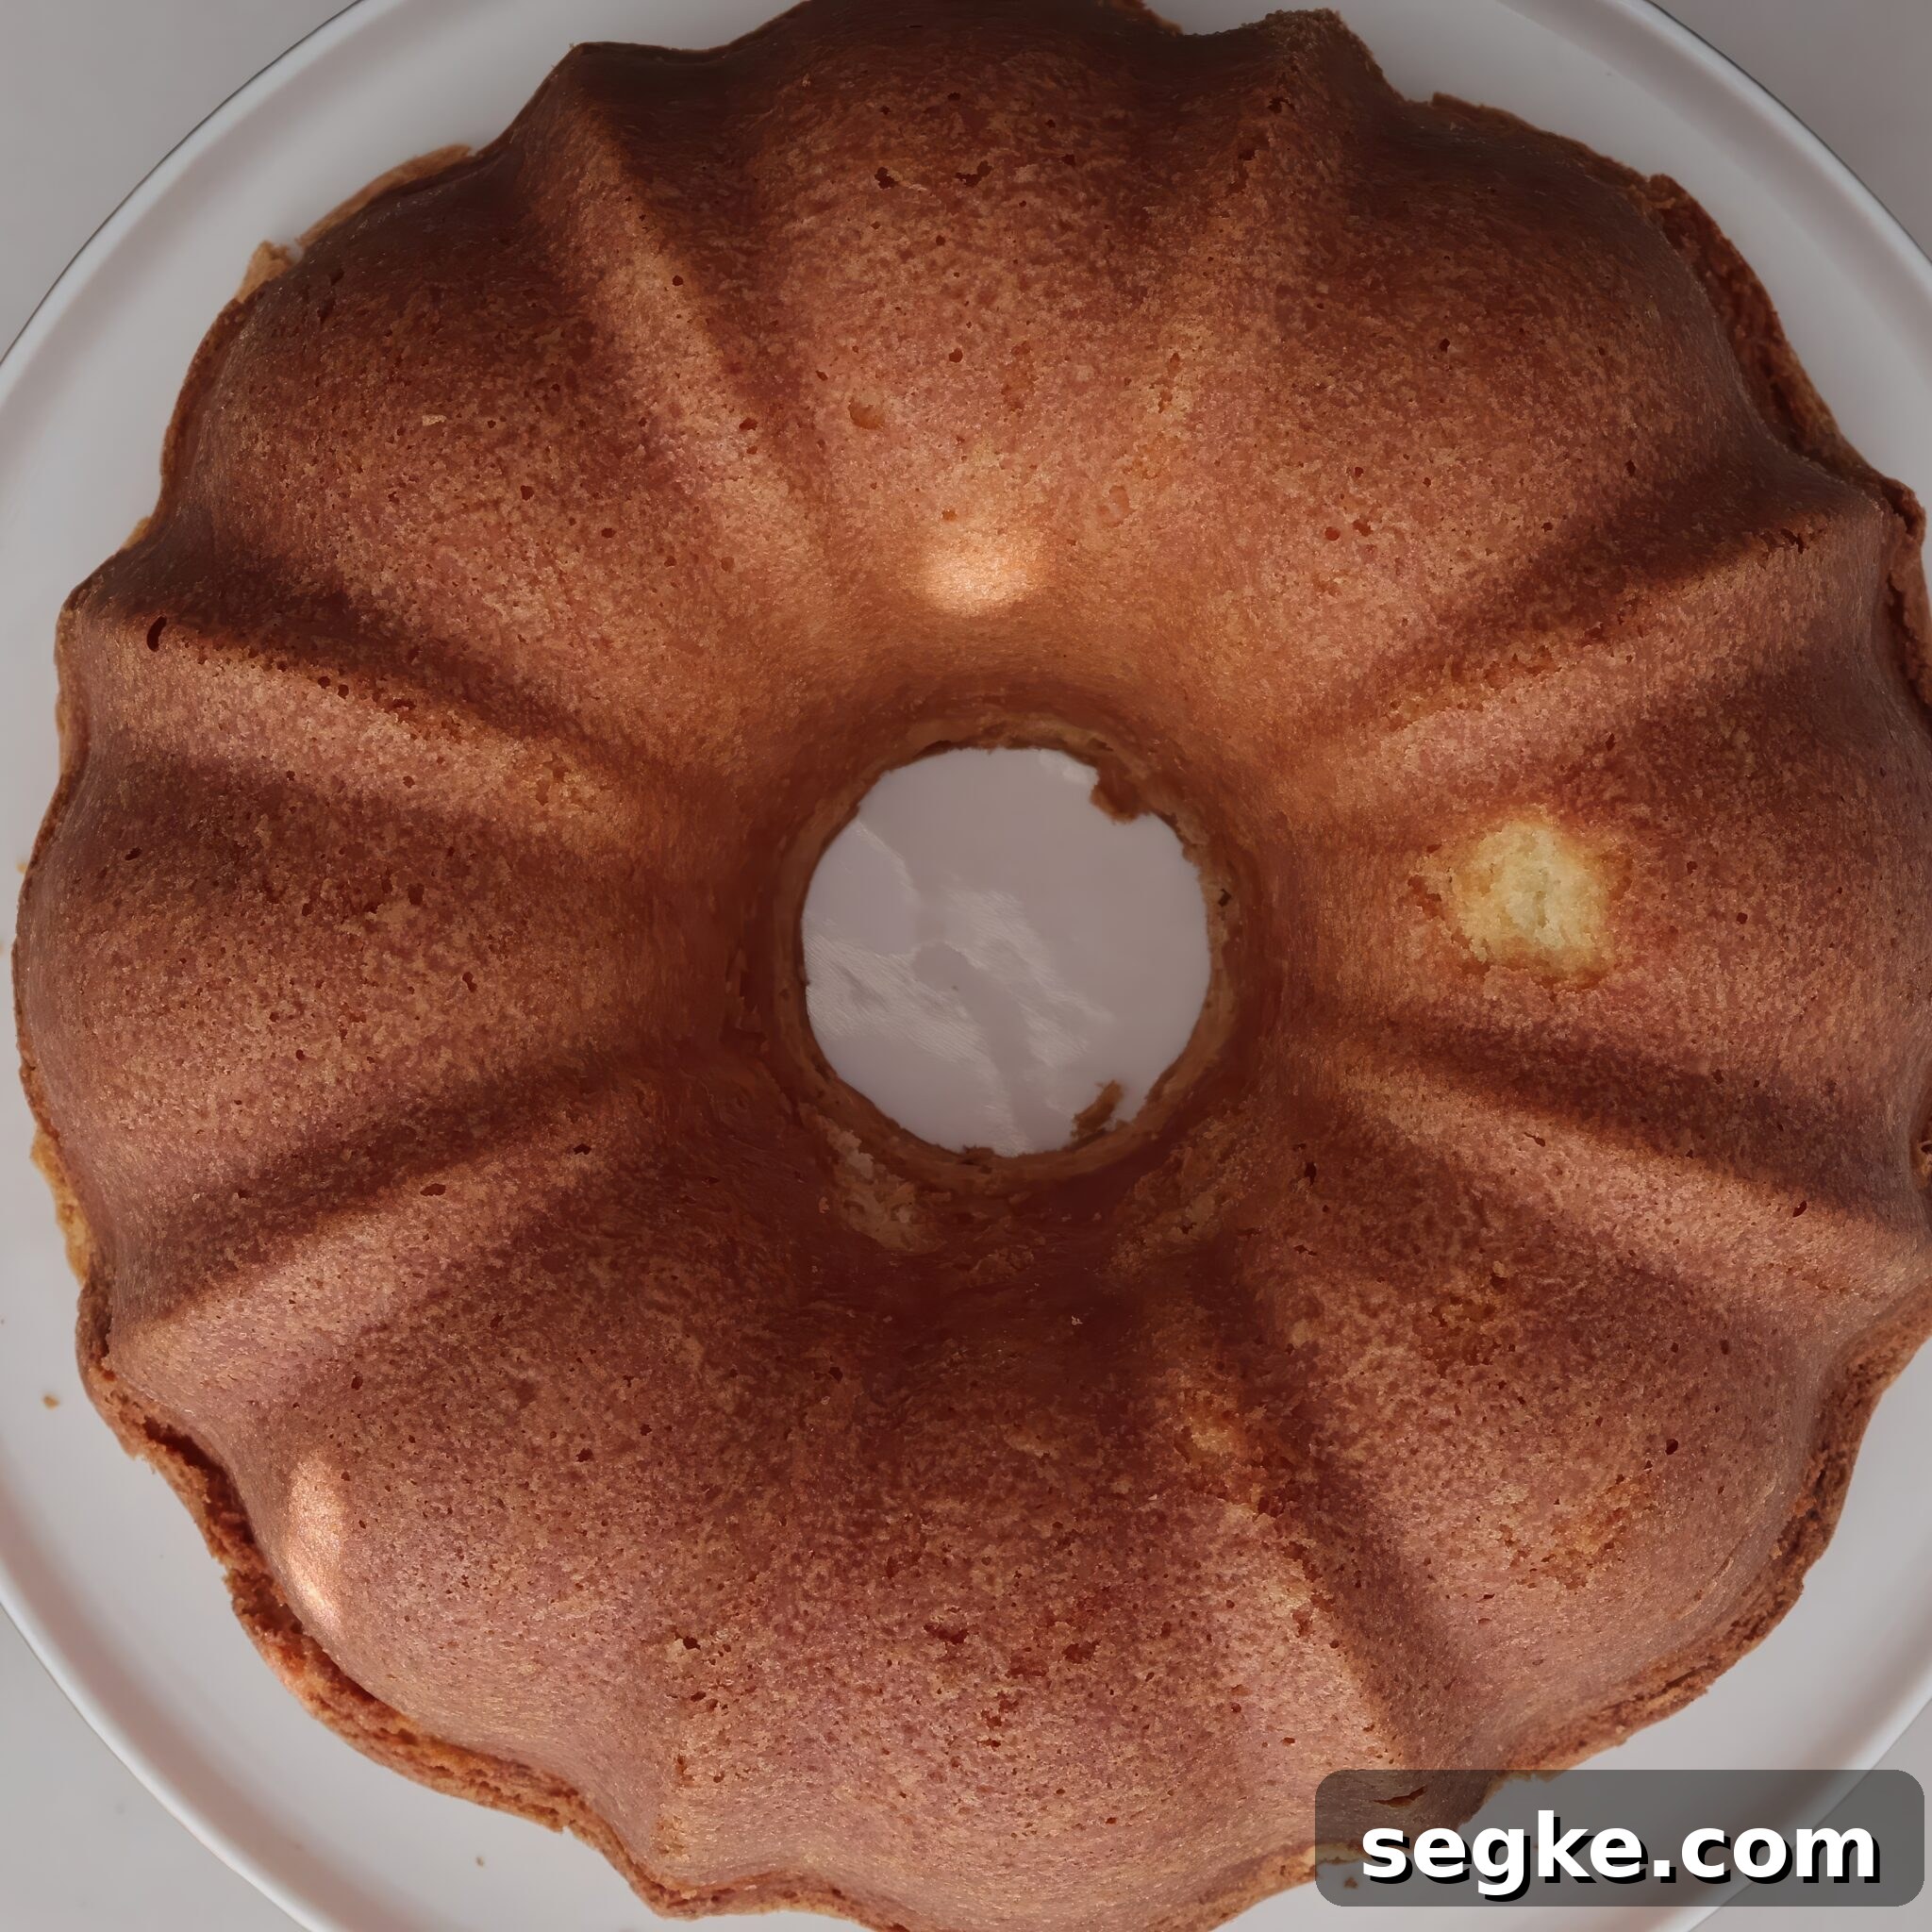
- Step 6: Run a thin knife around the edges to loosen the cake, then invert it onto a serving plate. Let cool completely before slicing and serving.
Gluten free pound cake FAQs
The key is creaming the cream cheese and butter thoroughly with the sugar. That step traps air and creates a rich, dense crumb that remains soft. Also use room-temperature ingredients so they combine smoothly and avoid overbaking.
The traditional name comes from an old formula that used one pound each of flour, sugar, butter, and eggs. Modern recipes adjust the proportions, but the name endures because of the cake’s dense, buttery character.
No. This recipe relies on eggs and proper creaming for lift. Mechanical aeration is what gives the cake height and a fine crumb.
Yes. Use high-quality dairy-free butter and cream cheese alternatives, and expect a slightly different but still pleasant texture and flavor.
Keep the cake in an airtight container at room temperature for up to 3–5 days. For longer storage, freeze slices or the whole cake well wrapped for up to 3 months. If refrigerated, allow slices to return to room temperature before serving to regain softness.
Yes. Pound cake is intentionally dense. The goal is a tight, tender crumb rather than a light, airy sponge.
Pound cake tips and tricks
Follow these straightforward tips to get a consistent, delicious result every time you bake this gluten free pound cake:
Use room temperature ingredients — Butter, cream cheese, and eggs should be at room temperature so they incorporate evenly. Cold ingredients won’t cream properly; overly soft ingredients won’t hold air.
Don’t skimp on creaming time — Beating the butter, cream cheese, and sugar for the full time called for makes a big difference. This step creates the aeration the cake needs to rise without chemical leaveners.
Add eggs one at a time — Adding eggs slowly helps maintain a stable emulsion and ensures a uniform texture.
Check for doneness carefully — Ovens and pans vary. Test with a long skewer inserted off-center; it should come out with a few moist crumbs, not wet batter. If unsure, continue baking and check every 5–10 minutes.
Cool before unmolding — Let the cake cool at least one hour in the pan so it sets and releases cleanly when inverted.
Adapt the pan size if needed — If your Bundt is smaller than called for, split the batter and bake an extra small loaf to avoid overflow.
Personalize the flavor — This cake is a versatile base. Swap extracts, add citrus zest, spices, or a small amount of espresso powder, or fold in finely grated chocolate to create a new variation.
More gluten free Bundt style cakes
- Gluten free pumpkin pound cake
- Gluten free apple bundt cake
- Gluten free chocolate fudge bundt cake
- Gluten free cranberry orange bundt cake
- Gluten free lemon bundt cake
- Gluten free chocolate chip cookie bundt cake
- Easy gluten free angel food cake
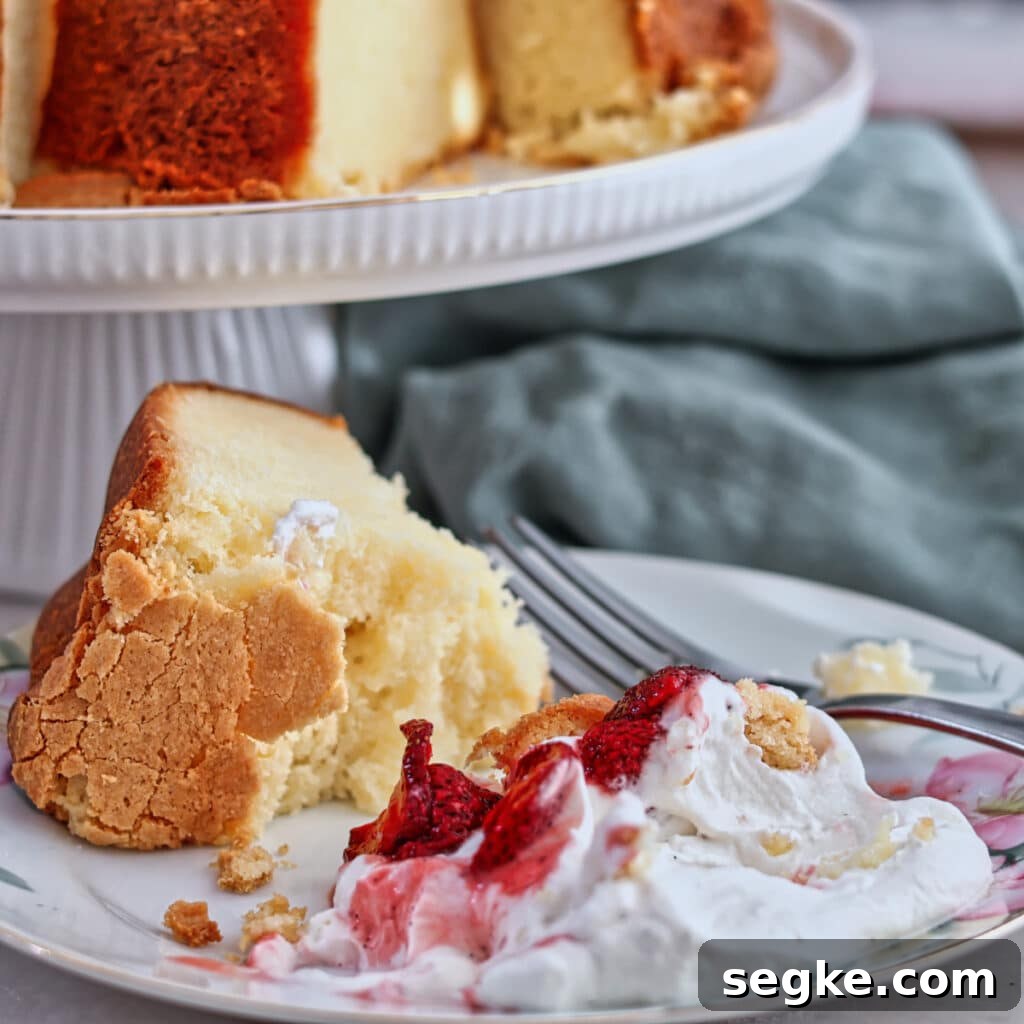
If you’ve never made a pound cake before, start with this one. Its tender, velvety texture and classic buttery flavor make it an excellent introduction to the method and a reliable favorite for gatherings and everyday treats.
Perfect Gluten Free Pound Cake
Ingredients
- 1½ cups (3 sticks or 339g) salted butter, at room temperature
- 8 oz (226g) cream cheese, at room temperature
- 3 cups (600g) granulated sugar
- 6 large eggs, at room temperature
- 3 cups minus 2 tbsp (402g) Kim’s all-purpose gluten free flour blend
- 1 teaspoon vanilla extract
- 1½ teaspoon almond extract
Instructions
-
Grease and flour a Bundt or tube pan and set aside.
-
In the bowl of a stand mixer with the paddle attachment, cream the butter and cream cheese until smooth, about 2 minutes. Gradually add the sugar; once all is added, increase speed to medium-high and whip for 7 minutes until very light and fluffy. Scrape the bowl.
-
On low speed, add eggs one at a time, beating 30 seconds after each. Scrape the bowl, then increase speed to medium and beat for about 2 minutes.
-
Add the flour on low speed until mostly combined. Stir in extracts. Remove the bowl and fold any remaining streaks of flour with a spatula to avoid overmixing.
-
Bake at 300°F (150°C) for 1½ to 2 hours. Begin checking at 90 minutes with a long skewer inserted near the center; if it comes out wet, continue baking and recheck in 10-minute intervals.
-
Remove cake when the skewer shows a few moist crumbs. Let cool in the pan on a wire rack for at least one hour, then run a knife around the edges and invert onto a serving plate. Cool completely before slicing.
Notes
For whipped cream: whip about 2 cups heavy cream until soft peaks form. Gradually add ¼ cup powdered sugar and 2 teaspoons vanilla (or scraped vanilla bean) and whip to stiff peaks. Spoon berries and sauce over slices and top with whipped cream.
Storage: well covered at room temperature for 3–5 days, or freeze wrapped for up to 3 months. Avoid refrigeration if possible, as it can dry the cake; if refrigerated, allow slices to return to room temperature before serving.