
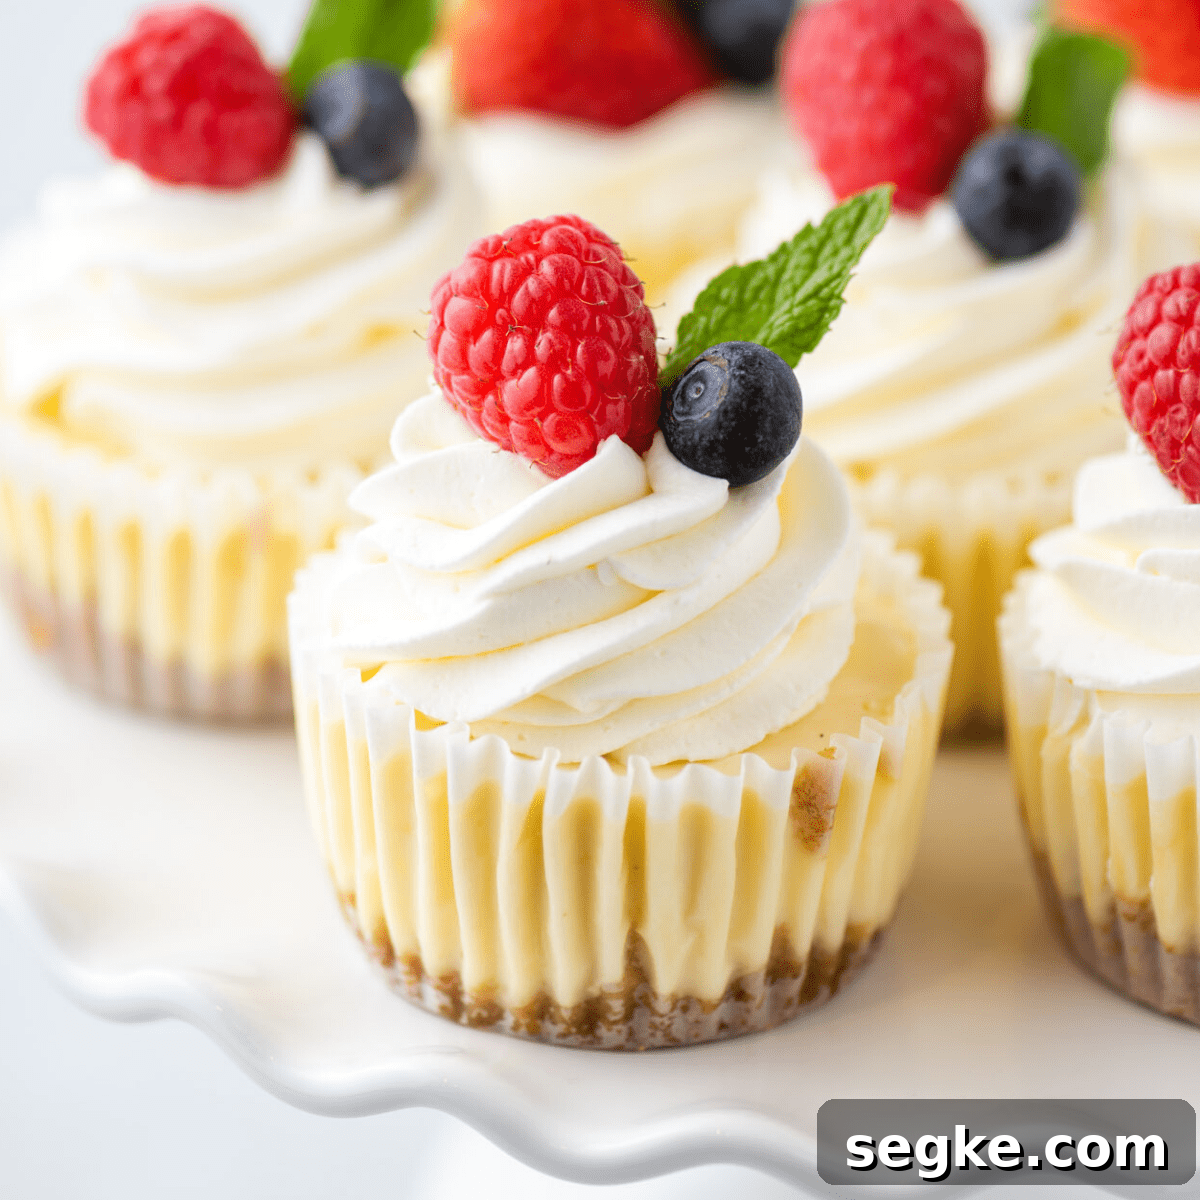
I’ve tested cheesecakes for years, and this mini version is the simplest, most reliable way to achieve a smooth, bakery-quality result without a water bath. Because each cheesecake is small, they bake and chill much faster than a full-size cake — roughly a third of the time — so you can serve an impressive dessert without a long wait. Every step below has been refined to keep the texture creamy and to avoid cracks. Finish them with fruit, chocolate, caramel, or whipped cream to suit any occasion.
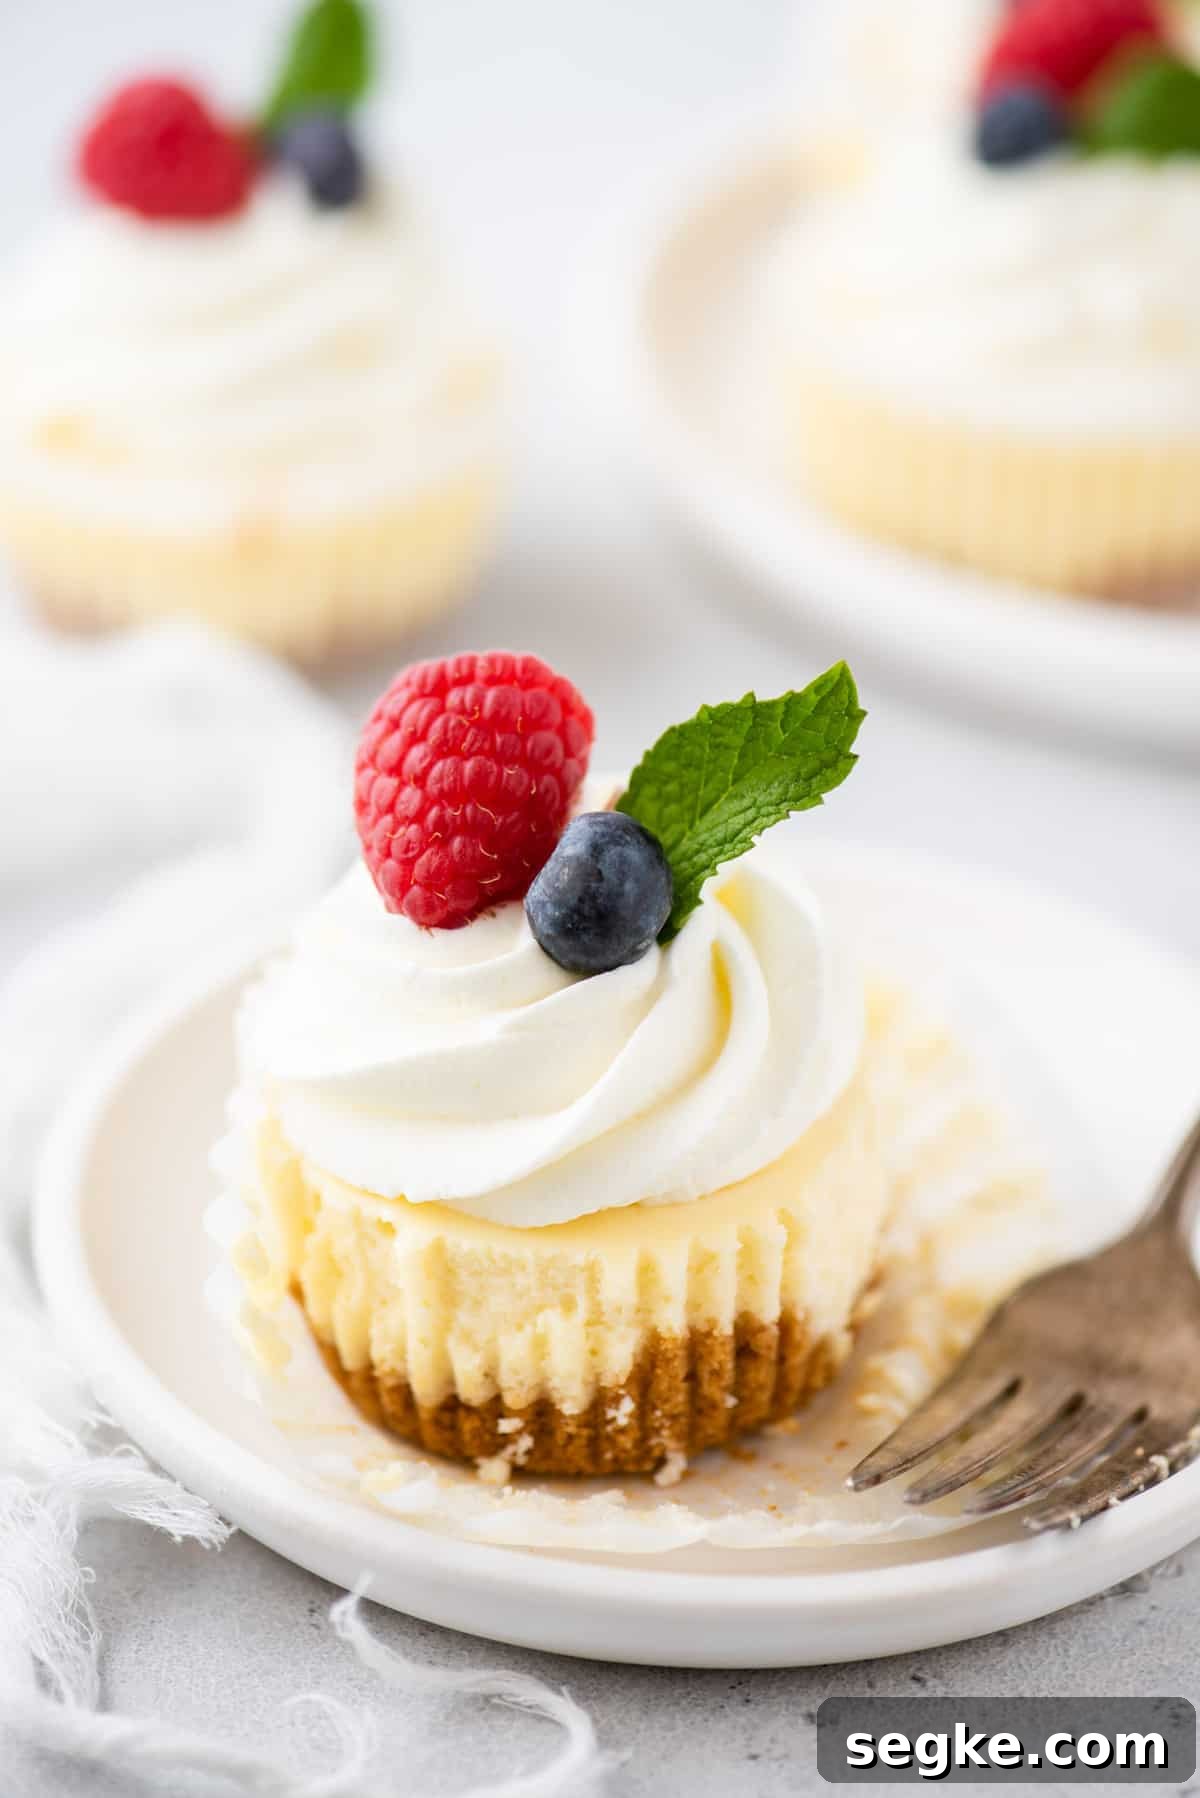
So delicious! Daughter LOVES cheesecake and she devoured these. Even asked for them to be at her birthday party instead of cake. Thanks so much!!
-Katy B
This Is the Best Mini Cheesecake Recipe
Mini cheesecakes are a wonderful introduction to cheesecake baking. They capture everything you want — a rich, creamy filling, a satisfying crust, and endless topping options — while being faster and less fussy than a full-size cheesecake. Because they require no water bath and chill quickly, you can get consistent, crack-free results with less hassle. The method below combines practical tips I’ve learned from testing variations over time so home bakers can succeed on the first try.
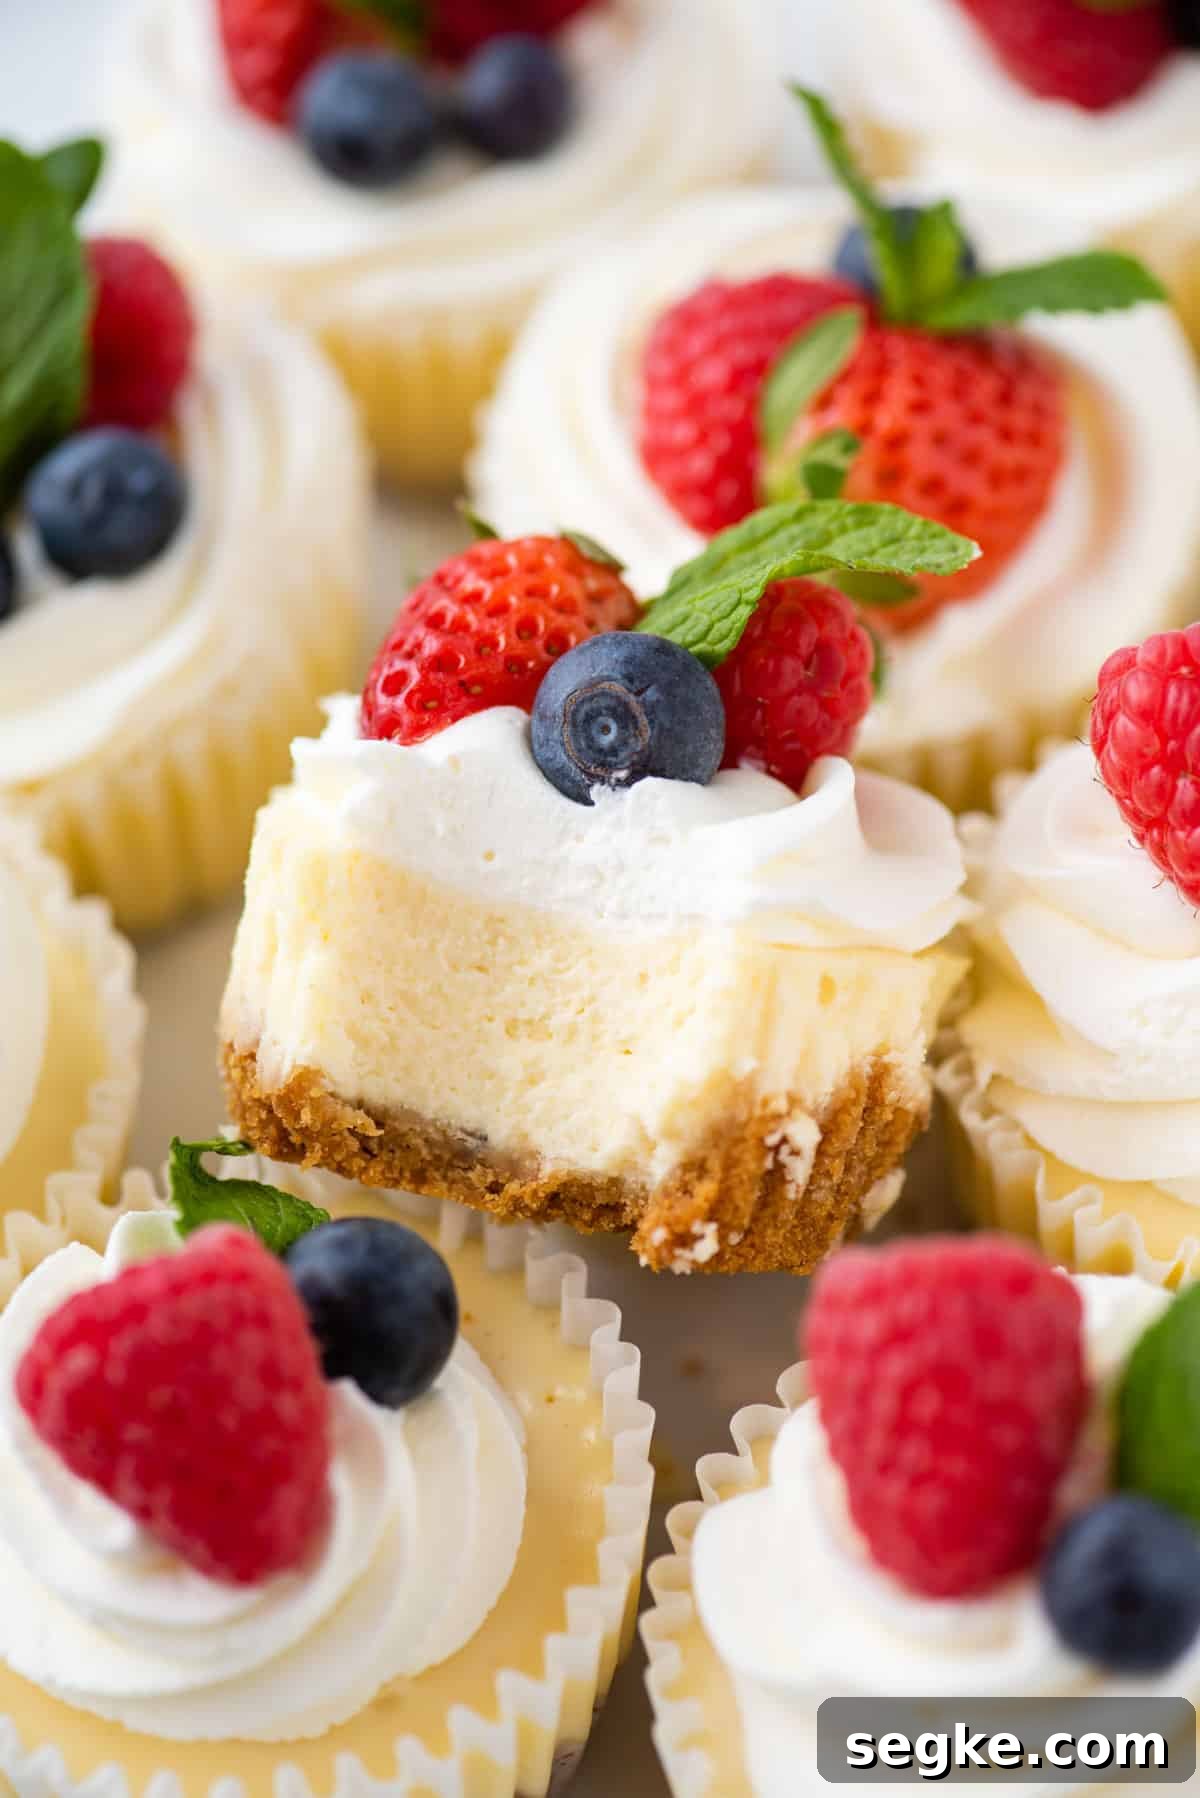
These mini cheesecakes are highly adaptable. Treat them like a blank canvas: top them with fresh berries, salted caramel, chocolate ganache, or flavored whipped cream. They make a great choice for brunches, showers, parties, or a simple weeknight treat.
Why You’ll Love This Easy Mini Cheesecake Recipe
- Perfect for serving a crowd or making individual portions
- Can be made ahead and frozen
- Easy to customize with a variety of toppings
- Quicker and simpler than baking a full-size cheesecake

Ingredients for Mini Cheesecake Cups
Quantities and full instructions are listed in the recipe card below. Use full-fat cream cheese for the best texture, and allow cream cheese and eggs to come to room temperature before mixing.
For the crust
- Graham cracker crumbs – about 1 cup (113g). Pulse whole crackers in a food processor or use store-bought crumbs.
- Unsalted butter – 4 Tbsp melted, to bind the crumbs.
For the cheesecake
- Full-fat cream cheese – 16 oz, softened to room temperature (use block-style cream cheese, not the tub variety).
- Granulated sugar – 1/2 cup (99g).
- Vanilla extract – 1 tsp.
- Eggs – 2 large, at room temperature.
For the topping
- Whipped cream – homemade or store-bought; frozen whipped topping holds up longer if you assemble in advance.
- Fresh fruit – berries, sliced stone fruit, or seasonal choices work well.
Can I substitute the graham crackers?
Yes. Use crushed Oreos or chocolate wafers for a chocolate crust, vanilla wafers for a classic flavor, or ginger snaps for spice. You can also skip the crust, but the cheesecakes are easier to handle with a firm base.
Recommended tools
- Standard-size muffin pan
- Paper muffin or cupcake liners
- Mixing bowl and electric hand mixer
A muffin pan makes portioning quick and consistent. No special cheesecake pan or water bath is required.
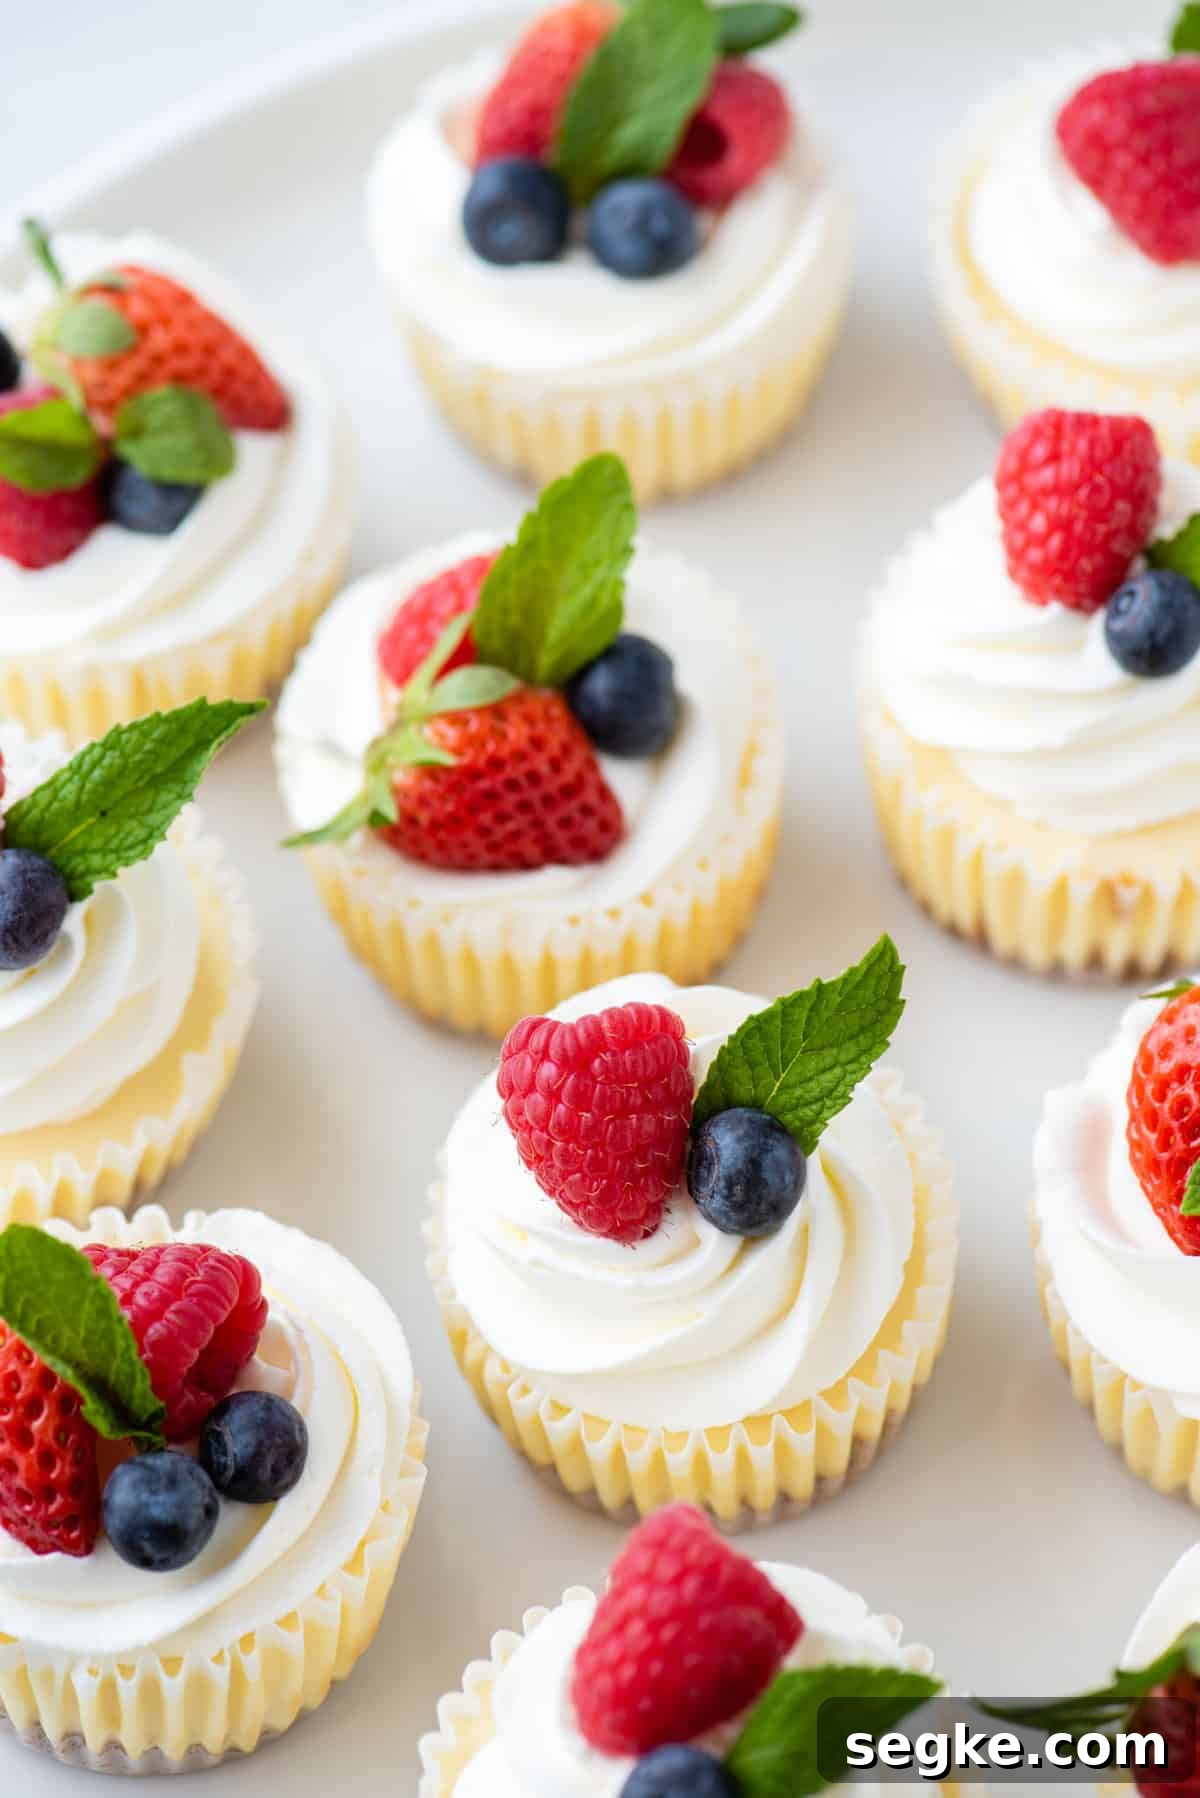
How to Make Mini Cheesecake Cups
These are straightforward to make and great when you need a reliable, elegant dessert. Follow these steps for best results.
To make the crust
- Prepare the pan. Preheat the oven to 350°F and line a standard muffin pan with paper liners.
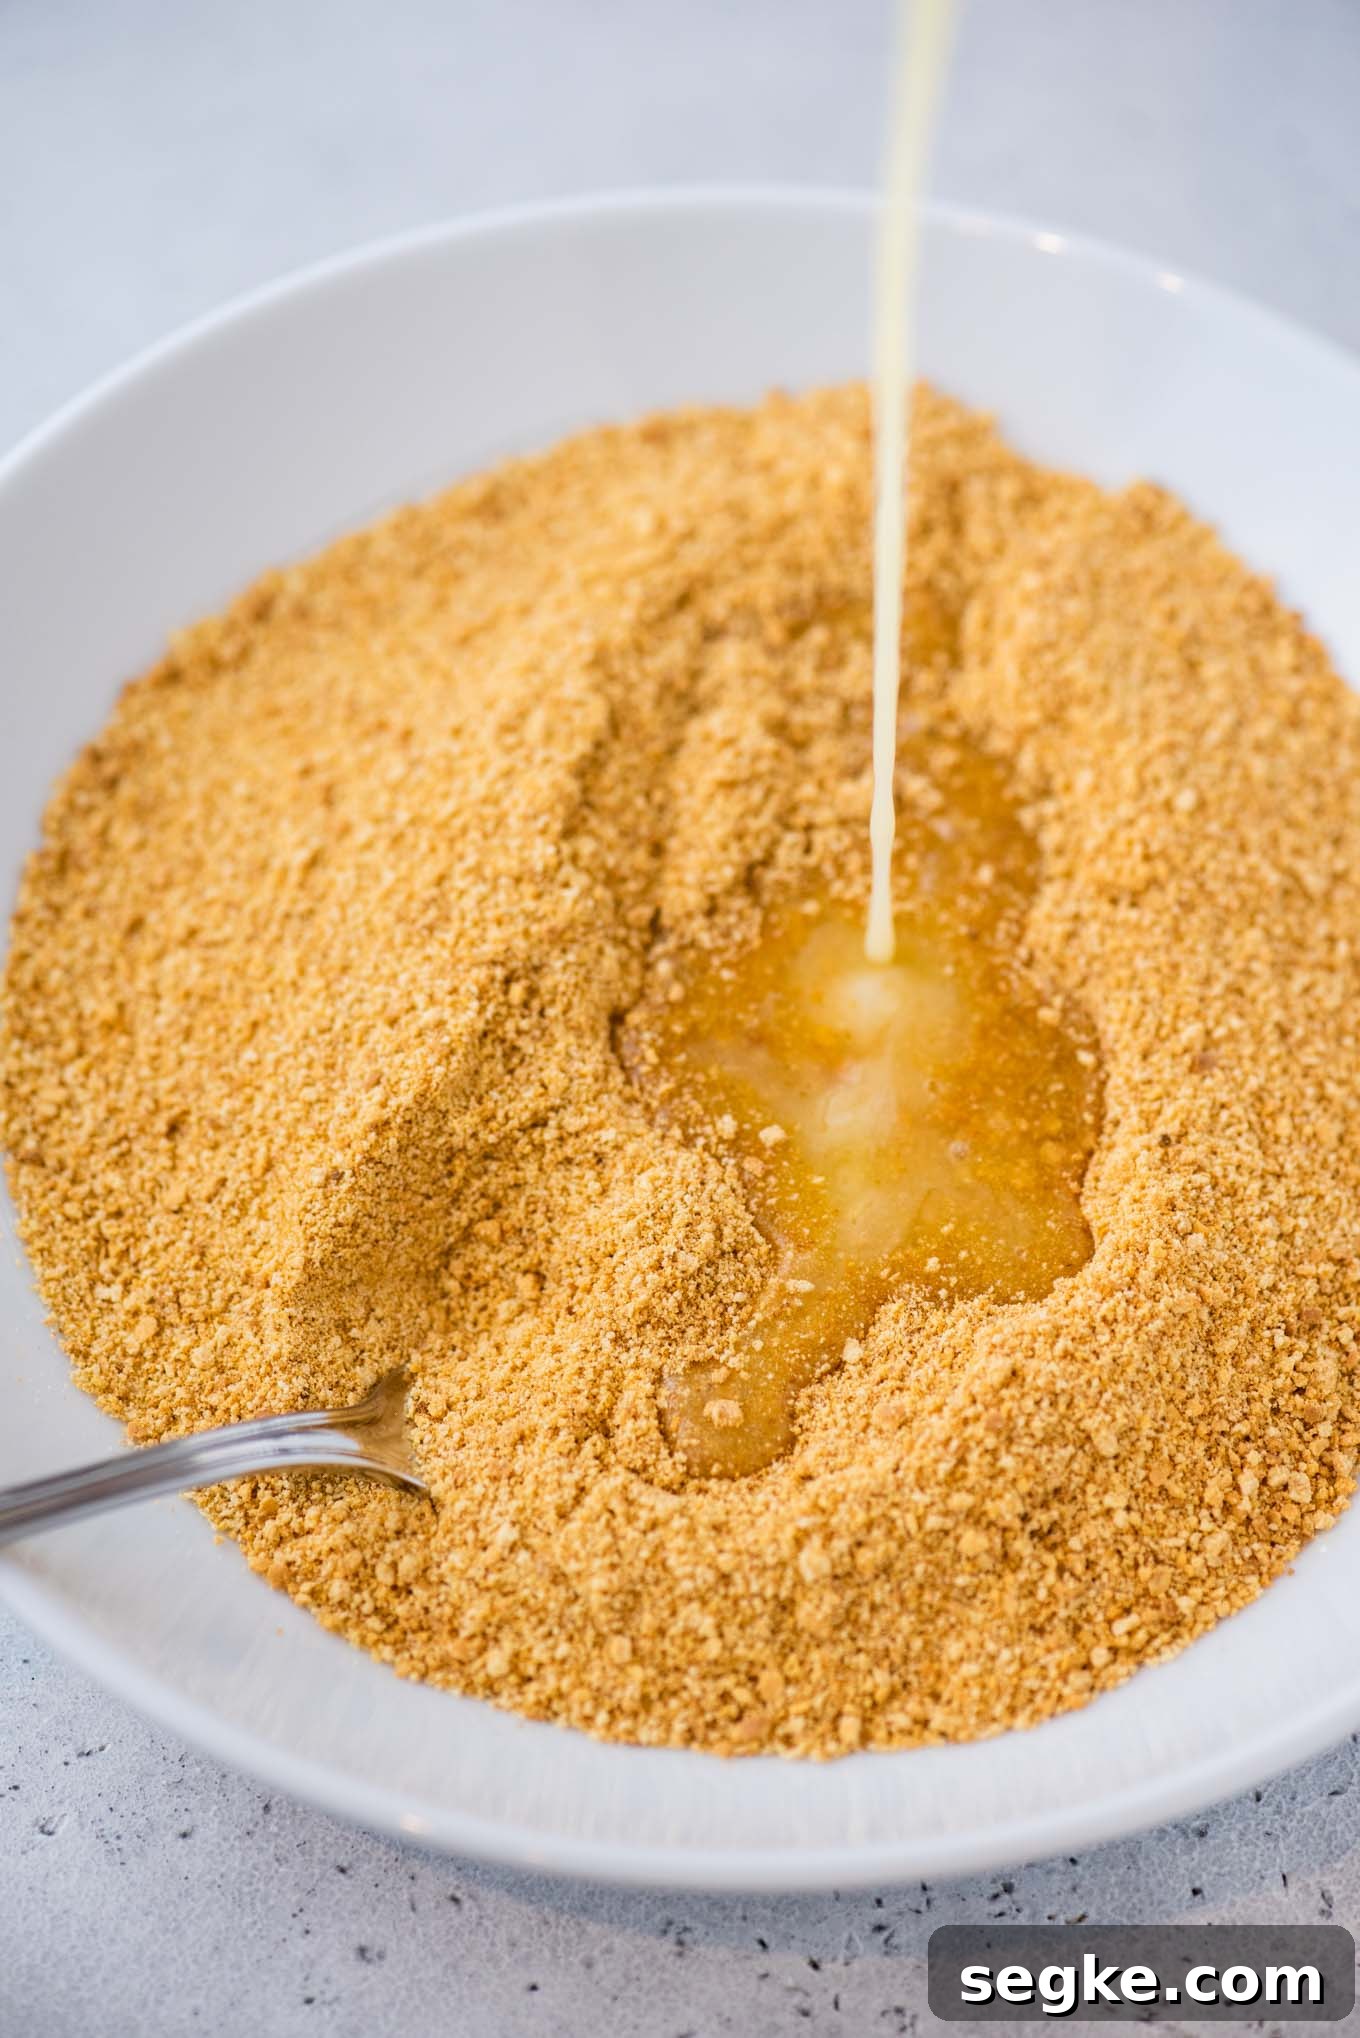
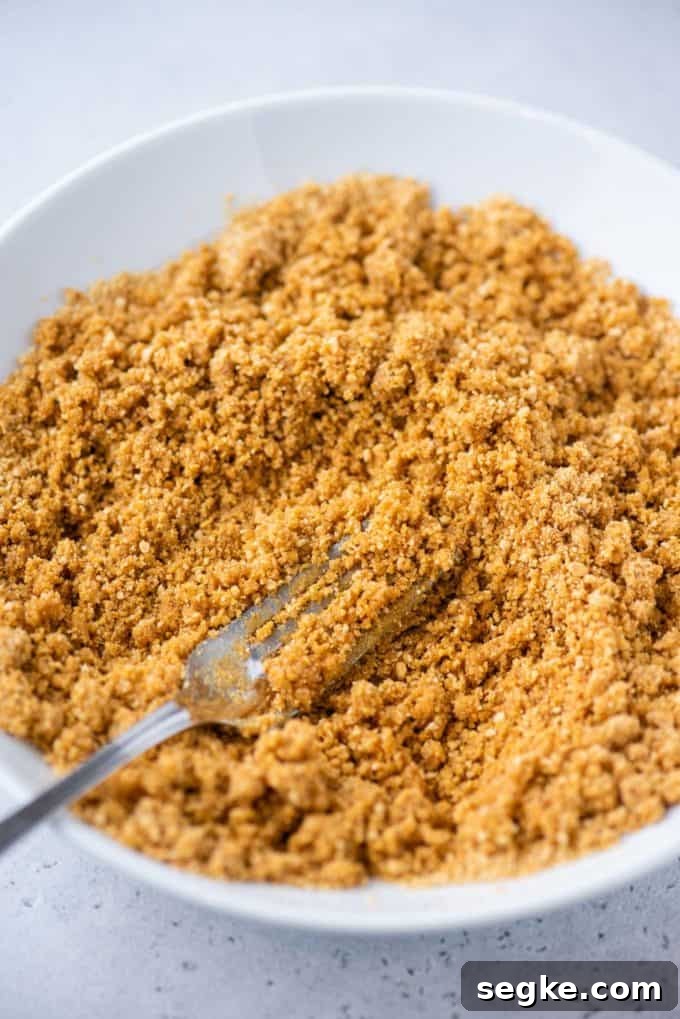
- Make the crumb mixture. Combine 1 cup graham cracker crumbs with 4 tablespoons melted unsalted butter until the texture resembles coarse sand.
- Form and bake. Press 1–2 tablespoons of the crumb mixture into each liner, using the bottom of a small measuring cup to flatten. Bake the crusts for 5 minutes, then let them cool while you prepare the filling.
To make the cheesecakes
- Cream the cheese and sugar. Beat the softened cream cheese and granulated sugar with an electric mixer until smooth, about 1–2 minutes.
- Add flavor and eggs. Mix in the vanilla, then add the eggs one at a time and beat only until each yolk breaks; over-mixing after the eggs are added can trap air and cause cracks.
- Fill the cups. Divide the batter evenly among the lined muffin cups, filling each one nearly full.
- Bake. Bake at 350°F for 15–17 minutes, until the centers are just slightly jiggly when you gently shake the pan.
- Cool and chill. Let the cheesecakes cool to room temperature, then refrigerate for at least 4 hours before serving. If chilling overnight, cover loosely with plastic wrap.
- Garnish. Top with whipped cream, fresh fruit, or a drizzle of chocolate ganache just before serving.
Tips for Success
- Avoid over-mixing. Once you add the eggs, mix only until combined to prevent incorporating too much air.
- Don’t overbake. Aim to remove the cheesecakes while the centers still jiggle slightly; they’ll firm up as they cool.
- Cool gradually. Sudden temperature changes can make the centers sink. Turn off the oven, crack the door and let the pan sit for 15–20 minutes before moving to the counter to finish cooling.
- If cracks appear. No need to panic — toppings will disguise minor imperfections and the flavor is unchanged.
How do you keep mini cheesecakes from sinking in the middle?
Sinking often results from overmixing (which traps air) or exposing the hot cakes to a cool environment too quickly. Mix gently after the eggs go in and allow the cheesecakes to cool slowly in the oven with the door cracked before transferring them to room temperature to finish cooling.

Serving mini cheesecakes
Some topping ideas:
- Mini chocolate chips or chopped dark chocolate
- Fruit pie filling or fresh seasonal fruit
- Chopped candy bars or crushed cookies
- Salted caramel or candied citrus peel
- Flavored whipped cream (coffee, chocolate, or fruit-flavored)
How to store mini cheesecakes
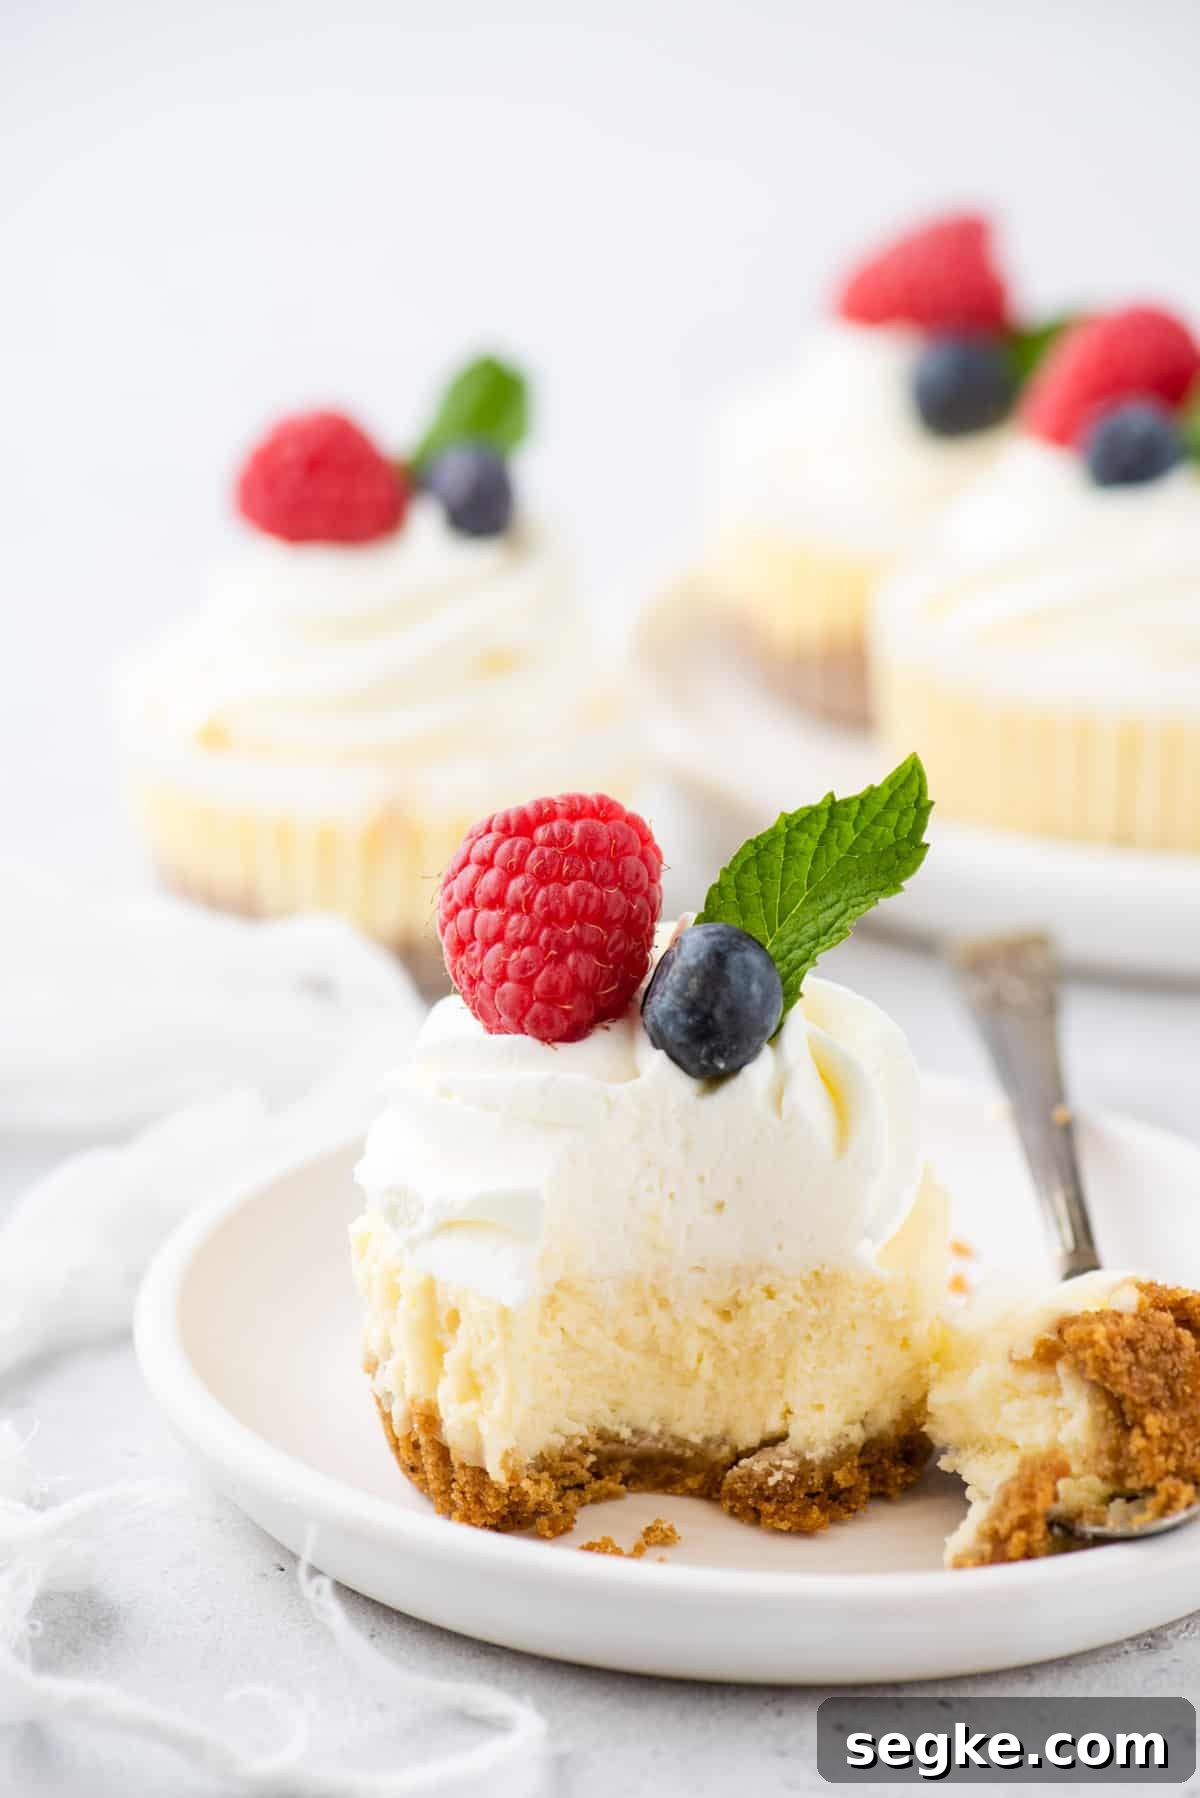
Store finished mini cheesecakes in an airtight container in the refrigerator for up to one week. For best freshness at an event, make them 3–4 days in advance. To freeze, wrap individually or layer in a container with parchment between layers; they keep well for up to three months. Thaw in the refrigerator before serving.
First time making a cheesecake. I was in a baking competition and won first place. Very simple to follow and my cheesecake looked beautiful.
-Luz
Mini Cheesecake FAQs
Use a standard-size muffin pan lined with paper liners. No water bath or special pan is required, and the liners make it easy to remove each cheesecake after chilling.
Gently shake the pan — the centers should jiggle slightly but not move like a liquid. They will set up as they cool and chill.
Keep them in an airtight container in the fridge for up to a week. For peak texture, bake no more than 3–4 days ahead of serving.
Yes. Wrap individually or layer with parchment in an airtight container and freeze for up to 3 months. Thaw in the refrigerator before serving.
Easy Mini Cheesecake Recipe
Yields: 12 mini cheesecakes
Prep time: 20 minutes • Cook time: 22 minutes • Total time: 42 minutes
Ingredients
Crust
- 1 cup (113g) graham cracker crumbs
- 4 Tbsp unsalted butter, melted
Cheesecake
- 16 oz full-fat cream cheese, softened to room temperature
- ½ cup (99g) granulated sugar
- 1 tsp vanilla extract
- 2 large eggs
Topping
- Whipped cream
- Fresh fruit
Instructions
- Preheat oven to 350°F. Line a standard muffin pan with paper liners.
- Combine graham crumbs and melted butter until the mixture resembles coarse sand. Press 1–2 tablespoons into each liner, using the bottom of a small measuring cup to flatten. Bake crusts 5 minutes. Cool.
- Beat cream cheese and sugar until smooth, 1–2 minutes. Add vanilla, then eggs, mixing only until incorporated.
- Divide batter among liners and bake 15–17 minutes, until centers are slightly jiggly.
- Cool to room temperature, then refrigerate at least 4 hours before serving. If chilling overnight, cover loosely.
- Top with whipped cream, fruit, or ganache before serving.
Notes
How to store: Refrigerate in an airtight container up to one week.
How to freeze: Freeze up to three months, wrapped individually or layered with parchment. Thaw in the refrigerator.